In collaboration with Apple, Parallels engineers created the world's first prototype of a macOS virtual machine (VM) running on a Mac with Apple M silicon. With Parallels Desktop 18 for Mac and newer, you can now download and install a macOS VM on a Mac with Apple silicon just with a few clicks.
Note: Parallels Desktop doesn't support creating a macOS virtual machine from the .app installation image on Mac computers with Apple silicon.
Requirements
1. It's possible to create macOS Monterey 12 and newer virtual machines only.
2. If you have macOS Monterey 12 installed on your computer, to install a macOS VM of a newer version than your host Mac has, the only way is to upgrade your main macOS to the newer version.
Automatic Installation
Note: Parallels Desktop will download and install the same version of macOS as your Mac is currently running.
To install a macOS VM, start Parallels Desktop and follow the steps below:
1. Click the Parallels Desktop icon on the top menubar > Control Center.
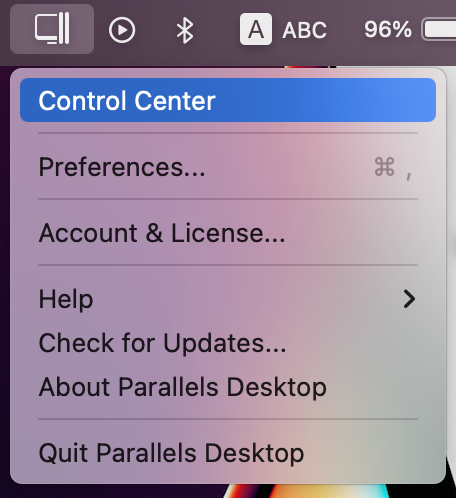
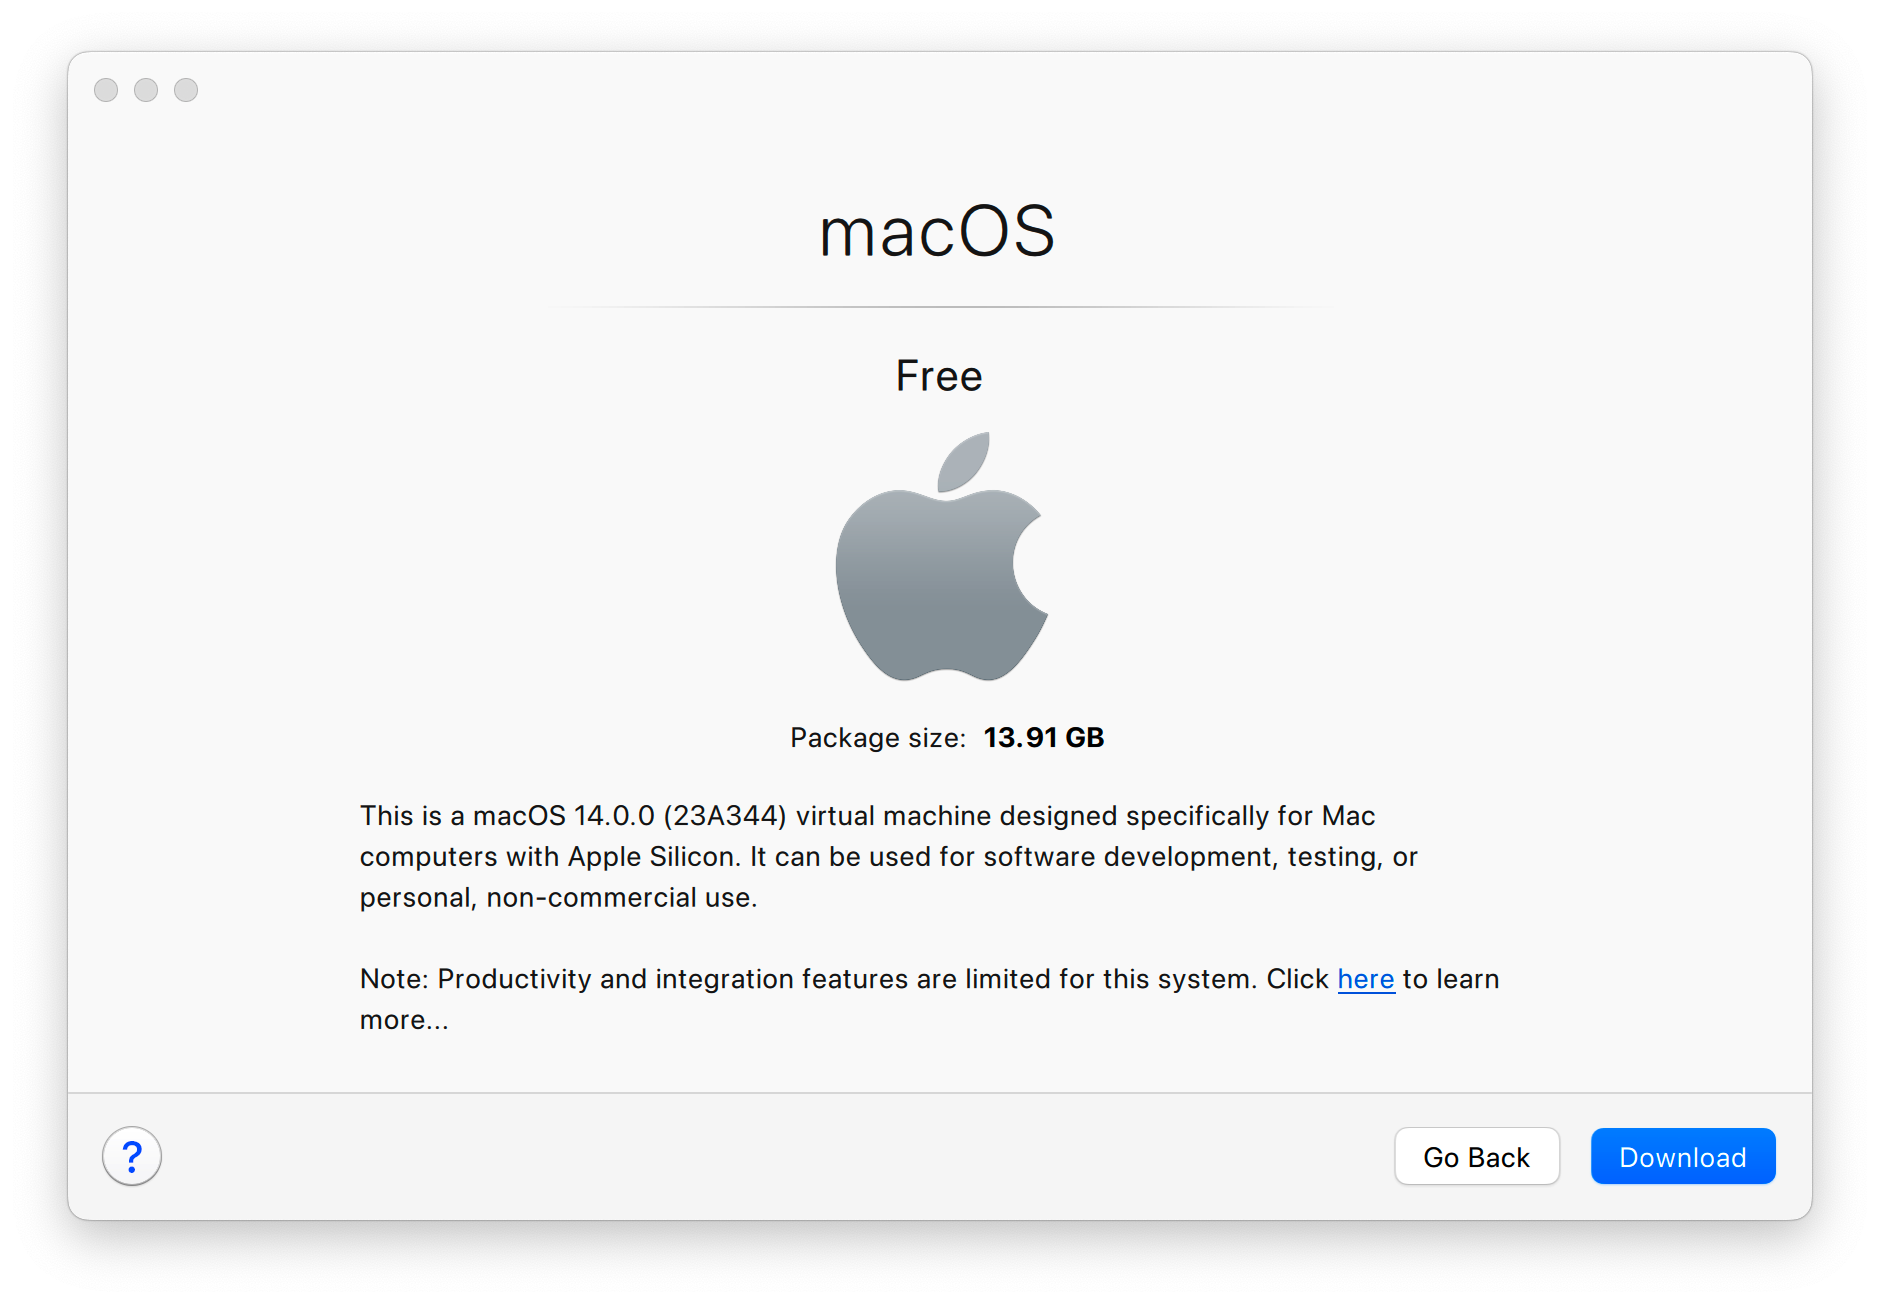
2. Click + in the top right corner > Continue > under Free Systems, select Download macOS.

3. Click Download and proceed with the installation.
Alternative way of installation
Starting with Parallels Desktop 19, you can install a macOS VM just by double-clicking the downloaded .ipsw file:
1. Download the .ipsw file of the desired macOS version. Learn more here.
2. Double-click the downloaded .ipsw file and create a name of the virtual machine, and click Create.
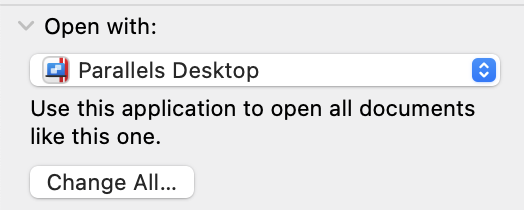
Note: the .ipsw file should be configured to be opened by Parallels Desktop app. For this purpose, just right-click the .ipsw file > Get info > in the 'Open with' section select Parallels Desktop and click Change All.
Advanced installation
Starting with Parallels Desktop 19, prlctl support has been added for creating a new macOS virtual machine on a Mac with Apple silicon. The instructions are pretty straightforward:
Important: The following instructions apply to the latest versions of Parallels Desktop 19 Pro\Business Edition and newer only, if you are experiencing difficulties, please ensure you are running the latest available build by using "Check for Updates"
1. Download the .ipsw file of the desired macOS version. Learn more here.
2. Open Terminal and execute the command below to create a virtual machine shell and attach the installation image to it:
prlctl create "macOS_name" -o macos --restore-image <path to the .ipsw file>
e.g.
prlctl create "macOS13.5_test" -o macos --restore-image /Users/mikhailushakov/Downloads/UniversalMac_13.5_22G74_Restore.ipsw
To adjust the size of the virtual hard drive if needed (by default, the size of the virtual hard drive is 64 GB) the process is slightly different:
1. Having downloaded the .ipsw file as described earlier, open terminal and execute the modified creation command, it will create a virtual machine shell with no hard drive:
prlctl create "macOS_name" -o macos --no-hdd --restore-image <path to the .ipsw file>
e.g.
prlctl create "macOS13.5_test" -o macos --no-hdd --restore-image /Users/mikhailushakov/Downloads/UniversalMac_13.5_22G74_Restore.ipsw
2. Create a virtual disk of the needed size, e.g. 100 GB disk by executing the following command:
prlctl set "macOS13.5_test" --device-add hdd --type plain --size 100000
Note: For macOS virtual machine on Apple silicon, only plain disk types are currently supported. --size parameter is set in megabytes, please see prlctl manual if additional information on switches is required.
3. Start the installation by executing the prlctl start <VM name> command to start the installation process:
prlctl start macOS13.5_test
Alternatively, you can start it by opening Control Center (right-click Parallels Desktop icon in Dock > Control Center) and clicking the virtual machine icon.
4. Wait for the installation to complete and follow on-screen instructions to choose language, create a user account, etc.
Install macOS VM of a different version
It appears that it is currently possible to install a macOS virtual machine on Mac computer with Apple silicon only of the same macOS version as that installed on the Mac.
Hence, if you wish to create a macOS virtual machine with a different macOS version, it is necessary to create it on a Mac running that version, and then transfer the resulting .macvm file to the destination Mac.
Install Parallels Tools
Please note that Parallels Tools functionalities in macOS virtual machines on Apple Silicon Mac computers are very limited. Parallels Engineering Team is researching ways to expand the list of supported features in future product updates. Some of them (e.g. Dynamic Resolution (for macOS 14 and newer VMs running on Mac computers with macOS 14 and newer), Shared Clipboard, etc) have already been added. To enable these features, please install Parallels Tools.
- Open Finder in the macOS virtual machine.
- From the list of locations on the sidebar, select the "Parallels Tools" drive.
- Double-click on the "Install" icon.
- Wait for the Parallels Tools installation to start. Enter macOS (VM) password when prompted.
- Wait for the Parallels Tools installation to complete.
- Restart macOS VM.
Limitations
To run a macOS VM on Mac computers with Apple silicon, Parallels Desktop uses new technology introduced in macOS Monterey, that's why it is not possible to run earlier versions of macOS on a Mac with Apple silicon.
Most productivity and integration features are not available to this VM yet. It's not possible to change virtual machine hardware parameters (Device UUID and Serial number), camera sharing is also missing in macOS VM running on a Mac with Apple Silicon so far.
To learn more about all limitations of macOS virtual machines on Mac computers with Apple Silicon, please visit KB 128867. If you want to adjust some macOS VM settings, visit KB 128842.
Note: on Mac computers with Intel processors, macOS VM is featured with a full list of enhanced integration similar to what other Intel-based macOS virtual machines have.
Was this article helpful?
Tell us how we can improve it.