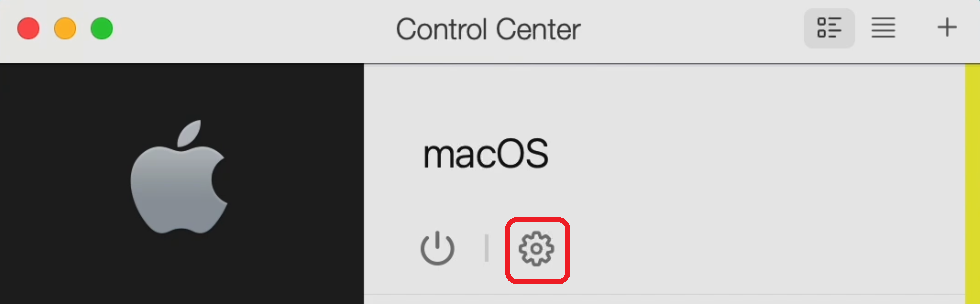
Starting with Parallels Desktop 19.3 if you are running a macOS virtual machine on a Mac with Apple silicon, you can use configuration interface to configure the virtual machine. While you may notice a lack of a cogwheel configuration icon in the machine window:

That is due to the fact, that for now, the cogwheel is only available in the Control Center, you can access it here:
Note: If you cannot see the option to configure your macOS virtual machine on Apple silicon in that section, and are running Parallels Desktop 19, please ensure it's updated to the latest version by clicking on the Parallels Desktop icon > Check for Updates. For earlier versions, please check the relevant article.
Configuring macOS virtual machine using the configuration menu.
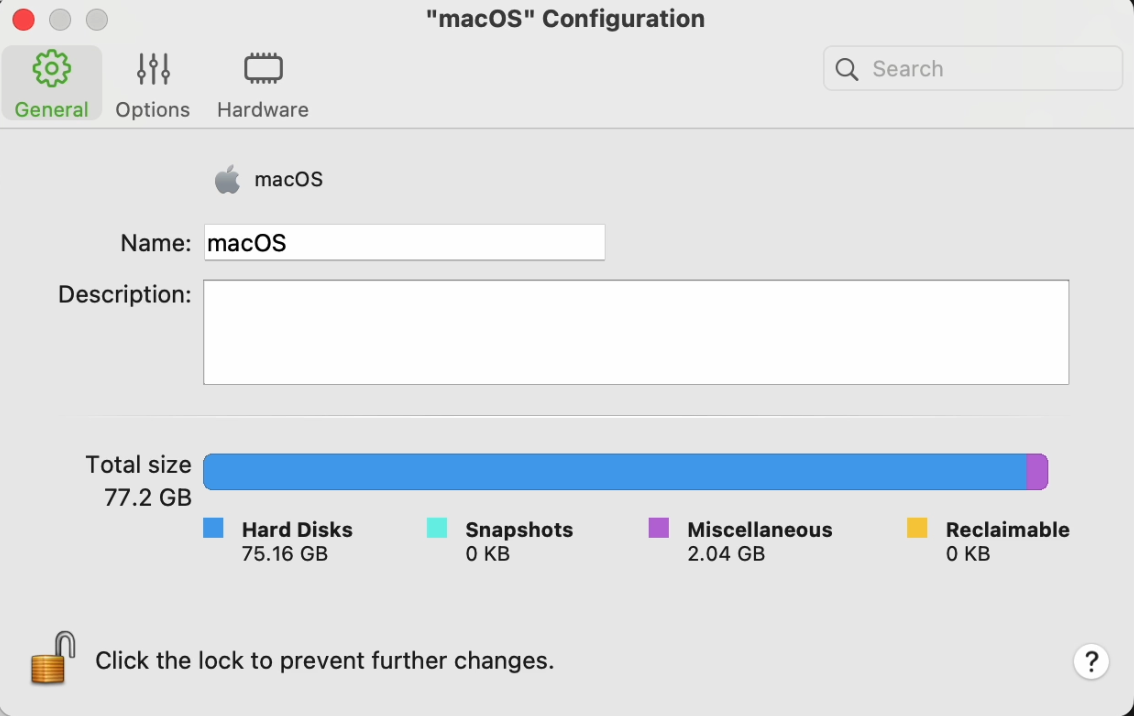
1. General Tab. Here you can modify the virtual machine's name and description.
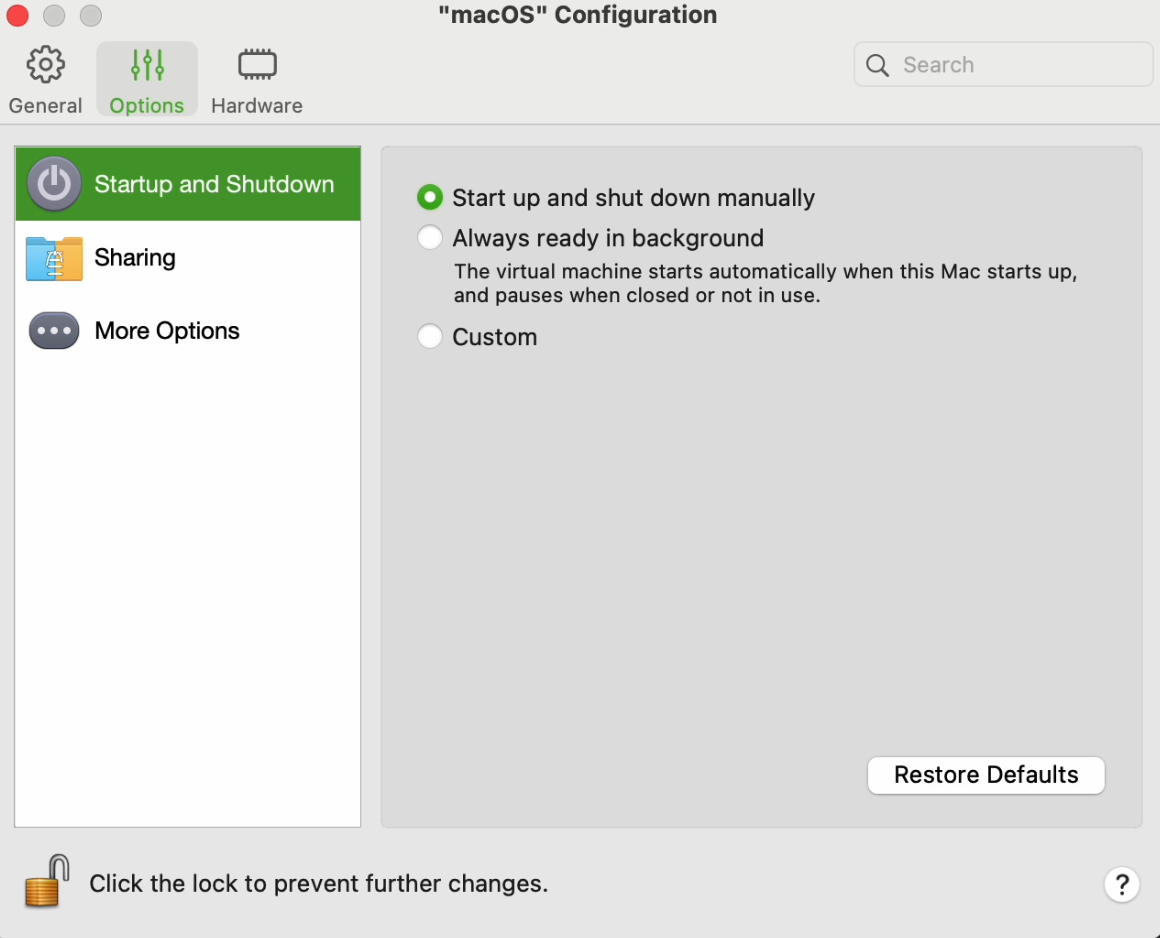
2. Options Tab. Contains settings of virtual machine behaviour, such as Startup and shutdown, Shared Folder settings, and Parallels Tools automatic update availability.
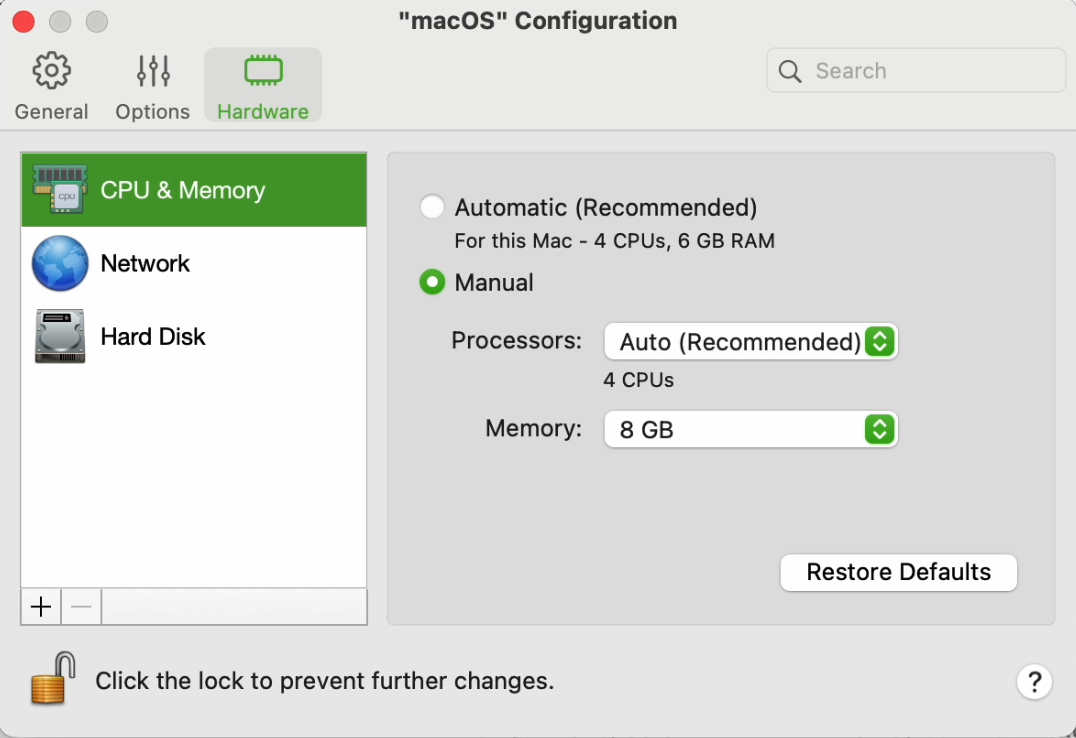
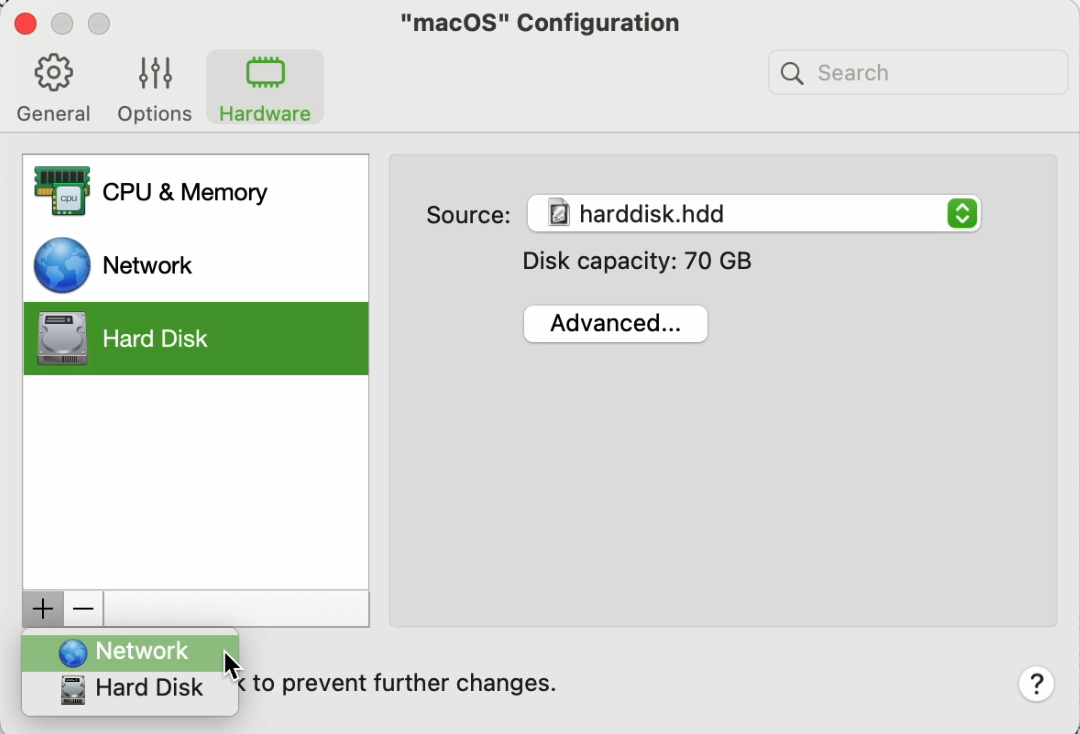
3. Hardware Tab. In the Hardware tab you can change the allocation of CPU and RAM to the virtual machine, control network adapter mode, its MAC address, and the size of your virtual machine hard disk.
Note: When resizing primary macOS virtual hard drive, please take into account that at present time, while the virtual hard drive will be resized, accessing added space is not directly possible, due to Apple Recovery Partition restricting disk resizing. For details please see the following section.
Additionally, you can also add network adapters and hard disks via the interface:
Command line options that were used previously, are still an option to control virtual machine settings as well.
Configuring macOS virtual machine using the command line interface or the configuration file.
Note: only Parallels Desktop Pro and Business editions support the prlctl command-line utility.
For a macOS virtual machine running on a Mac computer with an Apple silicon, the following settings can be adjusted:
- number of CPU cores allocated to the virtual machine;
- amount of RAM allocated to the virtual machine;
- network mode (Shared/Bridged) and the MAC address of the network adapter;
- adding additional disk drives;
And more. For reference, the Parallels Command Line manual can be used, however, the manual refers to general virtual machine control, and macOS virtual machines may have additional limitations due to the virtualization framework. Below, we are reviewing the most common configuration options, covering the majority of situations.
Note: macOS Arm VM's disk size is 60 GB by default. It can be set to a different value during the manual installation process in Parallels Desktop 18 and above, it also can be resized in Parallels Desktop 19 using the configuration interface or command line options.
Display resolution
In Parallels Desktop 19 on macOS Sonoma, dynamic display resolution is enabled by default for the VMs with macOS 14 and newer versions and all new VMs. The virtual machine will adjust its resolution according to the window size and physical display resolution. Currently, there is no option to control this.
Memory
To adjust the amount of RAM allocated to the virtual machine, open Terminal and execute the following command:
prlctl set <vm_name> --memsize <megabytes>
A command to allocate 4GB of memory to a virtual machine called "macOS 13" would look like this:
prlctl set "macOS 13" --memsize 4096
CPU
Similarly to memory, a command to set the number of CPUs looks like this:
prlctl set <vm_name> --cpus <number>
e.g.:
prlctl set "macOS 13" --cpus 4
Network
List network adapters
prlctl list "<vm_name>" -i | Grep -E 'net[0-9] \('
e.g.:
prlctl list "macOS 13" -i | Grep -E 'net[0-9] \('
The output would look like this:

Toggle Shared/Bridged network mode
prlctl set "<vm_name>" --device-set <network_adapter_id> --type <bridged/shared>
e.g.:
prlctl set "macOS 13" --device-set net0 --type bridged
Change MAC address
prlctl set "<vm_name>" --device-set <network_adapter_id> --mac <mac_address>
e.g.:
prlctl set "macOS 13" --device-set net0 --mac 123456789ABC
Add Network Adapter
prlctl set "<vm_name>" --device-add net --type <bridged/shared> --mac <mac_address>
e.g.:
prlctl set "macOS 13" --device-add net --type bridged --mac 123456789ABC
Sample output:

Sound Devices
By default, a sound device is already present and active in the virtual machine, and adding additional ones is not supported. However, for some specific cases it might be required to remove or re-add the sound device. It can be done by using the following command in Terminal:
prlctl set "<vm_name>" --device-add sound
e.g.:
prlctl set "macOS" --device-add sound
To remove the device, the following can be used:
prlctl set "macOS" --device-del sound0
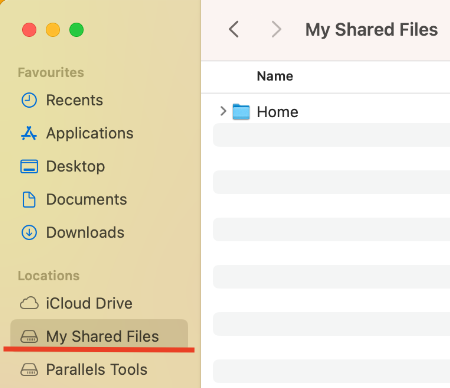
Disable sharing the host machine's home folder with VMs
By default, the host machine's home folder is shared with guest machines and it can be found on your guest macOS VM in Locations > My Shared Files.
To disable it, use the following command:
prlctl set "<vm name>" --shf-host-defined off
Share Mac files with the virtual machine (macOS 12 and older)
If you're running a macOS version 12 and older, we suggest sharing files between the virtual machine and the Mac using the native macOS file-sharing feature as you would between two physical Mac computers.
Resizing the hard drives
In addition to using the configuration interface, you can also change the virtual hard drive size using the command line.
Important: At present time, making use of additional space gained by resizing the hdd0 on which macOS is initially installed in the virtual machine(e.g. macOS System Disk), is limited by the Apple Recovery Partition, its presence at the end of the disk restricts Disk Utility from resizing the partition to accommodate for the hdd size change. This does not apply to additional disks, they will be resized in the Disk Utility as intended, granting access to additional space. If you wish to have initial disk size be more than default size, please refer to the manual installation section.
To resize the disk, open Terminal and execute the command below:
prlctl set macOS --device-set hdd0 --no-fs-resize --size 75000
Note: hdd0 parameter points to your hdd. The initially created hdd is always hdd0, and if you have added more hard drives to your machine, they will be numbered as hdd1, hdd2 etc.
--size parameter is in megabytes, so in this example an initially created disk will be changed to 75GB, adjust as required.
Add a secondary virtual hard drive
You can add more virtual hard drives to the macOS virtual machines, by using the command line interface. There are several notes and considerations, however:
1. Only plain disk types are supported for macOS virtual machines. It will take up as much space as the virtual disk is set to, unlike expanding disks.
2. You can add up to 4 drives to the virtual machine, after which the command will no longer add more disks. It is one of the framework current limitations.
3. As it utilizes a command line, it is available only for Parallels Desktop Pro and Business editions.
To add a hard drive to your virtual machine:
Open Terminal and execute the command below:
prlctl set "<vm_name>" --device-add hdd --type plain --size 75000
e.g.:
prlctl set "macOS13" --device-add hdd --type plain --size 75000
Note: --size parameter is in megabytes, so in this example a disk for 75GB will be created, adjust as required.
Change the name of the virtual machine
To change the name of your macOS virtual machine, open Terminal and execute the command below:
prlctl set "macOS 13" --name "macOS 13 New Name"
where "macOS 13" is the current name of your virtual machine.
Was this article helpful?
Tell us how we can improve it.