Upload Windows OS and Fedora Windows VirtIO drivers images to Nutanix CE cluster
- Login to Nutanix Web Console.
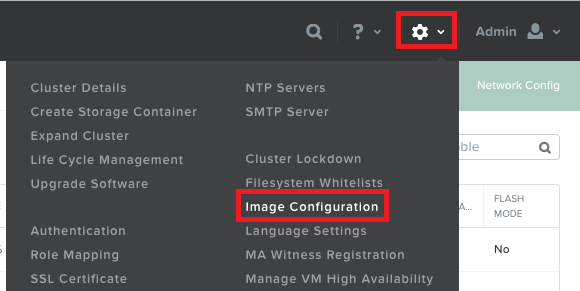
On the top right hand side of the screen click on "gear" icon > Image Configuration:
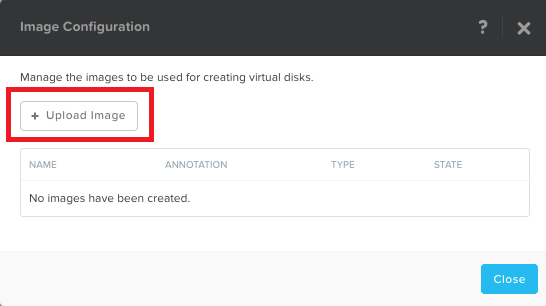
In the Image Configuration dialog click on Upload Image button:
Specify the parameters:
- Name: Name your Image file (this does not have to exactly match the ISO filename)
- Image Type: Select ISO
- Storage Container: Specify where you want to store the ISO
- Image Source: Either provide a direct link to the .iso or upload it
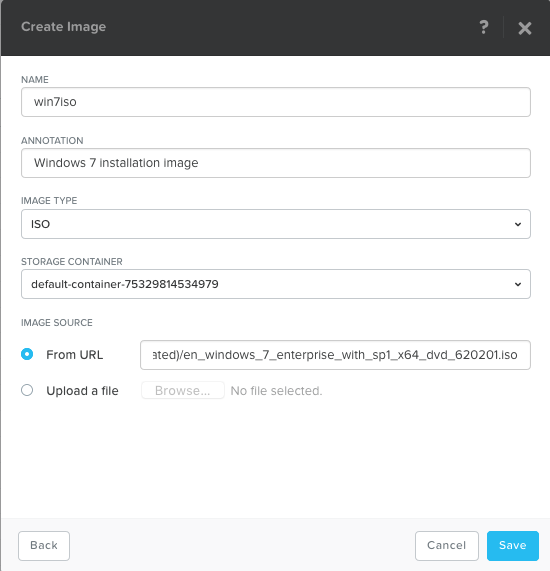
Click on Save and the upload process will start with a progress window.
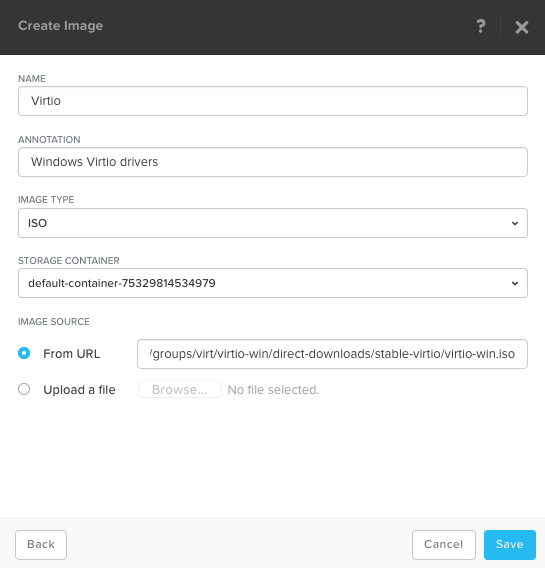
Repeat steps 2-4 to upload image with Windows VirtIO drivers. Stable virtio-win iso can be found here: Windows VirtIO Drivers:
Create Windows Virtual Machine
On the top left hand side of the screen click on Home > VM:
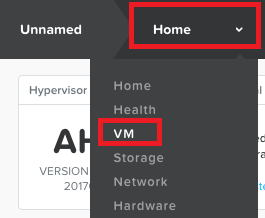
On the top right hand side of the screen click on Create VM:

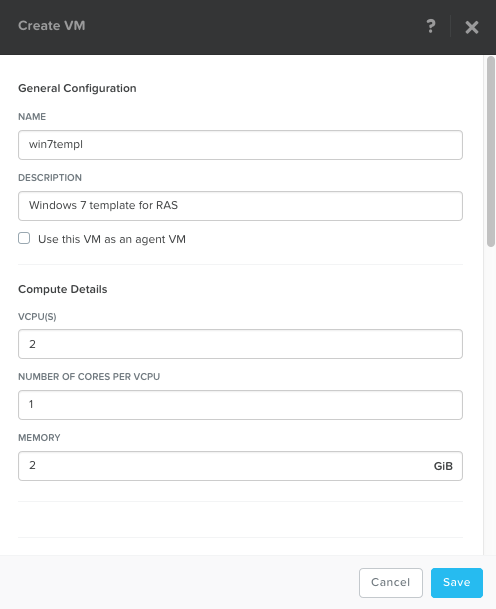
Specify the parameters according to your needs:
- Name
- VCPU(s)
- Number of Cores per vcpu
Memory
In the Disks pane click on Remove button to delete default CD-ROM disk settings:

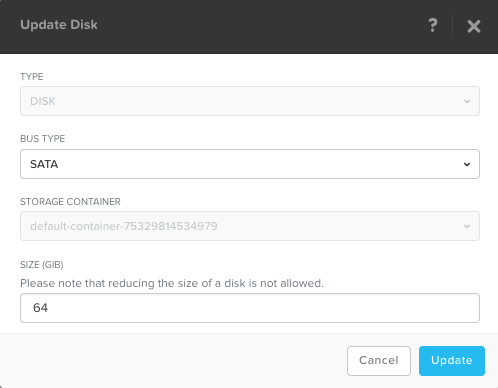
In the Disks pane click on Add New Disk button to add virtual hard disk:
- Type - DISK
- Operation - Allocate on Storage Container
- Bus Type - IDE/SATA
- Size - Required virtual hard disk size
- Click on Add button
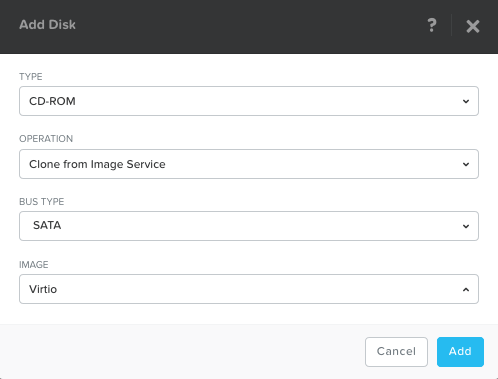
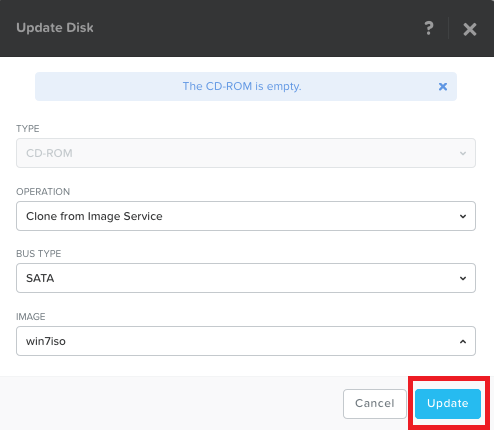
In the Disks pane click on Add New Disk button to add CD-ROM disk with Windows installation image:
In the Disks pane click on Add New Disk button to add CD-ROM disk with Windows VirtIO Drivers:
In the Network Adapters (NIC) pane specify NIC or click on Add New NIC button if it is not yet added:

Click on Add Network button in the Create NIC dialog:

Click on Create Network in Network Configuration dialog:
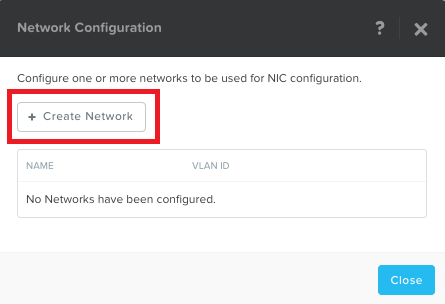
Specify VLAN ID - 0 for default bridged network and click on Save button:

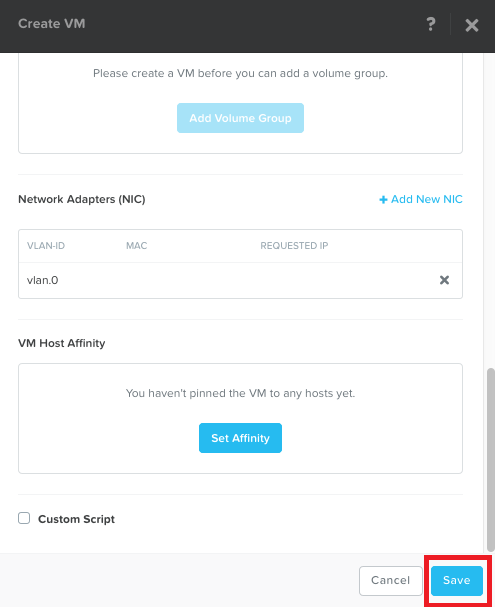
Add NIC and Save VM
On the top left hand side of the screen click on Table, then on Power On, then on Launch Console to install Windows VM:

- Configure Windows template.
- Shutdown Windows template VM.
- In the Nutanix Web Console on the top left hand side of the screen click on VM > Table, select template and click on Update button located next to Power on and delete configured CD-ROM disks.
Was this article helpful?
Tell us how we can improve it.