Compatibility of Intel-based virtual machines with Apple silicon Macs
An Intel-based virtual machine (VM) cannot be started on a Mac with Apple silicon chip due to the difference in architecture. The same applies to a VM created on a Mac with Apple silicon chip that cannot be started on a Mac with an Intel processor.
What are my options?
Our recommended approach is to create a new Windows 11 on Arm virtual machine and benefit from the power of Arm architecture. If you have some important data to transfer from your Intel-based virtual machine, please follow the steps to migrate the data outlined below.
For technology enthusiasts
If you absolutely have to run your Intel-based virtual machine for some specific tasks, starting Parallels Desktop 20.2.0, you can launch it using the Parallels Desktop Emulator if you have a Parallels Desktop Pro, Business or Enterprise Edition license. Please note that this is an early technology preview of the functionality, and it has some limitations. More details can be found in this article.
Transfer data from an Intel-based VM to an ARM-based VM
For Windows x86 VM
1. Click the Parallels icon on the top menu bar > Control Center.
2. Right-click the virtual machine > select Show Hard Disk Contents...

3. A new Finder window will be opened with contents stored on the virtual hard drive:
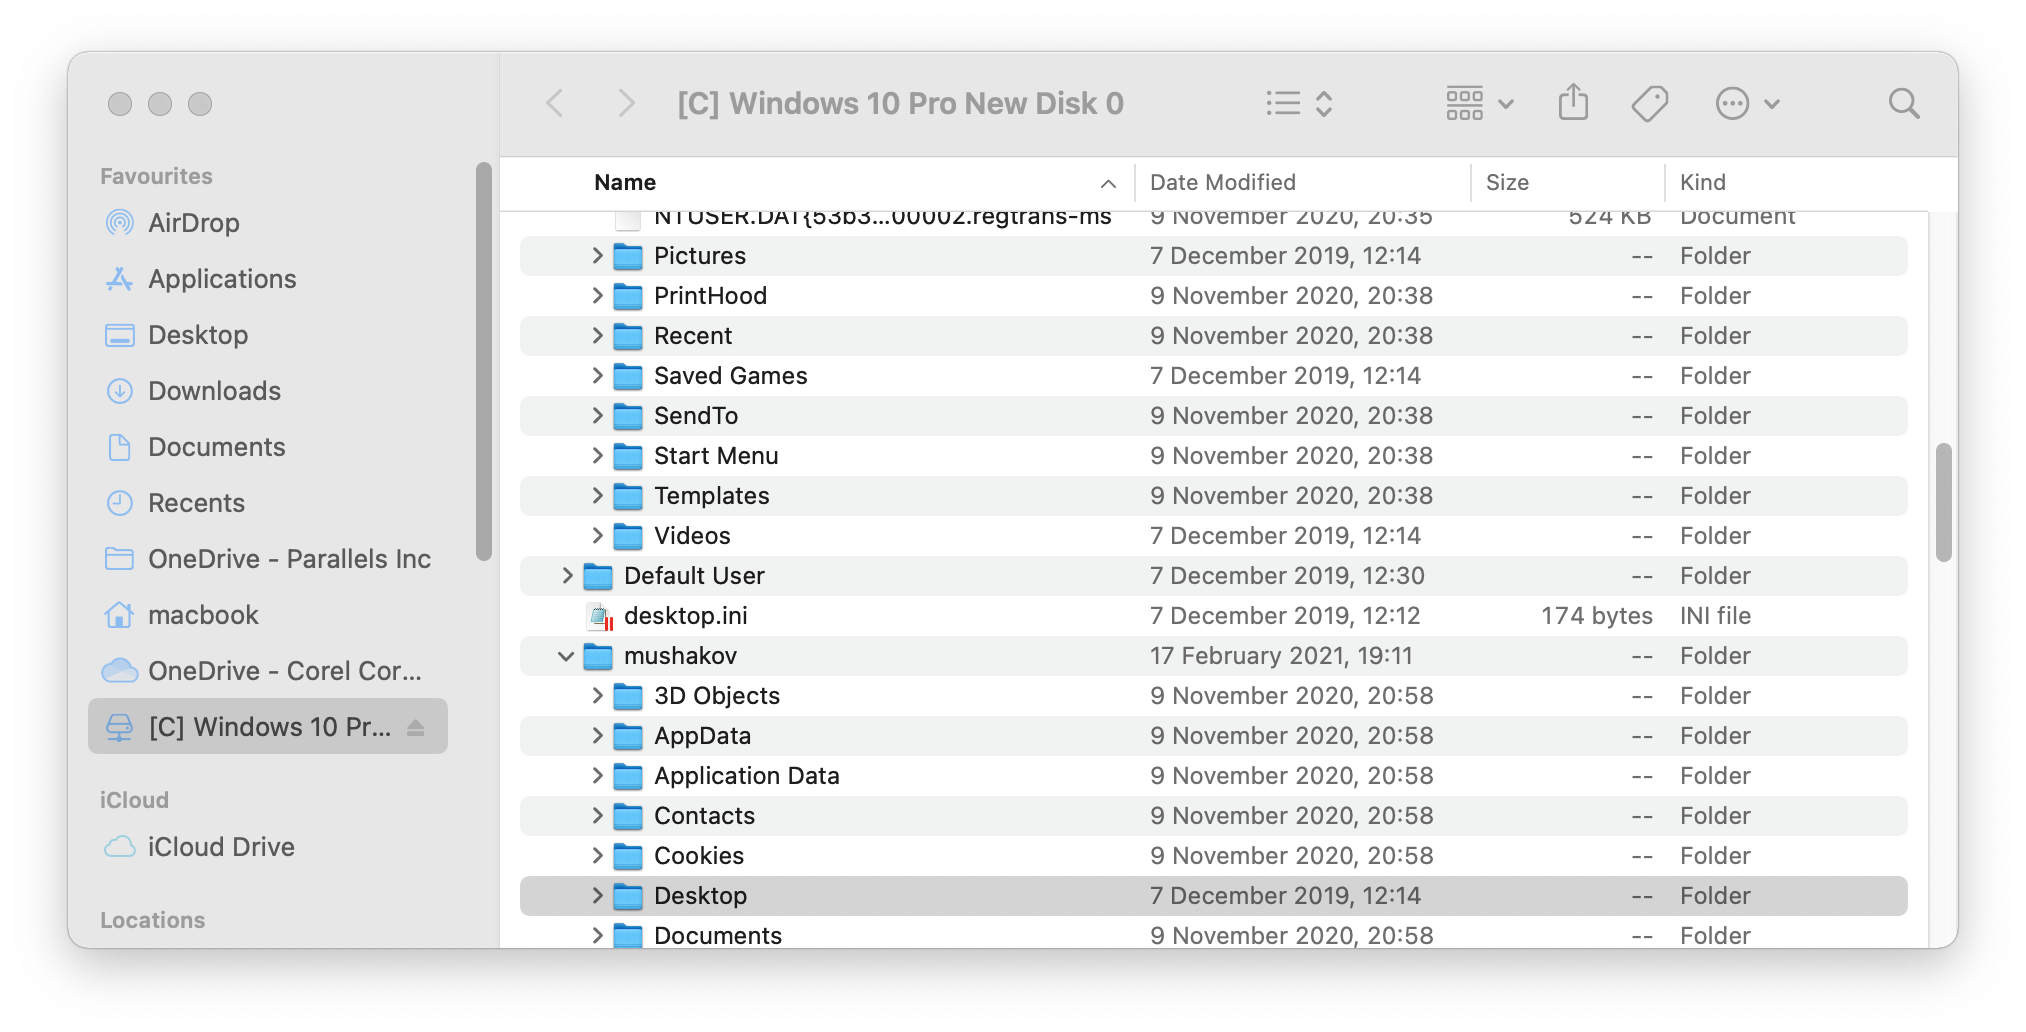
4. Select the required disk where your data is stored.
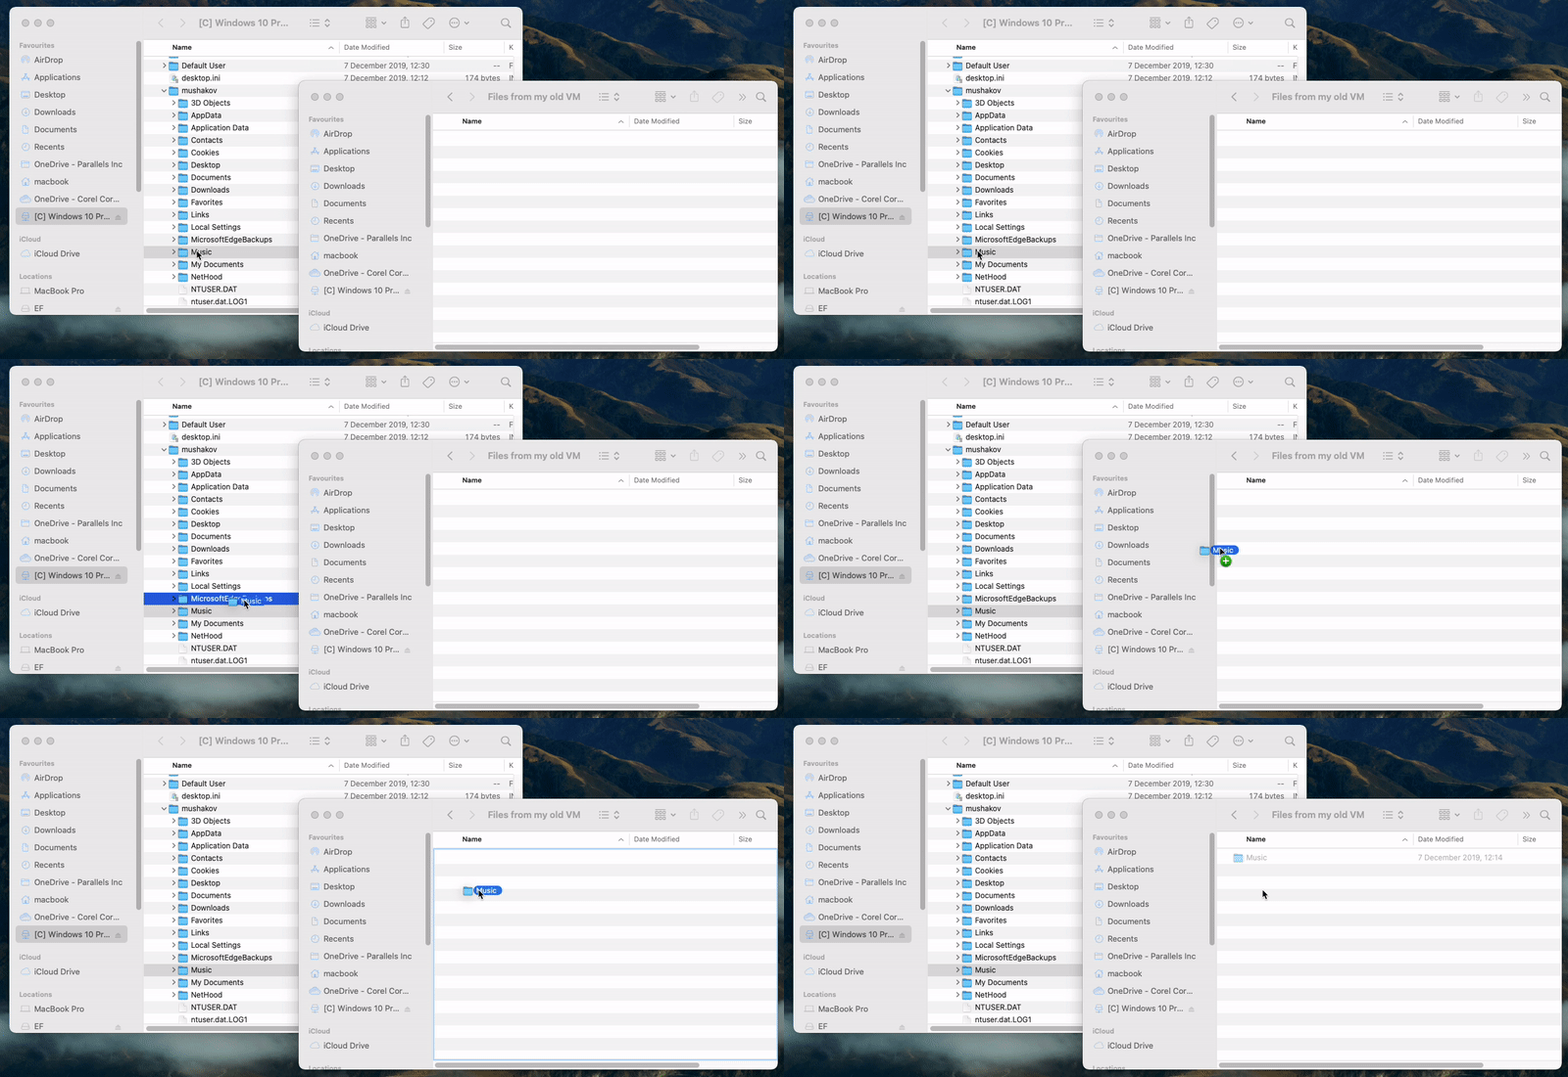
5. Copy the data and paste it to a folder on a Mac (you can share it with the ARM-based virtual machine later) or to an external drive:
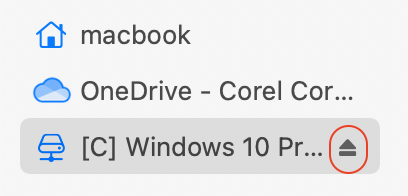
6. Once you finish copying the data, eject the disks from Finder:
For Linux x86 VM
1. Create a new Linux virtual machine or download one from the list of free systems in Parallels Desktop wizard.
2. Once a virtual machine is created, shut it down (Actions > Shut Down) and open its configuration > Hardware.
3. Click + button on the bottom and select Hard disk:
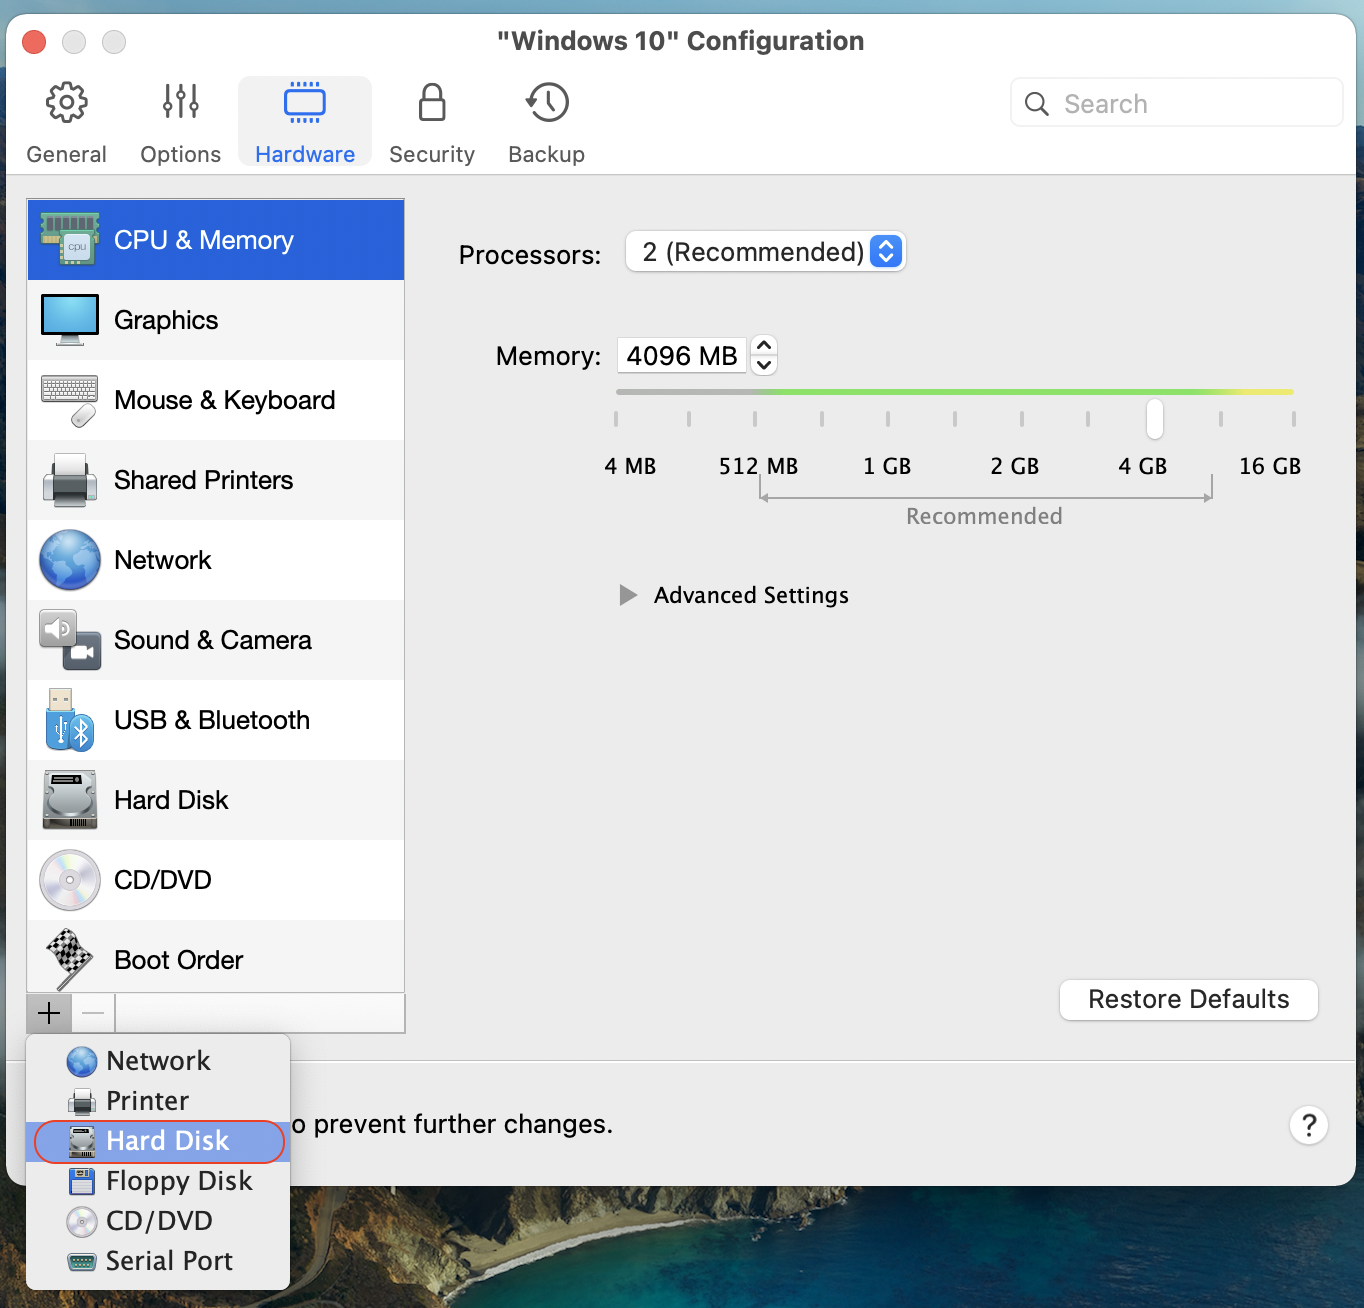
4. Select Existing image file as a type and add a path to the hard drive of the x86 virtual machine. As a result, the hard drive of the old virtual machine will be added to the new virtual machine as a second one.
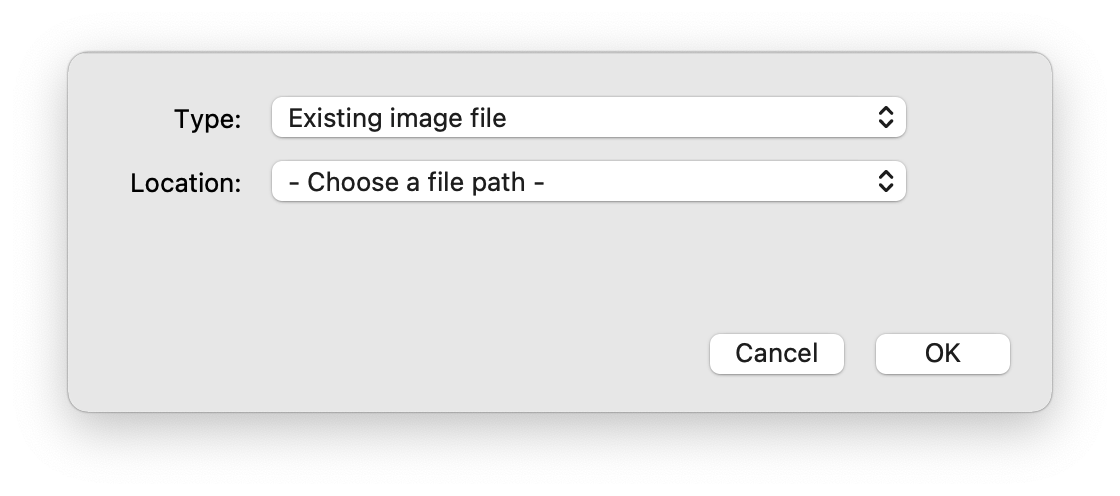
5. Start the virtual machine and copy the required data from the attached hard disk of the old x86 virtual machine.
6. Once you finish copying the data, shut down the virtual machine, open the virtual machine configuration, select Hard Disk 2 and click the - button to remove the old hard disk.
For macOS x86 VM
Unfortunately, it's not possible to copy the data from a macOS x86 virtual machine on Mac with Apple silicon chip. However, you can open your macOS x86 virtual machine on an Intel-based Mac to get access to the data stored inside the VM.
Transfer data from an ARM-based VM to an Intel-based VM
To transfer the data from a virtual machine created on a Mac with Apple silicon chip to a virtual machine running on a Mac with an Intel processor, perform the following steps:
1. Start the ARM-based virtual machine on your Mac with Apple Apple silicon chip.
2. Copy the data from the virtual machine to an external storage driver or upload it to cloud storage.
3. Start an existing Intel-based virtual machine on your Mac with an Intel processor. If you don't have such a VM, create a new one as per KB 4729.
4. Paste the copied data to the new virtual machine.
Was this article helpful?
Tell us how we can improve it.