On October 5 2022 Microsoft officially released Windows 11. This article provides detailed instructions on how to create a Windows 11 virtual machine on a Mac with an Intel processor. To learn more on how to install a new Windows 11 virtual machine on Mac computers with Apple silicon please refer to KB 125375.
Install Windows 11 automatically
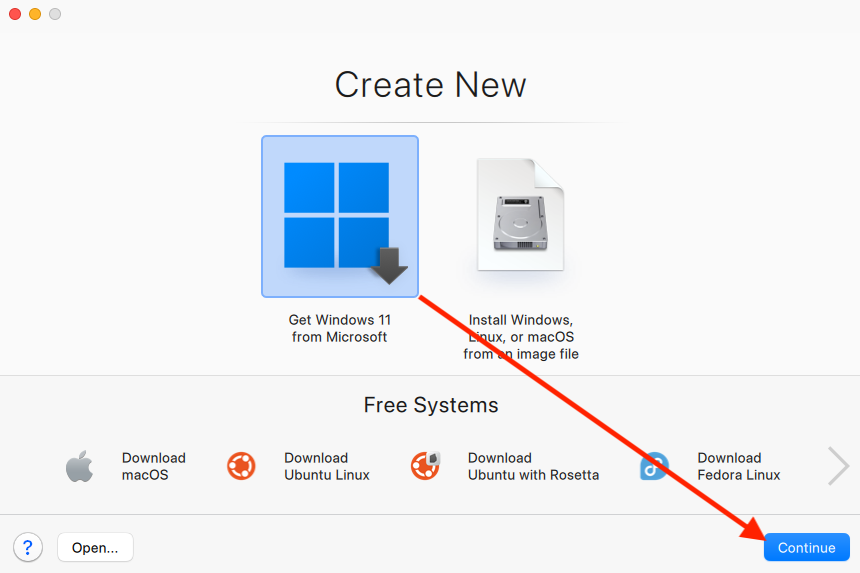
Starting with Parallels Desktop 18, you can create a Windows 11 virtual machine automatically just with a few clicks.
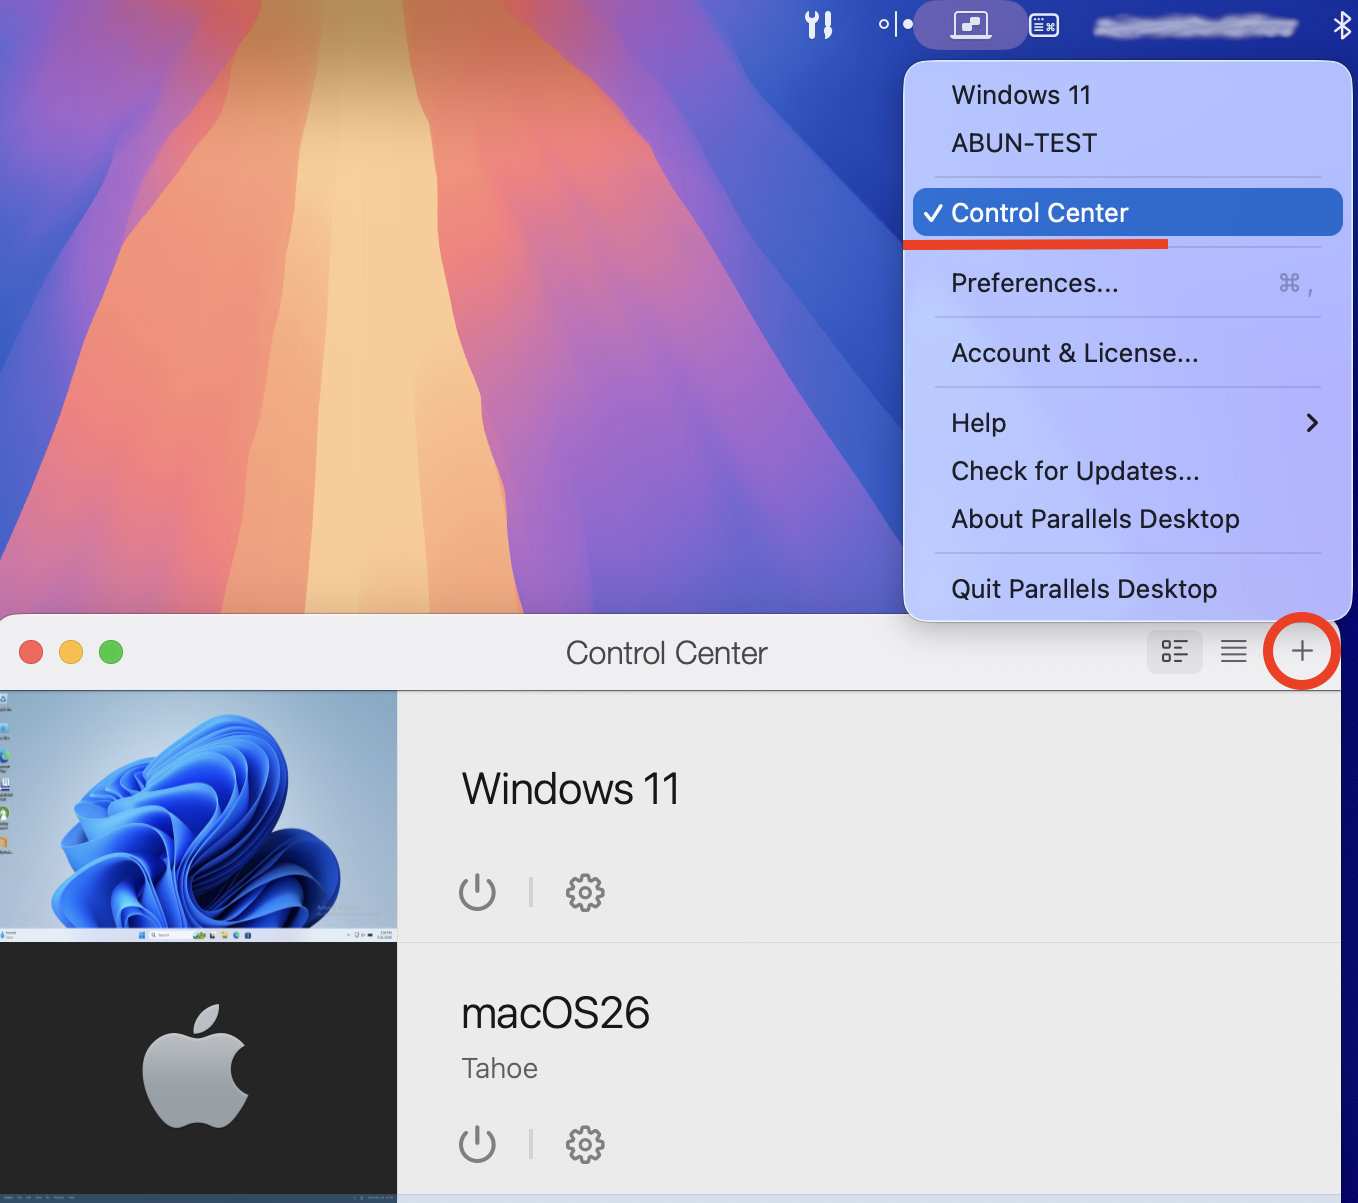
To install Windows 11, run Parallels Desktop, then click on the Parallels icon in the Mac menu bar > Control Center > + > Get Windows 11 from Microsoft > Continue > Install Windows.
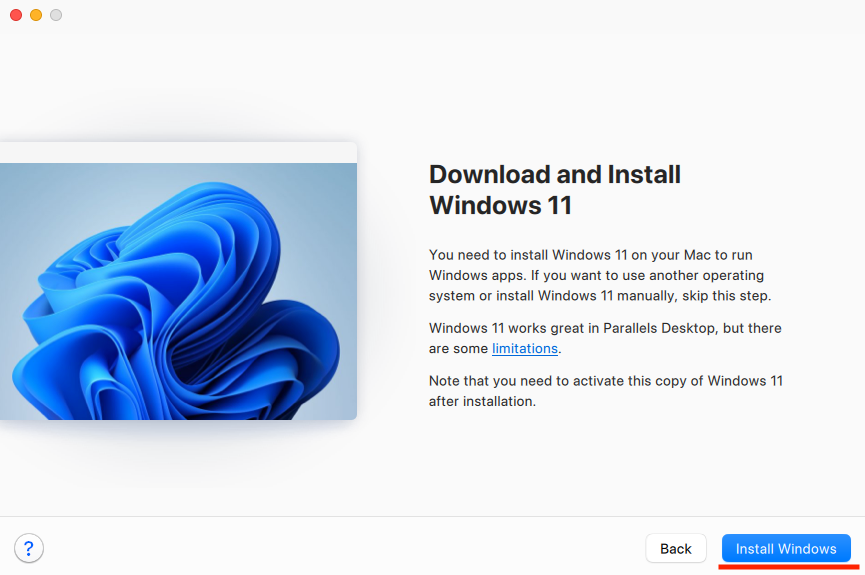
Windows will be downloaded and installed automatically. Once the installation process is over, you'll get the Installation Complete prompt.
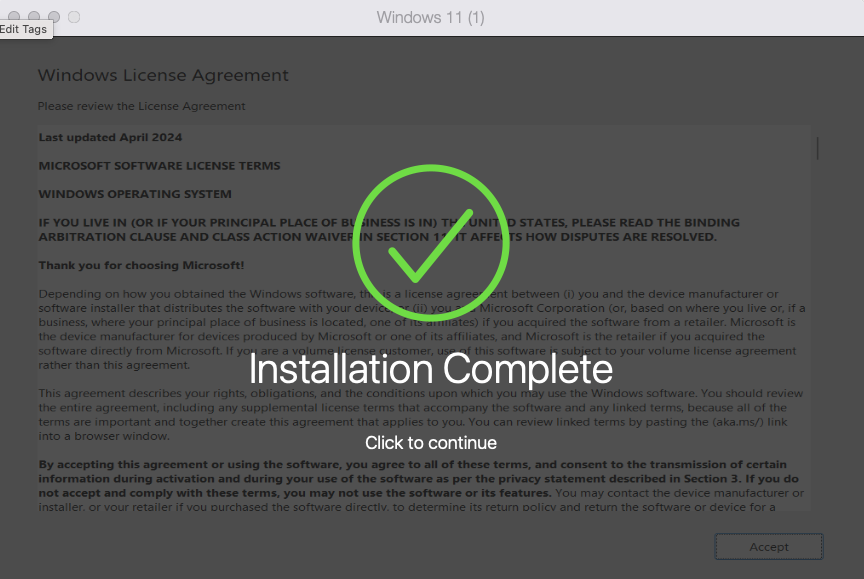
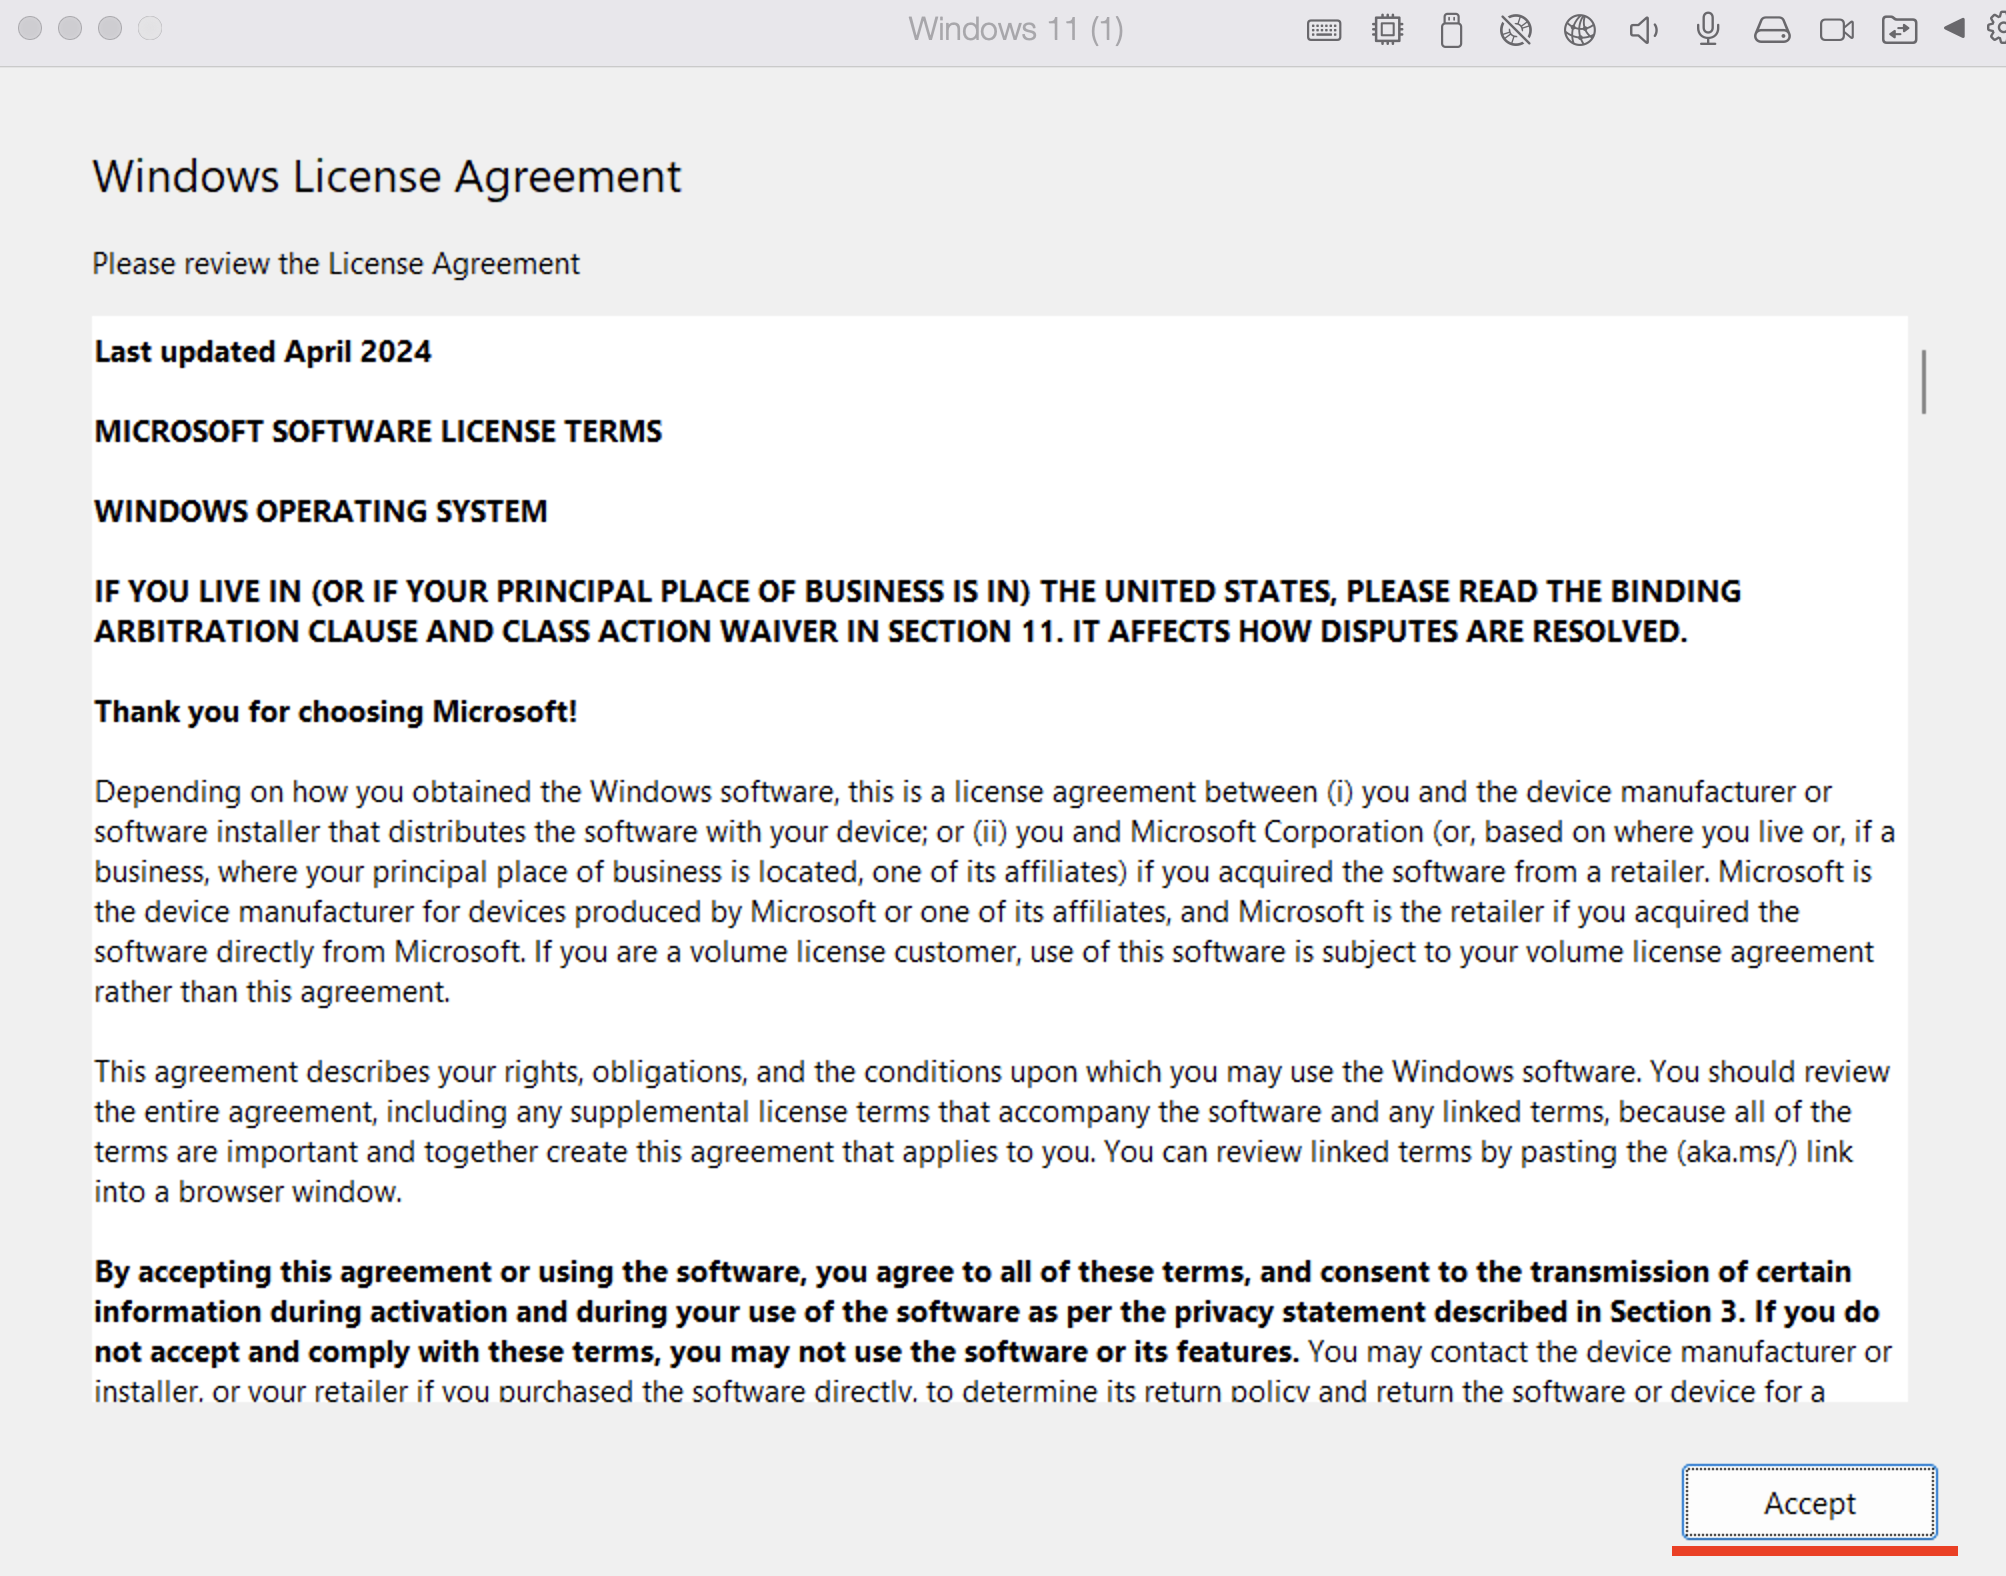
Upon clicking it, you'll be presented with the Microsoft EULA. Click Accept to complete the process.
Install Windows 11 or other Windows manually
Note: Starting with Parallels Desktop 17.1.0, a virtual TPM chip is added automatically to new Windows 11 virtual machines.
1. To install a new Windows 11 virtual machine, you need to download an official installation image first
Note: If you haven't installed Parallels Desktop yet, download and try it for free.
2. Once the image is downloaded:
- Click [+] "plus" button in Parallels Desktop Control Center to start a new virtual machine installation

- Select Install Windows or another OS from a DVD or image -> Continue
- Navigate to Windows 11 installation .iso image if it was not recognized automatically
- Follow Installation Assistant instructions until the installation is complete.

You can also choose to use a different version of the Windows operating system, and can follow the same steps but acquire a different installation image for step 1:
To get the installation image for Windows 10, visit the page to Download Windows 10 from Microsoft.
However, it's important to note, that due to Microsoft having stopped the support for some of the systems, Parallels Tools updates may not be available for certain systems, for more details please see Legacy Windows Support article.
Please note that customers who install guest operating systems in Parallels Desktop virtual machines are responsible for making sure that they are compliant with each OS's end-user licensing agreement (EULA).
Was this article helpful?
Tell us how we can improve it.