This article is a step by step guide to configure SSO Authentication using the Security Assertion Markup Language (SAML) authentication mechanism. SAML is an XML-based authentication mechanism that provides single sign-on (SSO) capability between different organizations by allowing the user authentication without sharing the local identity database. As part of the SAML SSO process, the new Parallels RAS Enrollment Server communicates with Microsoft Certificate Authority (CA) to request, enroll and manage digital certificates on behalf of the user to complete authentication without requiring the users to put in their Active Directory credentials.
Service providers and Enterprises with multiple subsidiaries (acquisitions) don’t have to maintain your own internal Identity Management solutions or complex domains or forest trusts. Integrating with 3rd party Identity Providers allow customers' and partners' end users a true SSO experience.
As an example, we will review the process of configuring Ping as Identity Provider.
Prerequisites:
- Local Active Directory:
- A local AD user account for use as enrollment agent (CA terminology).
- A local AD limited user account for NLA authentication.
- Microsoft Certification Authority (CA) in Enterprise mode (example in more details at Microsoft TechNet look after standalone root CA):
- Enrollment Agent Certificate Template
- Smartcard Logon Certificate Template
- Third-party Identity Provider (Azure, Safenet, Gemalto, Okta etc):
- This is where the user accounts should reside and synchronized into the third-party SAML identity provider.
- The local AD is typically synchronized to the third-party provider using an Active Directory Connector. Please consult with the provider on how to properly synchronize users.
- Domain Controllers must have Domain Controller certificates. The certificates on the Domain Controllers must support smart card authentication. Certificates created using the Microsoft CA certificate template named Domain Controller Authentication supports smart cards. Manually created Domain Controller certificates might not work.
- Since SAML is a web-based authentication, it requires a browser (used to log in to HTML5 portal and get application listing). Native Parallels Client for Windows is used to launch RDP sessions.
- For security reasons, ES must be a separate server and must not be installed on a Publishing Agent server. ES should be installed on a secure, standalone server that does not have any other components and roles installed.
Setting up Windows Server side to comply RAS SAML pre-requisites
Per prerequisites above, configure Microsoft Certification Authority, Certificate templates and add required user accounts. Detailed instructions available here: https://kb.parallels.com/124813
Adding RAS Enrollment Server Agent
Install RAS Enrollment Server Agent either manually or from RAS Console:
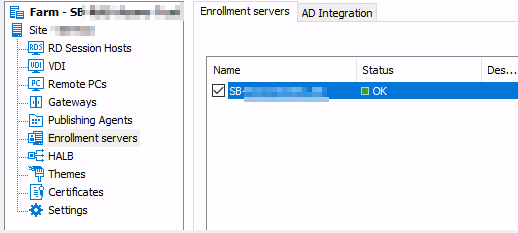
- In RAS Console → Enrollment Servers → click “+” icon to add a new agent.
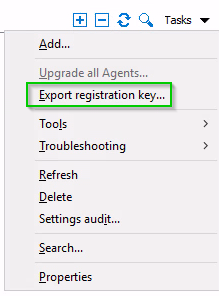
- In case of manual ES setup (RASInstaller.msi → Custom) it is necessary to put the ES host registration key to folder %installation_path%\Parallels\ApplicationServer\x64. To export the registration key, open the RAS Console → Enrollment Servers → Tasks → Export registration key → registration.crt (remote pushing does this automatically).
In RAS Console → Enrollment Servers → AD Integration tab specify the CA and user accounts for Enrollment agent and NLA user you configured and apply the changes
Final checks
Make sure, Enrollment Agent server status is OK.
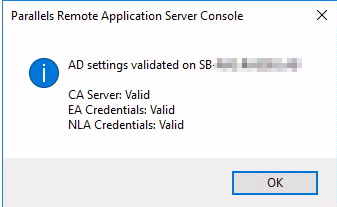
Switch to AD Integration tab and click on Validate AD Integration settings, make sure that all checks are passed
Adding Identity Provider to Parallels RAS
1. Open Parallels RAS Console → Connection → SAML tab → click Add.
2. In the opened Add Identity Provider wizard, give it a name (e.g. Ping), choose Manually enter the IdP information and click Next.
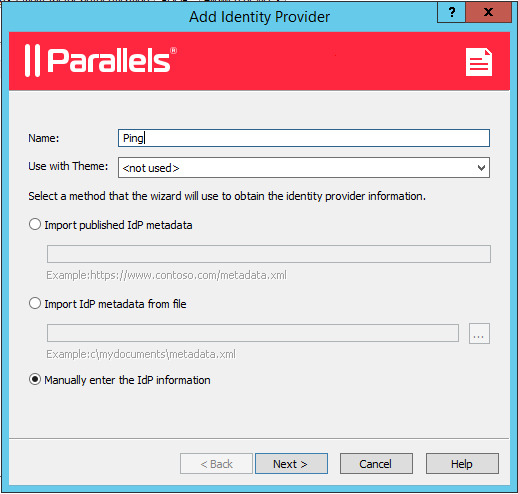
3. On the next page enter any information to satisfy the requirements to not leave the fields blank, (we will import Ping settings using metadata file later) and click Finish.
4. Apply the configuration by clicking the Apply button.
Export SP settings (metafile)
1. Open just created IdP Ping properties and switch to SP tab.
2. Specify external FQDN or public IP address in the Host field. It's the address where users will be redirected after successful authentication, so it must be accessible for them. In general, it's the public FQDN of your RAS Farm.
3. Click Export SP metadata to file and save the .xml file:

4. Now you are ready to proceed with configuring Ping.
Ping Side Configuration
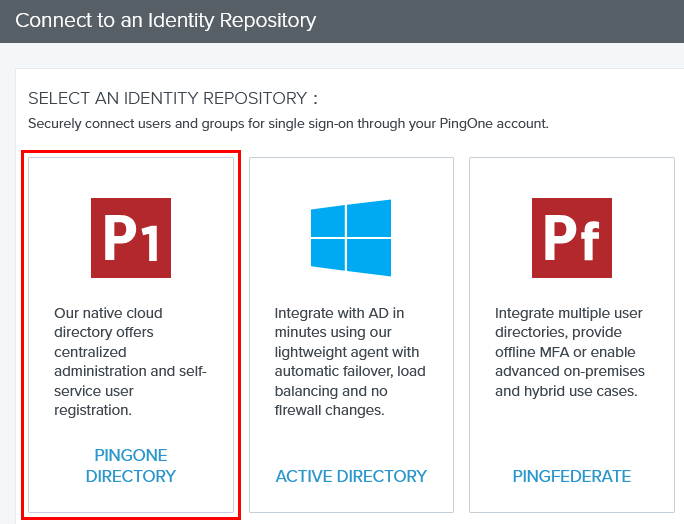
1. Login on the Ping Web Portal and proceed to Identity Repository.
2. Click on Connect to an Identity Repository and select an Identity Repository. In this article, we'll use PingOne Directory:
3. Click Next and then Finished on the next page.
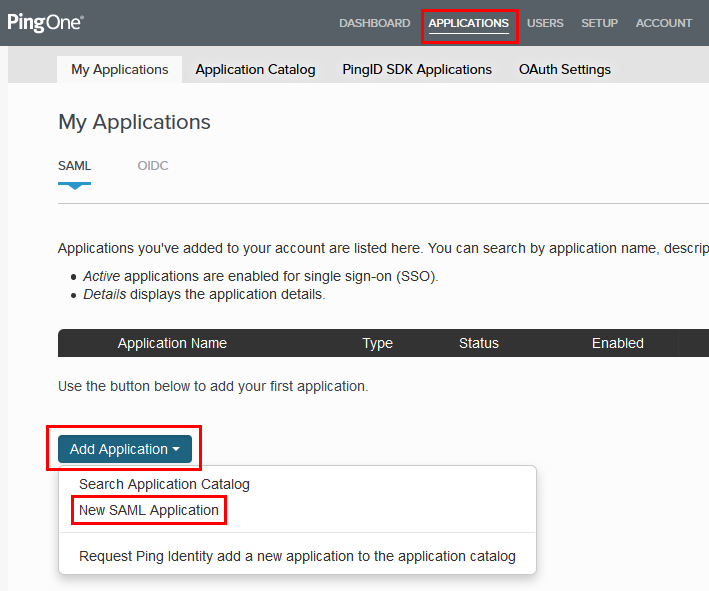
4. Proceed to Applications and click Add Application → New SAML Application:
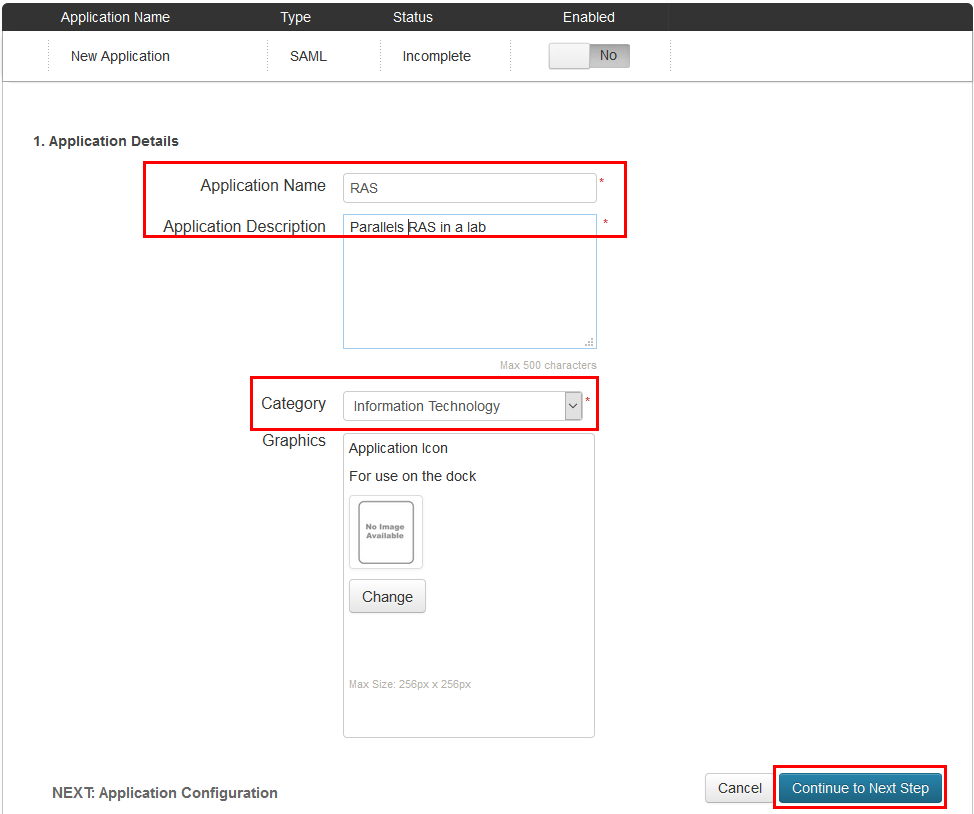
5. Give the application a name, a description, select a category and click Continue to Next Step:
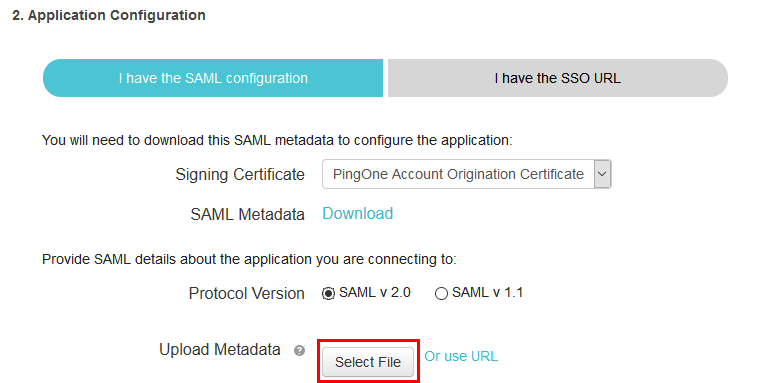
6. Click Select File and upload the .xml file with SP metadata you exported earlier to populate all the required fields automatically, and click Continue to Next Step:
7. Do not specify attributes mapping and just click Continue to Next Step:

8. Add a group that should be able to use SAML authentication, e.g. Users, and click Continue to Next Step:

9. Click Download SAML metadata and save the .xml file somewhere on the server with RAS Console installed:

Final steps in RAS configuration
1. Return to RAS Console, click Import IdP metadata and open the .xml file you saved on the previous step:
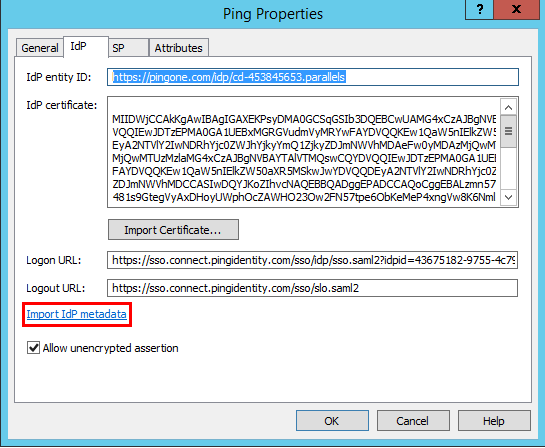
2. It will populate all the fields automatically, but you need to adjust the Logon URL and Logout URL.
Please specify the Logon URL as https://sso.connect.pingidentity.com/sso/idp/SSO.saml2?saasid=SAASID&idpid=IDPID
SAASID and IDPID can be found in the Ping SAML application properties:
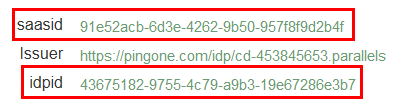
So, in this example the correct Logon URL is https://sso.connect.pingidentity.com/sso/idp/SSO.saml2?saasid=91e52acb-6d3e-4262-9b50-957f8f9d2b4f&idpid=43675182-9755-4c79-a9b3-19e67286e3b7
The Logout URL must be set as https://sso.connect.pingidentity.com/sso/initslo/ :

3. Switch to the Attributes tab and specify what attributes will be used for mapping users. For example, you may use email addresses:

4. Switch to the General tab and associate the required theme (<Default> by default) with this IdP. Click Apply to complete the configuration.
Testing
1. Login to Ping User Management and add a new user:

2. Specify the password, username (login) and email address:
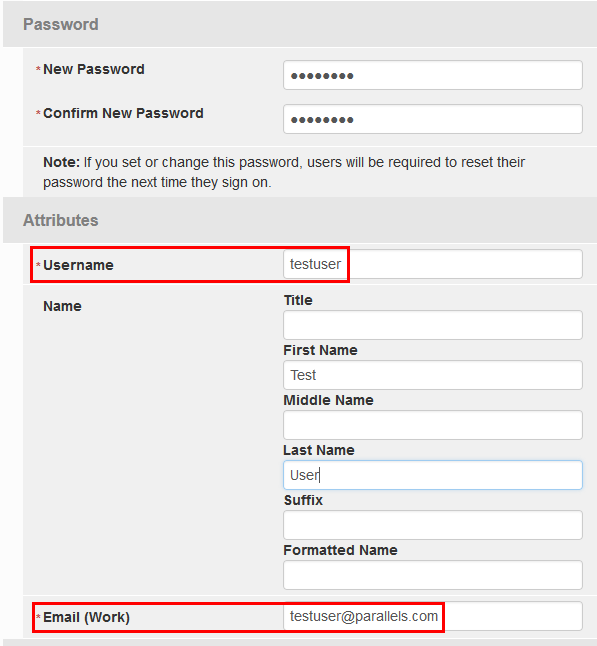
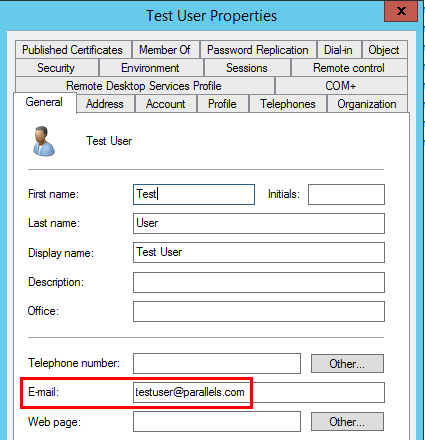
Important: as we configured email address as a matching attribute earlier, it must be set the same as for one of the existing users in your domain:
3. If necessary, add the user to one of the Ping groups you enabled earlier for having access to SAML application.
4. Open RAS HTML5 Gateway in browser. If you configured SAML to be associated with specific RAS theme, please use its URL instead of the default one.
You will be redirected to Ping Sign On page:
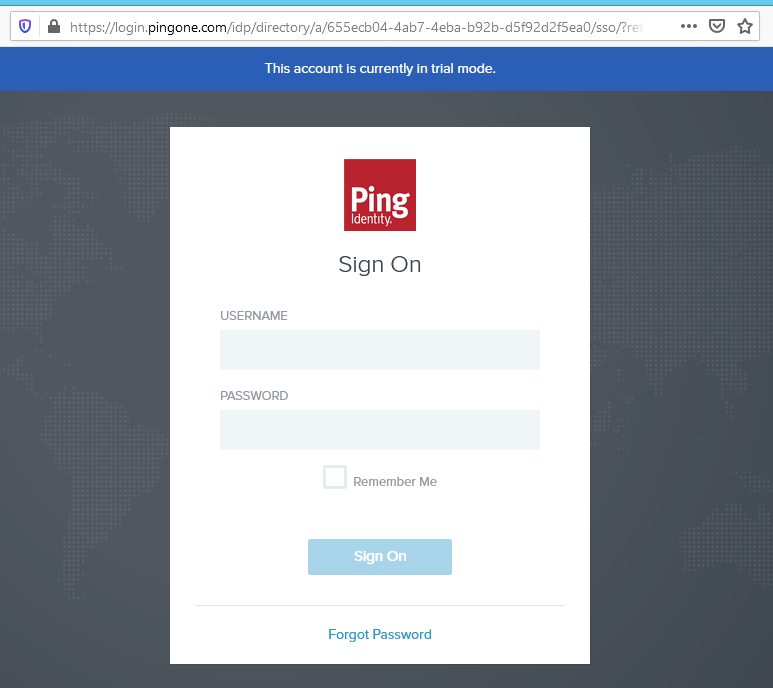
5. Enter the credentials you specified on step 2 and click Sign On:

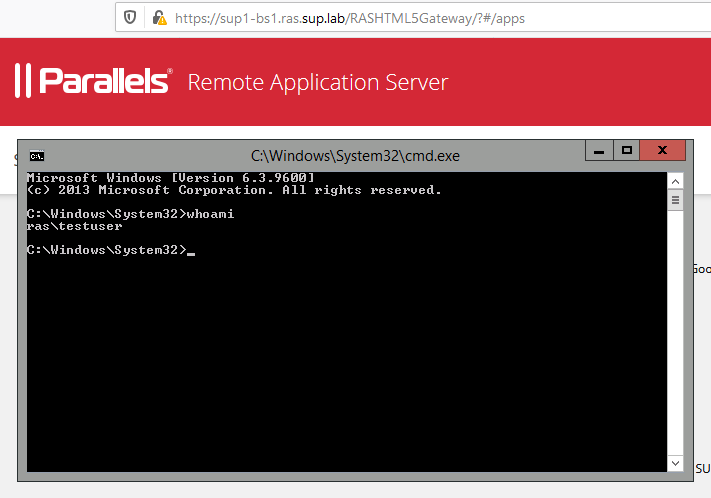
6. You will be redirected back to your HTML5 Gateway:

7. That's all. When you launch any of them, it will be started under the account of the corresponding domain user:
Was this article helpful?
Tell us how we can improve it.