Start by logging into the machine where Deepnet Unified Authentication is installed and open your internet browser. Since Deepnet is installed locally, use ‘localhost’ as the URL followed by the port number that the Deepnet server will use to communicate with your applications (ex: http://localhost:8080/).
Then log in to the Deepnet Management Console with the credentials you set during the installation.
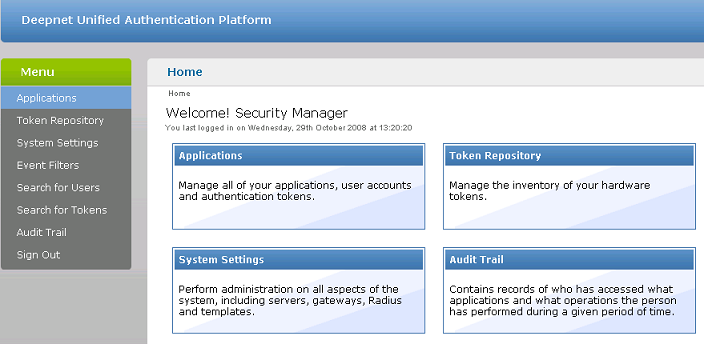
System Settings
Servers
Ensure that the Communication Server, Connection Server, and Authentication Server are properly configured. For further information please refer to the Deepnet Unified Authentication Platform Administration Guide.

The Publishing Agent communicates with the Authentication Server. For greatest security it is highly recommended that this be behind a Firewall. Make sure the Server Address and Server Port are correct.
Gateways
Email or SMS Gateways must be configured correctly so the Deepnet server can send information, such as activation codes, to users.
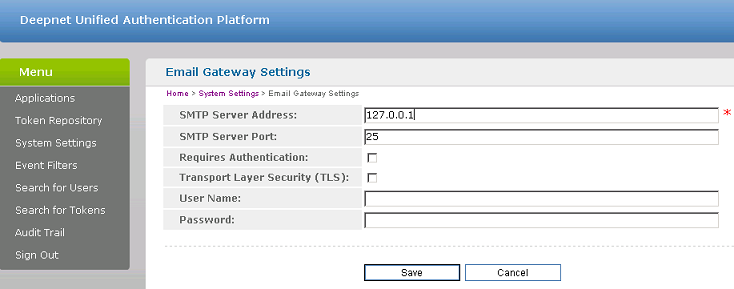
The Email Gateway and/or SMS Gateway must be configured to be able to send messages to the user. Enter the SMTP Server Address and SMTP Server Port of the server which will be used by the Deepnet Unified Authentication to send emails. Remember to enter any username or password used for the SMTP server.
Templates
Templates are used to set the structure of emails and SMS messages sent by the server.
The SMS template allows you to set the text for the Sender field, the message content, and an optional subject. Make sure that you use the preset wildcards to send unique information, such as the One-Time Password ([[OTP]])

The email template allows you to set the email address that the user can reply to. This should be set to the administrator’s email. You can also set the email’s Subject, Priority and Format. The Body contains the actual content of the email, which should include the preset wildcard for the unique information along with a message.
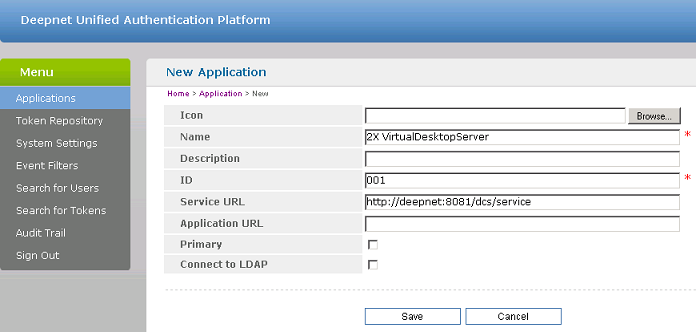
Applications
Click New to add a new application. From the new form that loads, you only need to set a Name (ex: 2X Server) and an ID (ex: 001). Then click Save.
Token Repository
If you're using hardware tokens such as SafeID, the token information must first be imported using the XML file provided. Click on Import and browse for the XML file provided. After the XML file has been imported each hardware token must be assigned to a user.
Related articles:
Configuring Deepnet: configure Parallels server
Was this article helpful?
Tell us how we can improve it.