
This article will help you to install a macOS virtual machine with Parallels Desktop on an Intel Mac.
Note: As long as the Mac computer supports these operating systems as host OS (as specified in KB 124223), users will also be able to install and run them as guest virtual machines.
Step 1. Download the macOS installation application
Note: If your Mac is already running, for example, macOS Big Sur, skip to installing macOS virtual machine from a recovery partition.
To start downloading the guest macOS installation .app, click on this link, click on the macOS version you wish to install as virtual machine and select Open App Store.
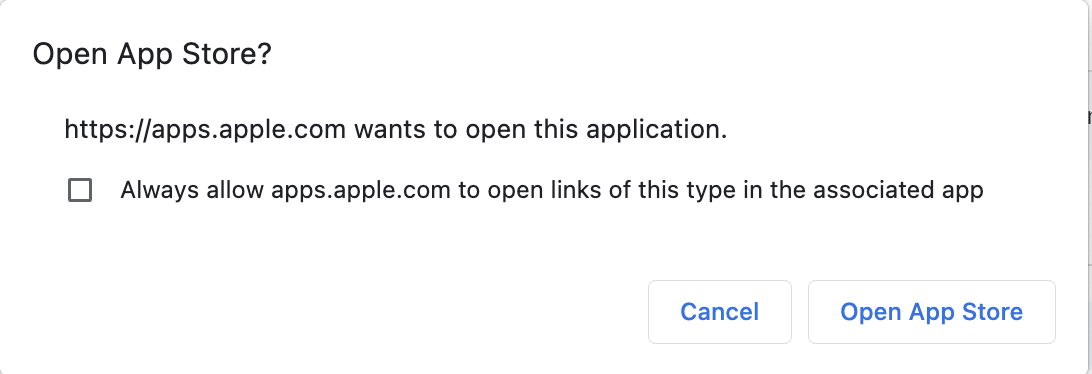
From App Store, click on Get and Download to start the download the Install macOS Big Sur.app using the Software Update feature.
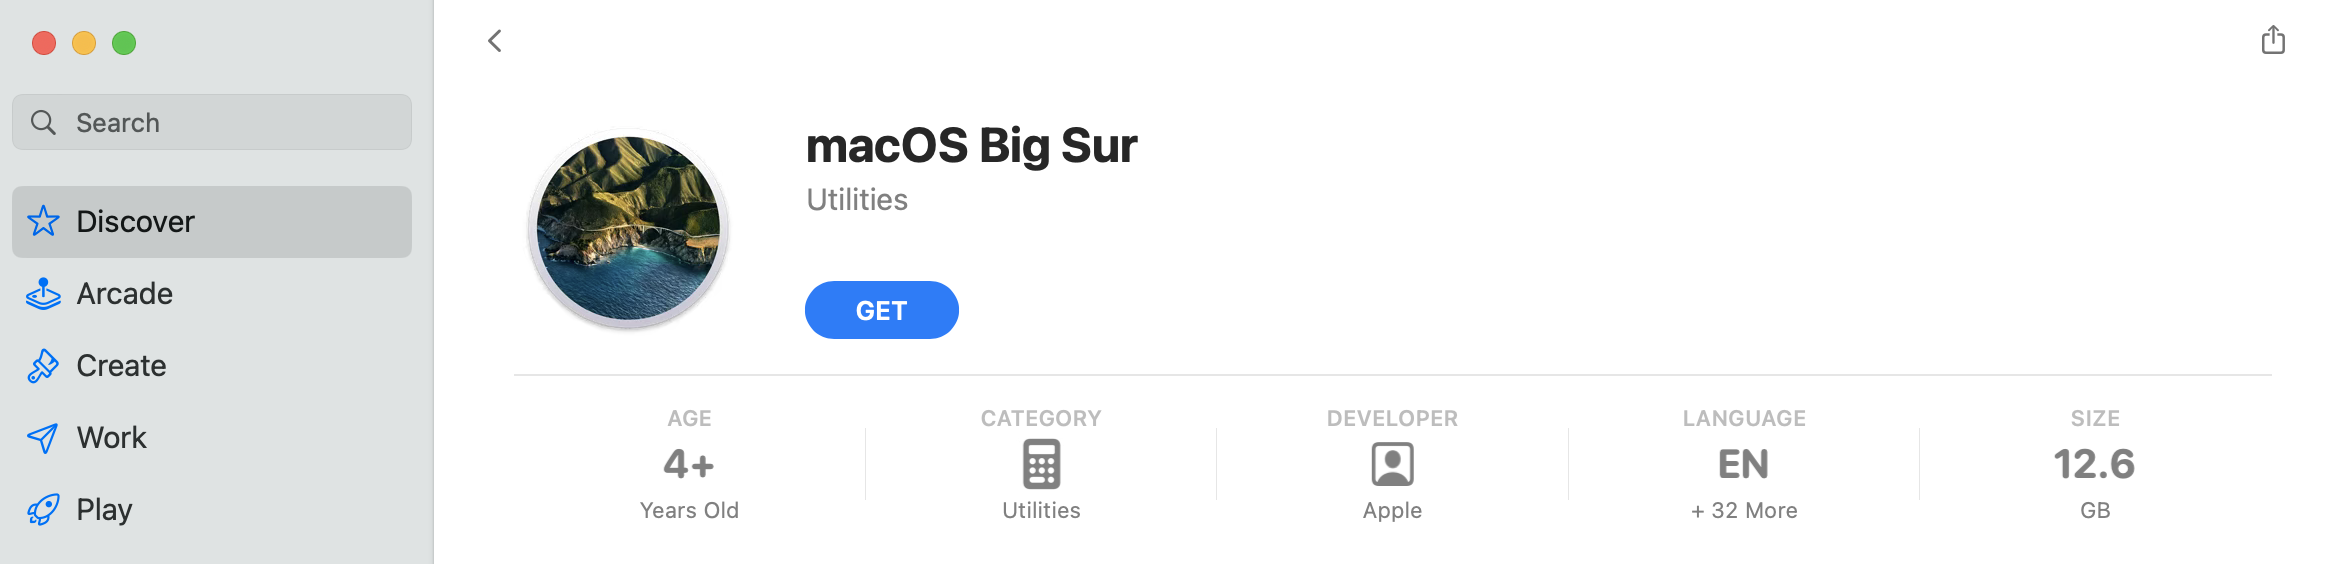
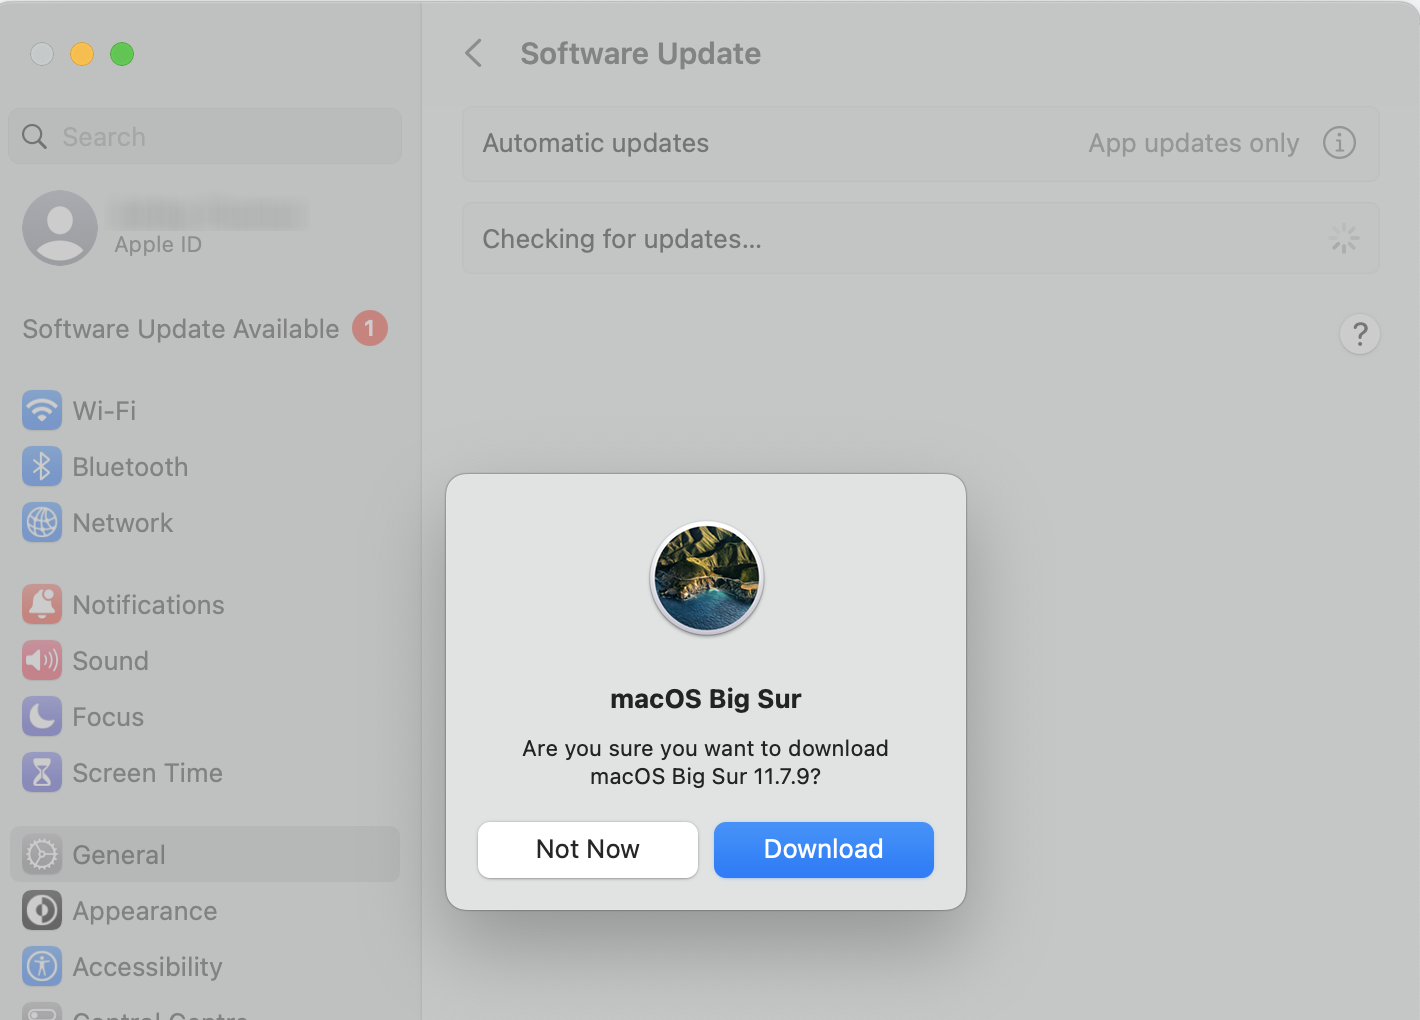
The download of Install macOS Big Sur.app file will then start on your Mac software update.
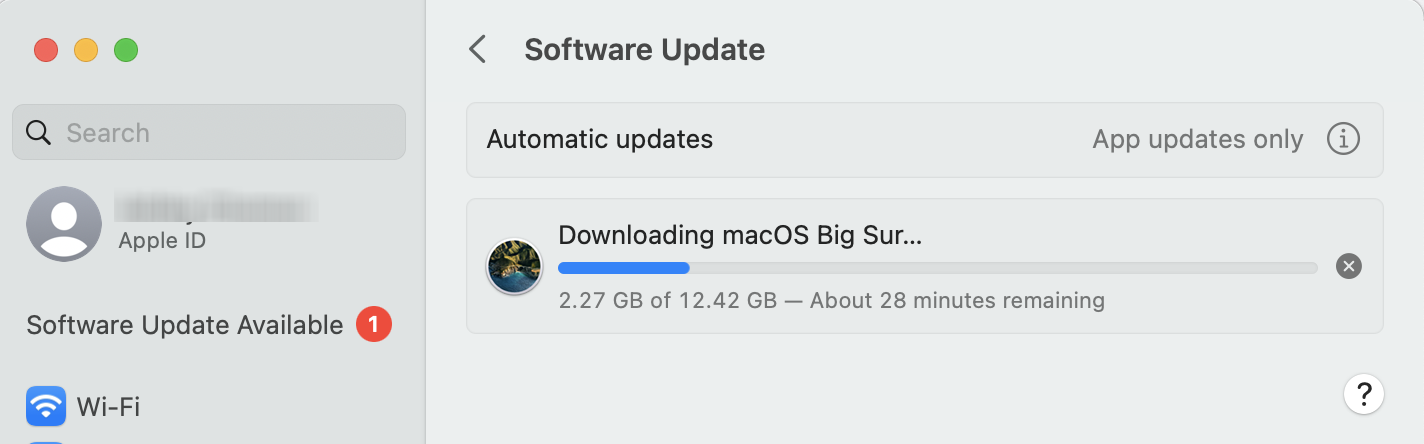
Once the download is finished, Install macOS Big Sur.app file will appear in /Applications/ folder and ready to be used by Parallels Desktop.
Step 2. Installing the macOS virtual machine:
From an installation .app
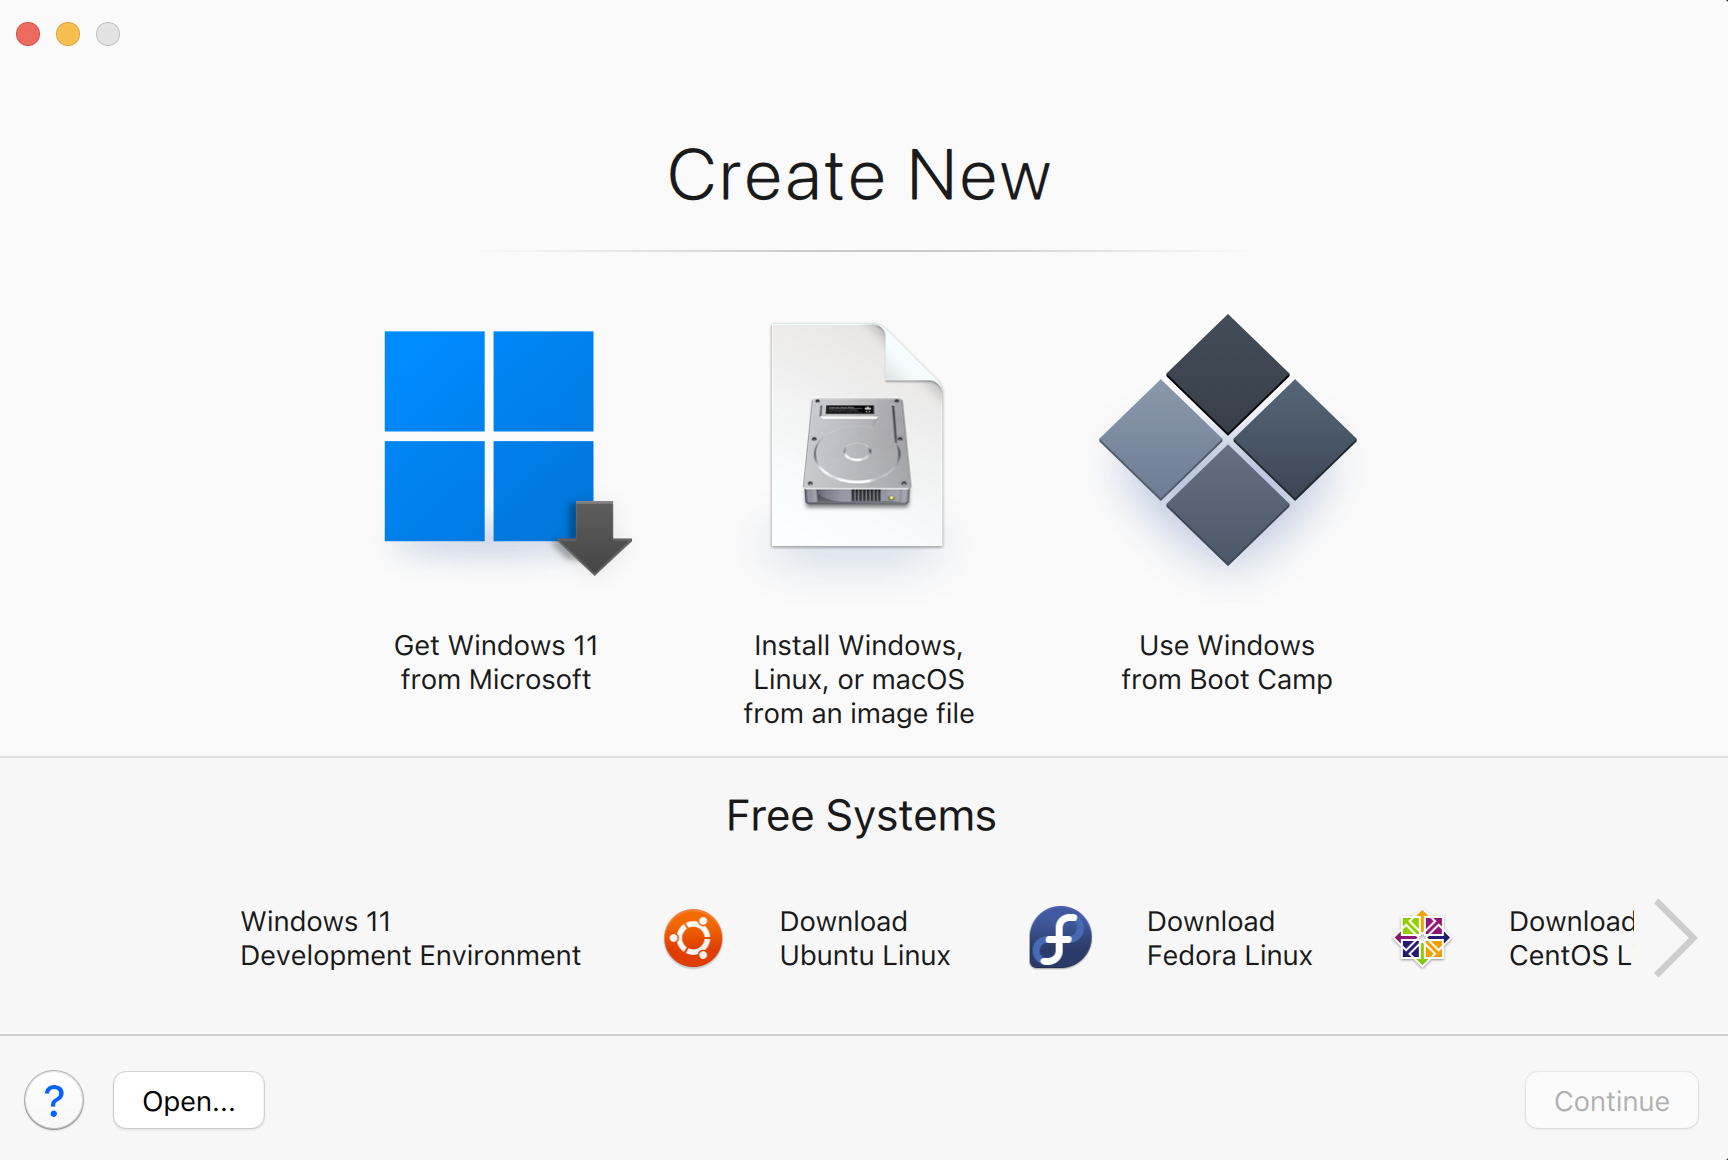
- Run Parallels Desktop, and in the Mac menu bar click File > New... .
- Select Install Windows, Linux, or macOS from an image file option and click Continue.
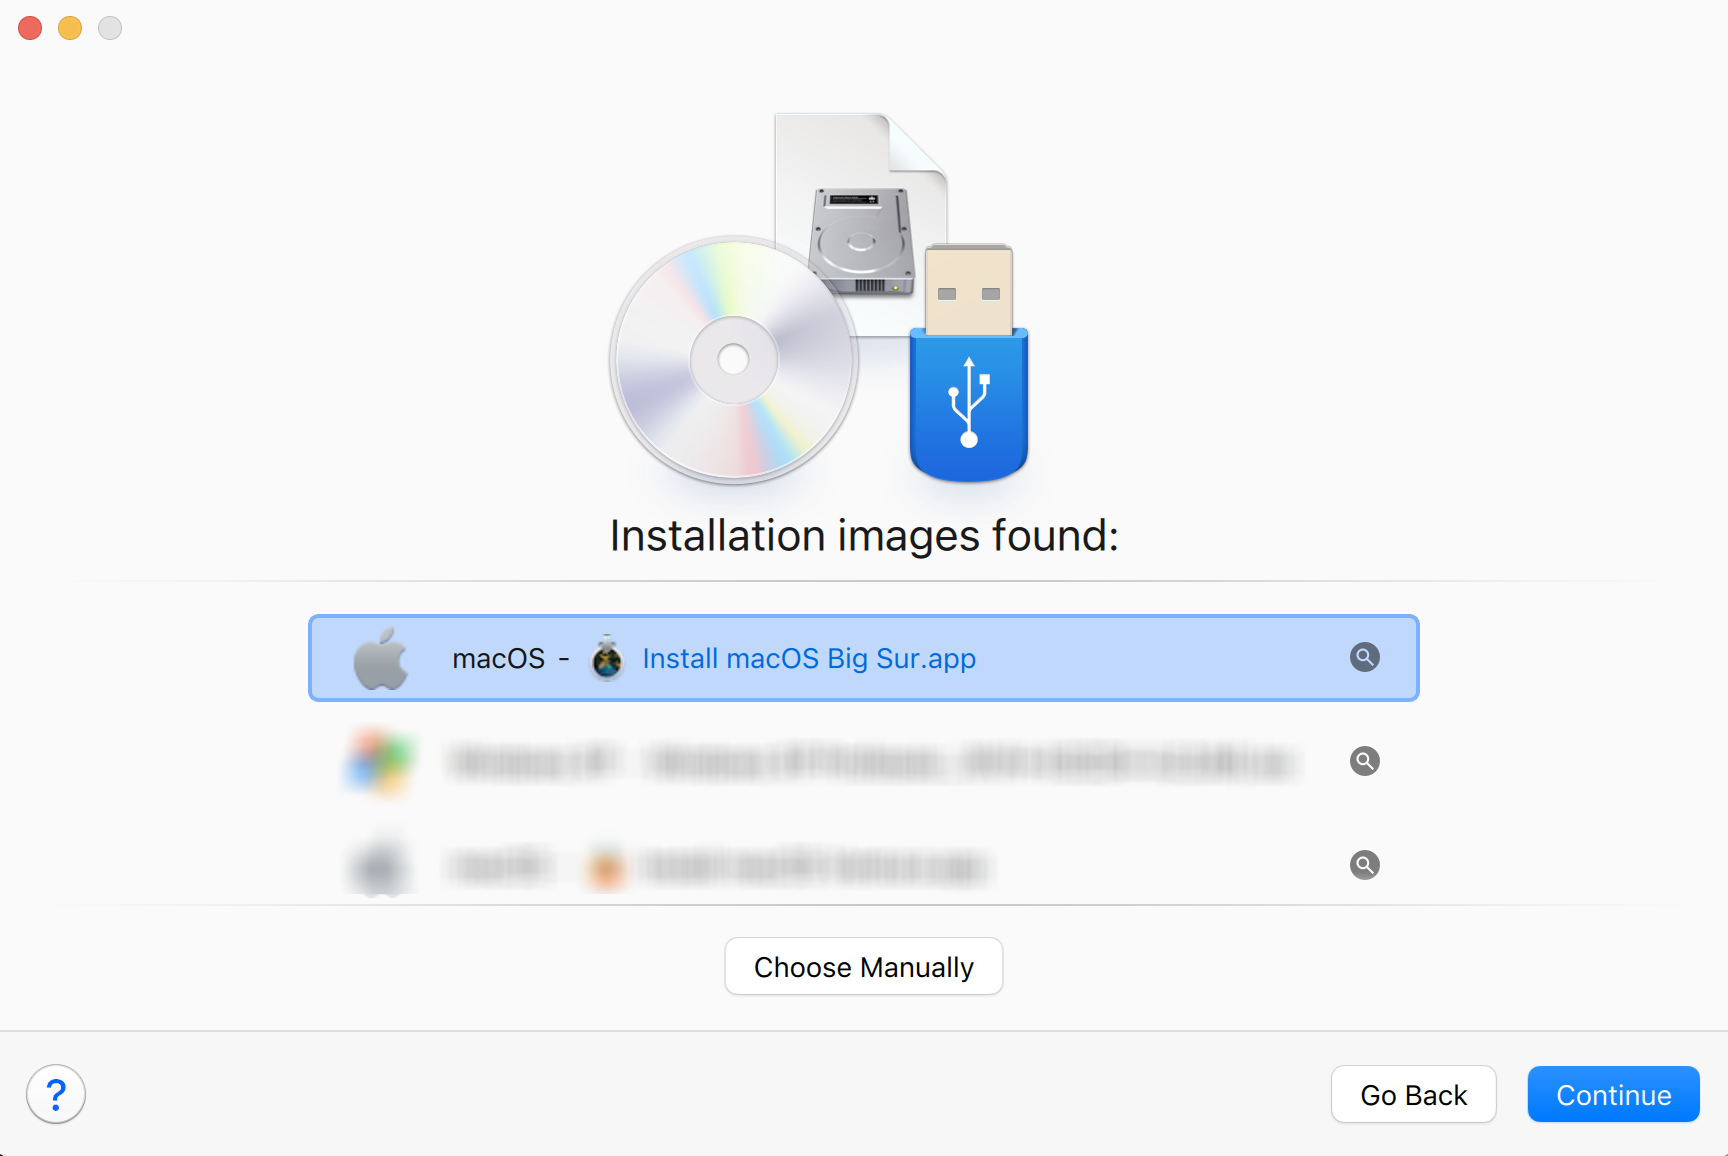
- Select Install macOS Big Sur.app and click Continue.
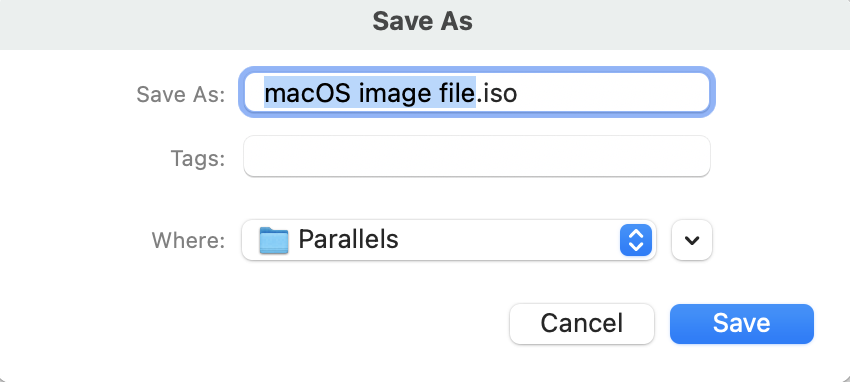
- Click Continue to accept creating a new file on Mac disk, then click Save.
- Wait a few minutes while Parallels Desktop is creating a disk image file.
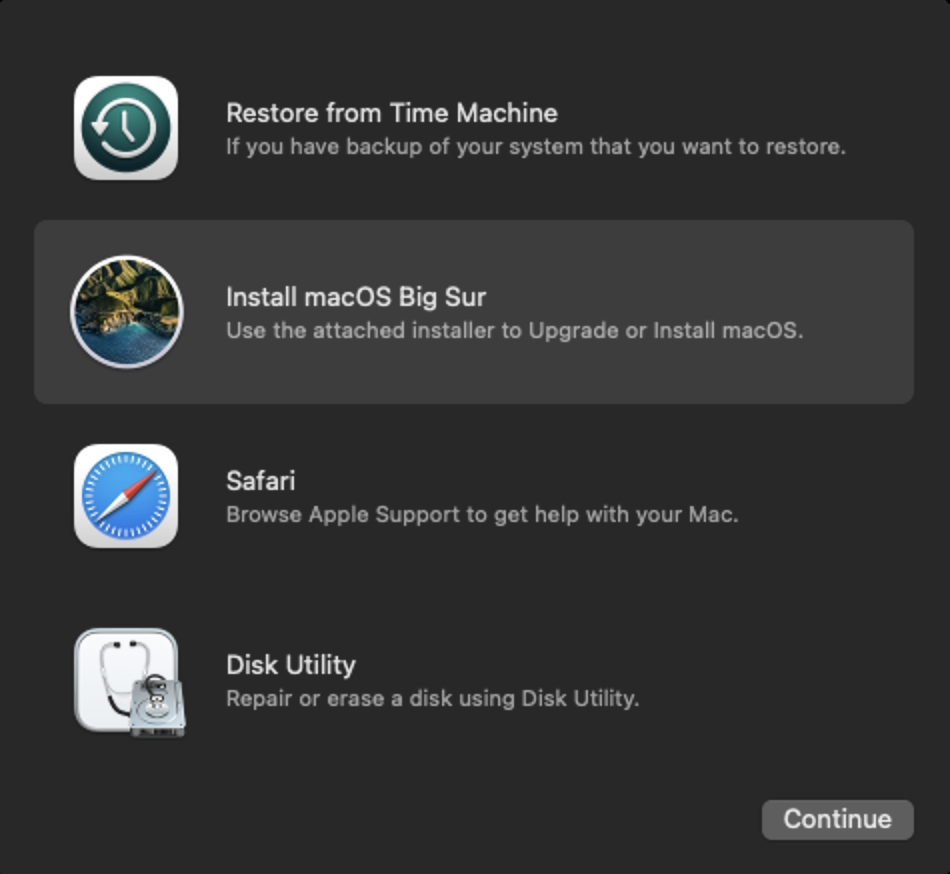
- Specify the desired name and location and click Save. Parallels Desktop will create a virtual machine and boot to the macOS Big Sur installer.
- Follow the macOS Big Sur installation and setup procedure.
From Mac's recovery partition
- Run Parallels Desktop, and in the Mac menu bar click File > New... .
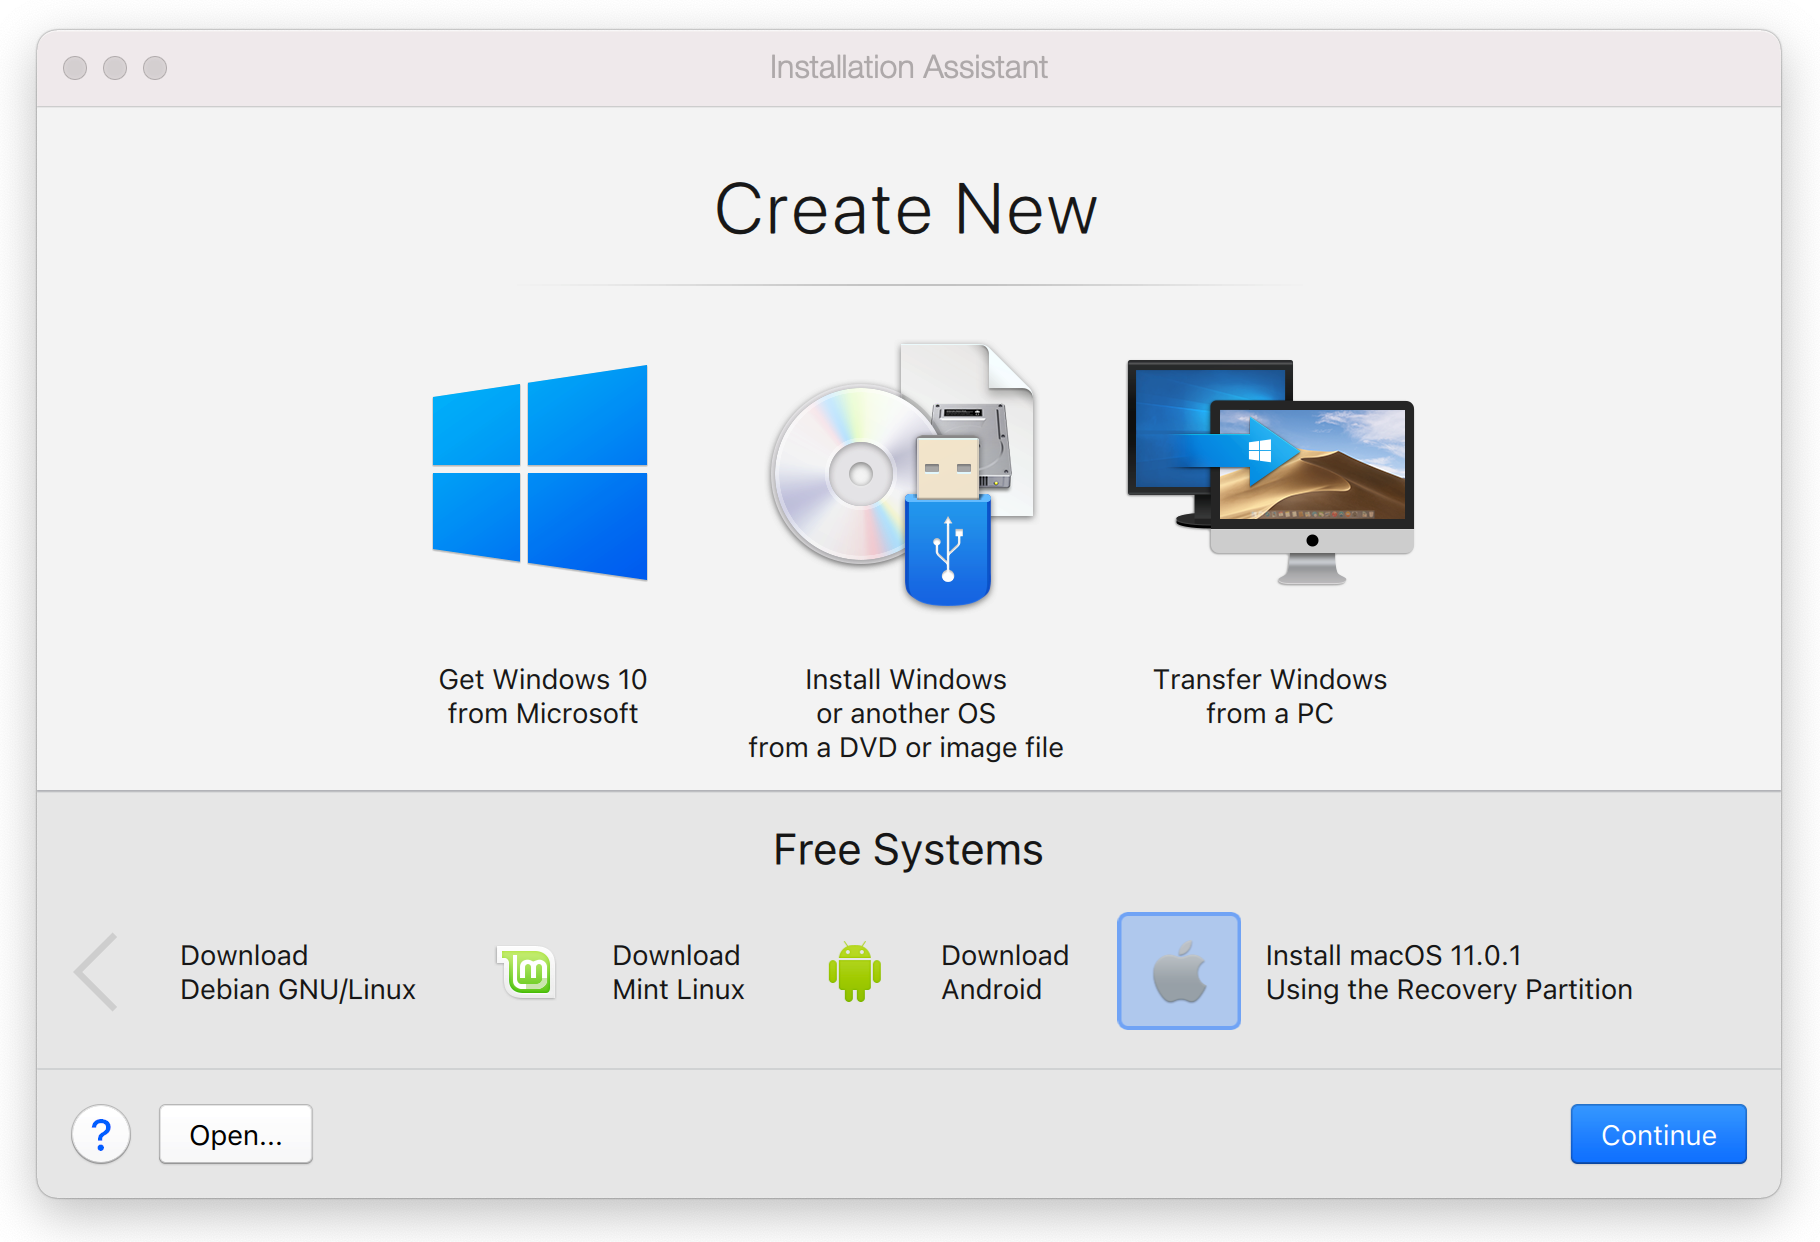
- Scroll to the right under Free Systems > select Install macOS 11.0.1 Using the Recovery Partition.
- Click Continue and proceed with the installation.
Step 3. Install Parallels Tools
To get the best experience with a macOS virtual machine, including Retina resolution, new Metal graphics*, and Parallels integration features, you need to install Parallels Tools to the virtual machine.
* - requires macOS Big Sur and later as a primary (host) macOS and Parallels Desktop 16 and later.
- Click Actions > Install Parallels Tools... . The Parallels Tools ISO image will connect to the virtual machine.
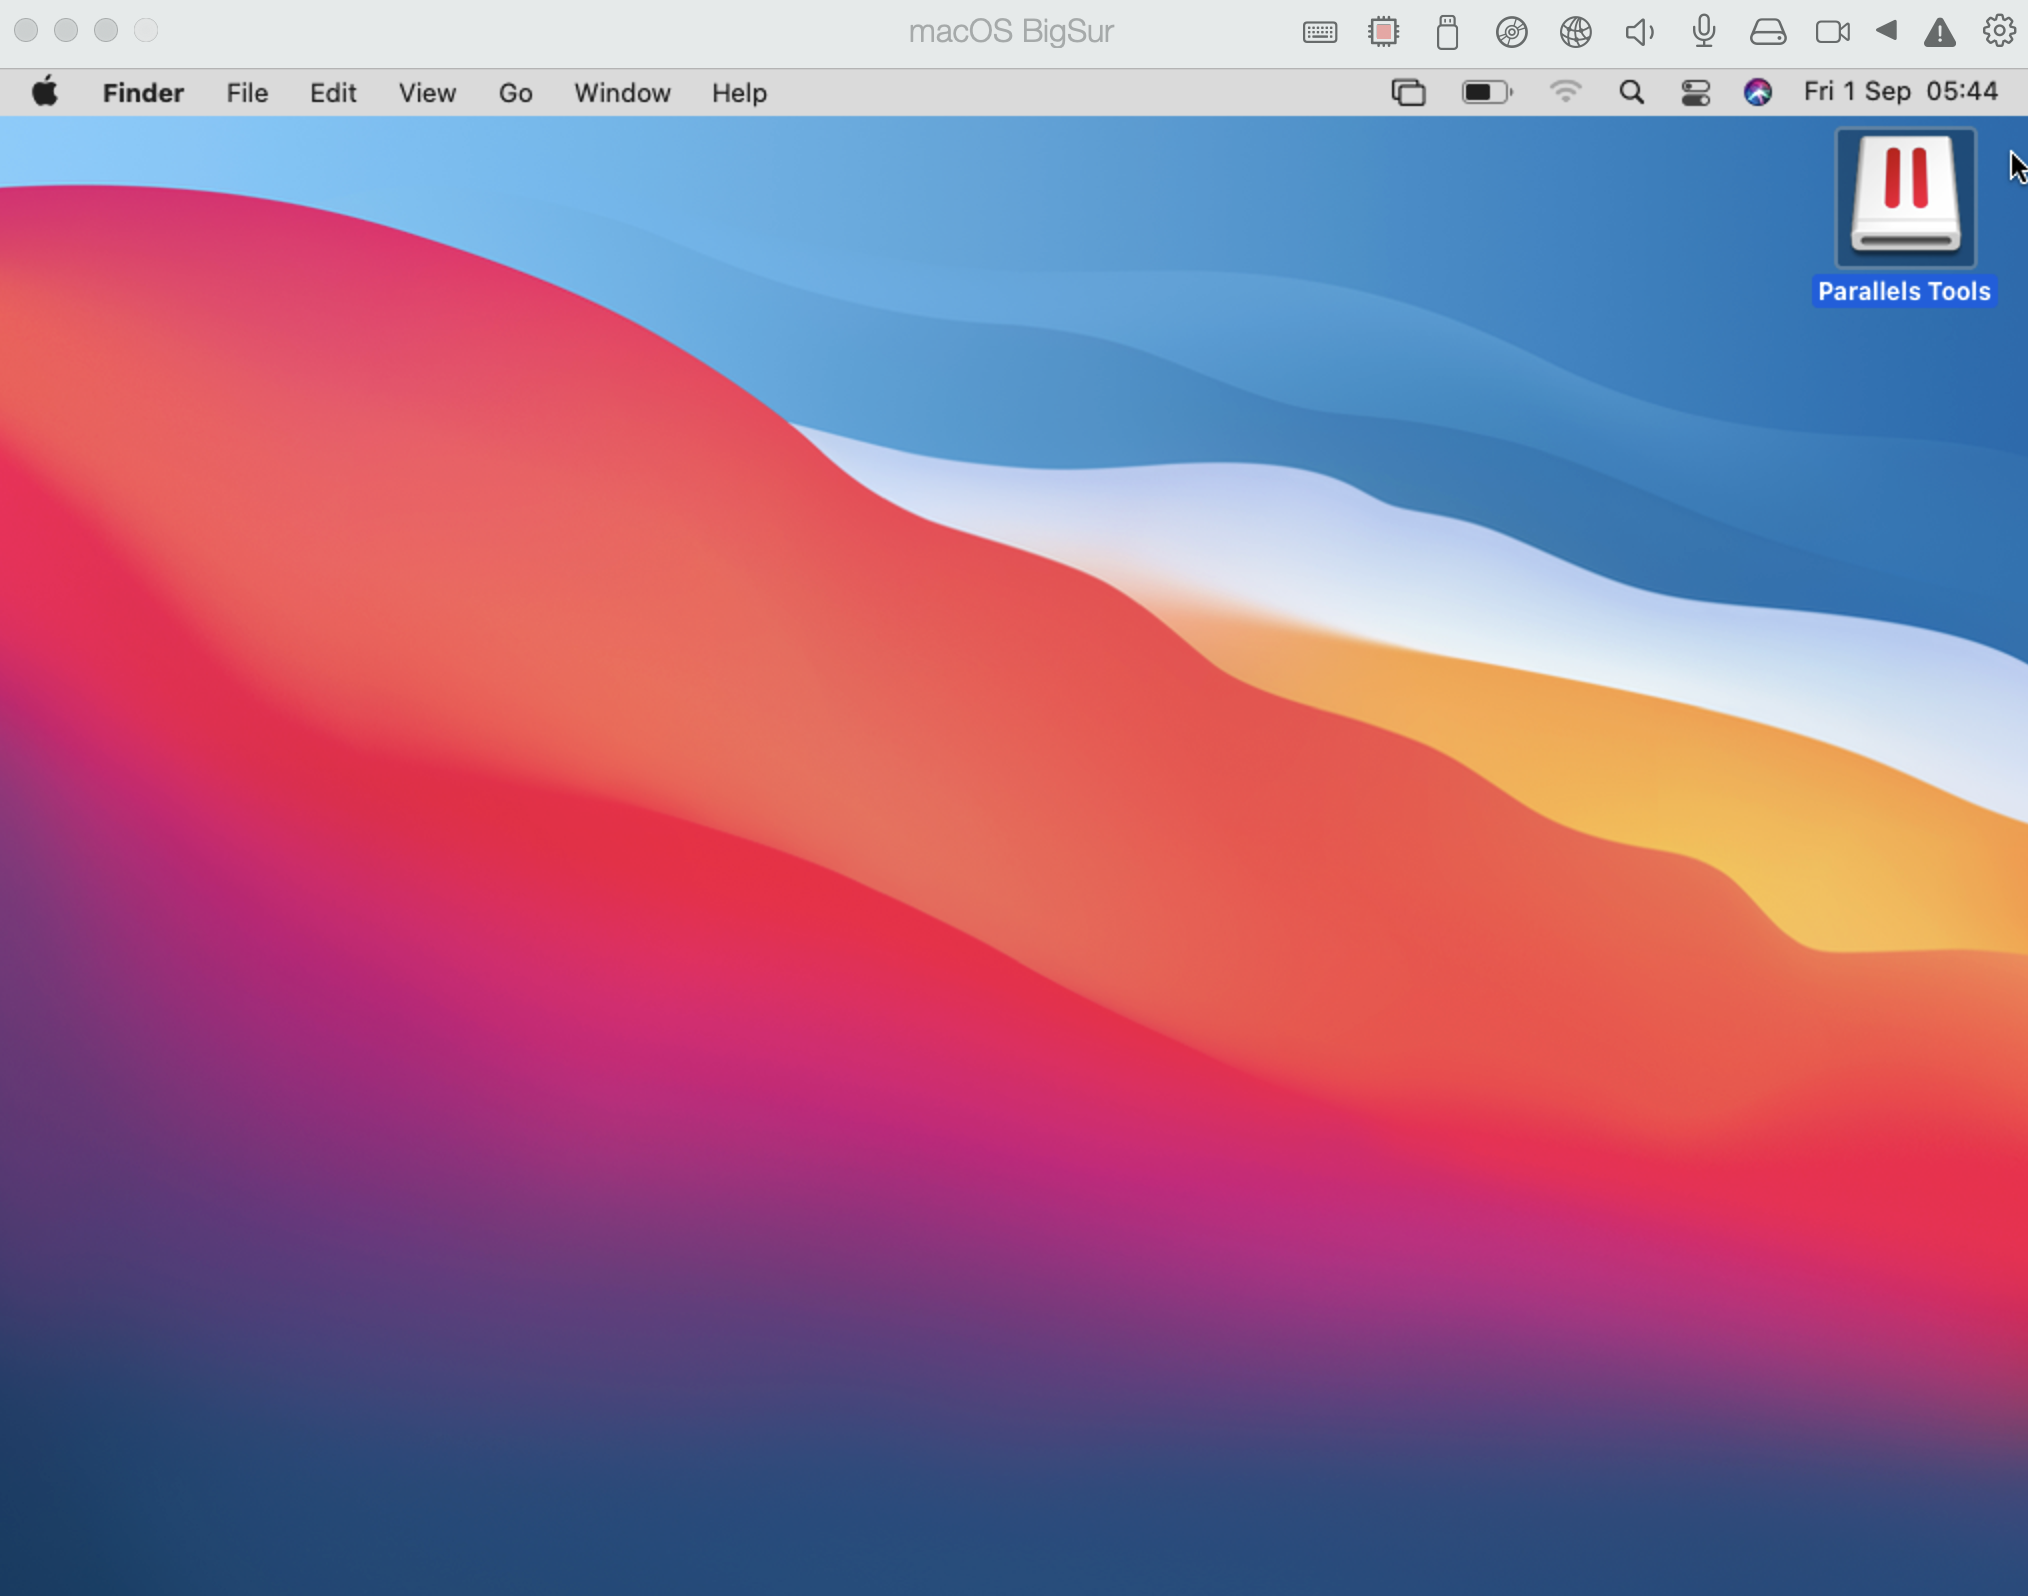
- Open the Parallels Tools volume from the Desktop:
- Double-click Install > enter the administrator password when prompted to begin the installation:
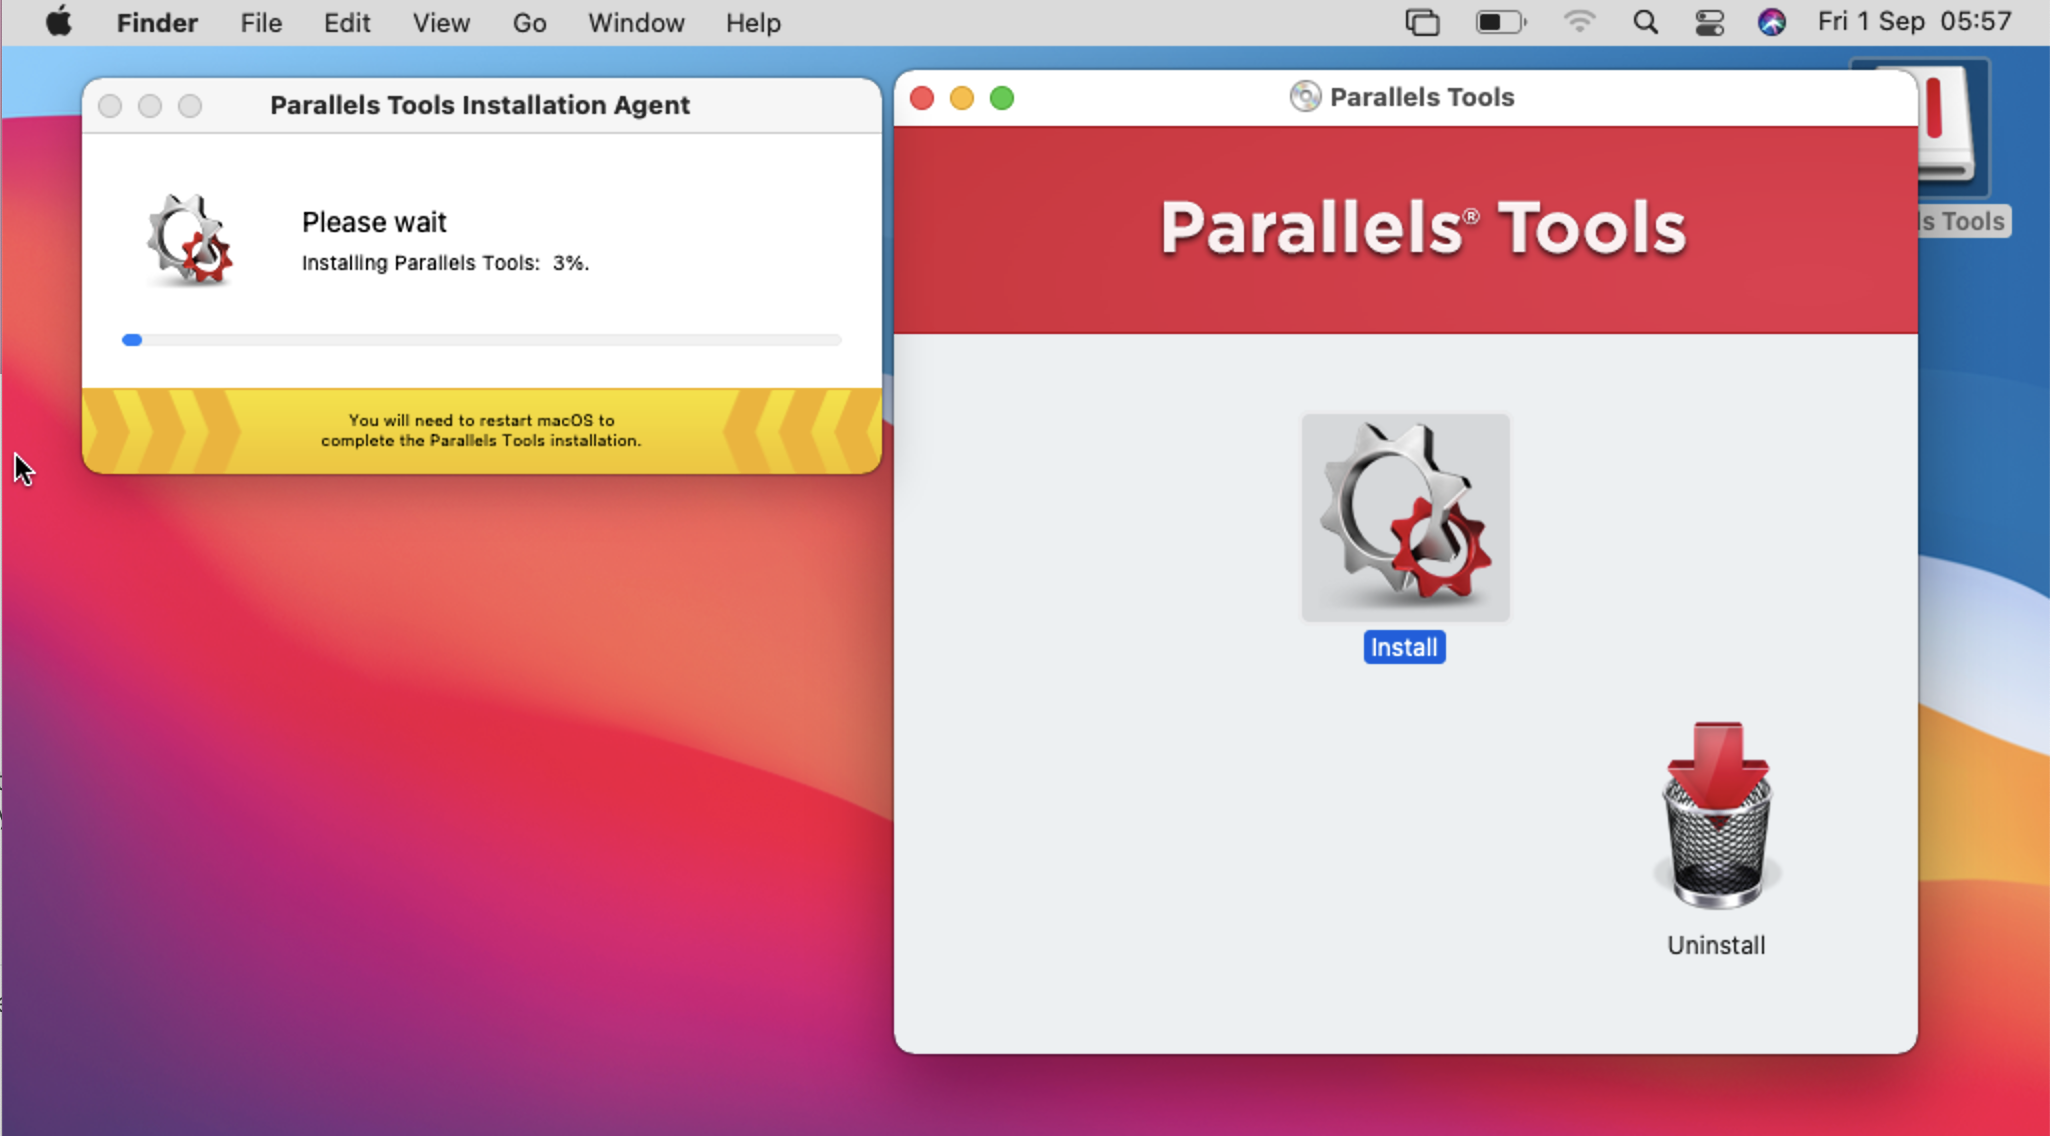
- Once the installation is completed, restart your virtual machine.
Step 4. Try the new Metal 3D acceleration
If you are already running macOS Big Sur or later on your Mac (as a host OS), you can try the world's first Metal 3D acceleration support in a macOS virtual machine. Run apps like Maps, Pages, Final Cut Pro, Adobe Premiere, and many more in your macOS virtual machine.
Depending on your hardware, you may use more graphics resources for the macOS virtual machine. To do that:
- Shut down the macOS virtual machine (Actions > Shut Down).
- Open the virtual machine configuration > Hardware > CPU & Memory (if necessary, unlock the settings by clicking on the padlock icon in the bottom left corner and entering your Mac's password).
- Under Memory, click on the drop-down menu to assign up to half of your Mac's memory to the virtual machine.
- Close the configuration window and start the virtual machine.
Note: macOS virtual machine uses system memory (RAM) for graphics.
Was this article helpful?
Tell us how we can improve it.