Starting with Parallels Desktop 26.2, administrators can use Declarative Deployment to provision Intune-enrolled VMs without preparing or maintaining a full system image. This method supports embedding provisioning packages into both standard Microsoft Enterprise ISOs and custom-created ISOs, enabling a more streamlined and scalable deployment workflow.
Declarative Deployment significantly reduces operational complexity by eliminating the need for Sysprep and full VM image preparation. You only need a configuration package, which lowers deployment size and removes dependency on storage or CDN infrastructure for hosting large VM images. Once Windows is enrolled in Intune, you can deploy applications, enforce policies, and configure security settings using existing device management workflows.
Refer to the video and steps below for the basic configuration required to use this deployment option in the example of Microsoft Enterprise ISO:
Prerequisites
-
A Windows host machine or VM to prepare a provisioning package.
-
An active Microsoft subscription that supports device enrollment and management, with sufficient administrative permissions.
-
Parallels Desktop Enterprise Edition license.
Creating a Provisioning package:
Creating and applying a Golden image policy:
Preparing a provisioning profile
- Install Windows Configuration Designer from the Microsoft Store or download it directly from the Microsoft website.
- Once it is installed, launch it and create a new project following the Provision desktop devices template.
- Once the project is created, you’ll see the following page. In this step, you need to choose a name convention.
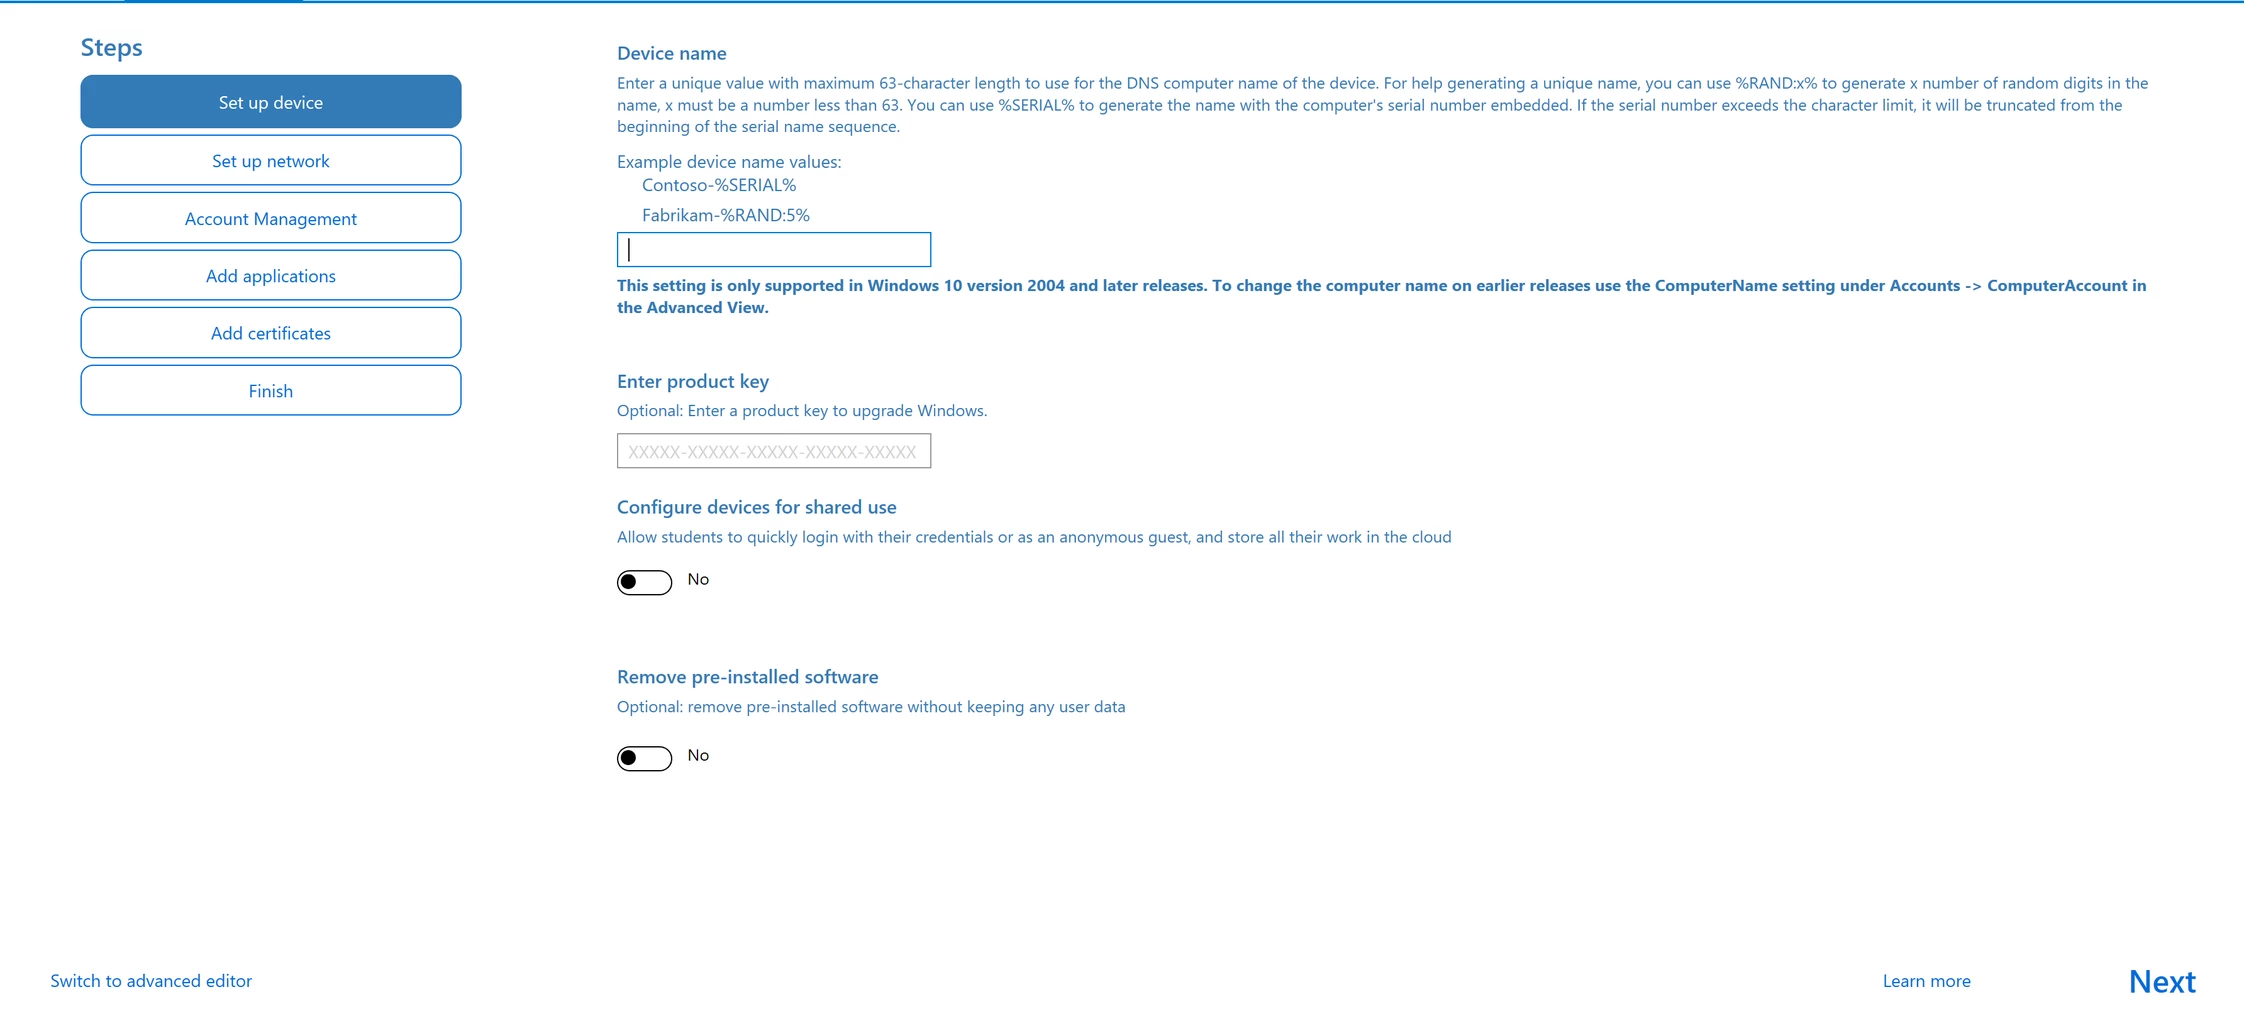
- Once done, click Next and switch to the Set up network tab. Then you need to switch off the setup network toggle and click Next, proceeding to the Account Management page
- The following step is important: Select Enroll in Azure AD and obtain a bulk token. Here, you need to sign in with your Microsoft Azure credentials.
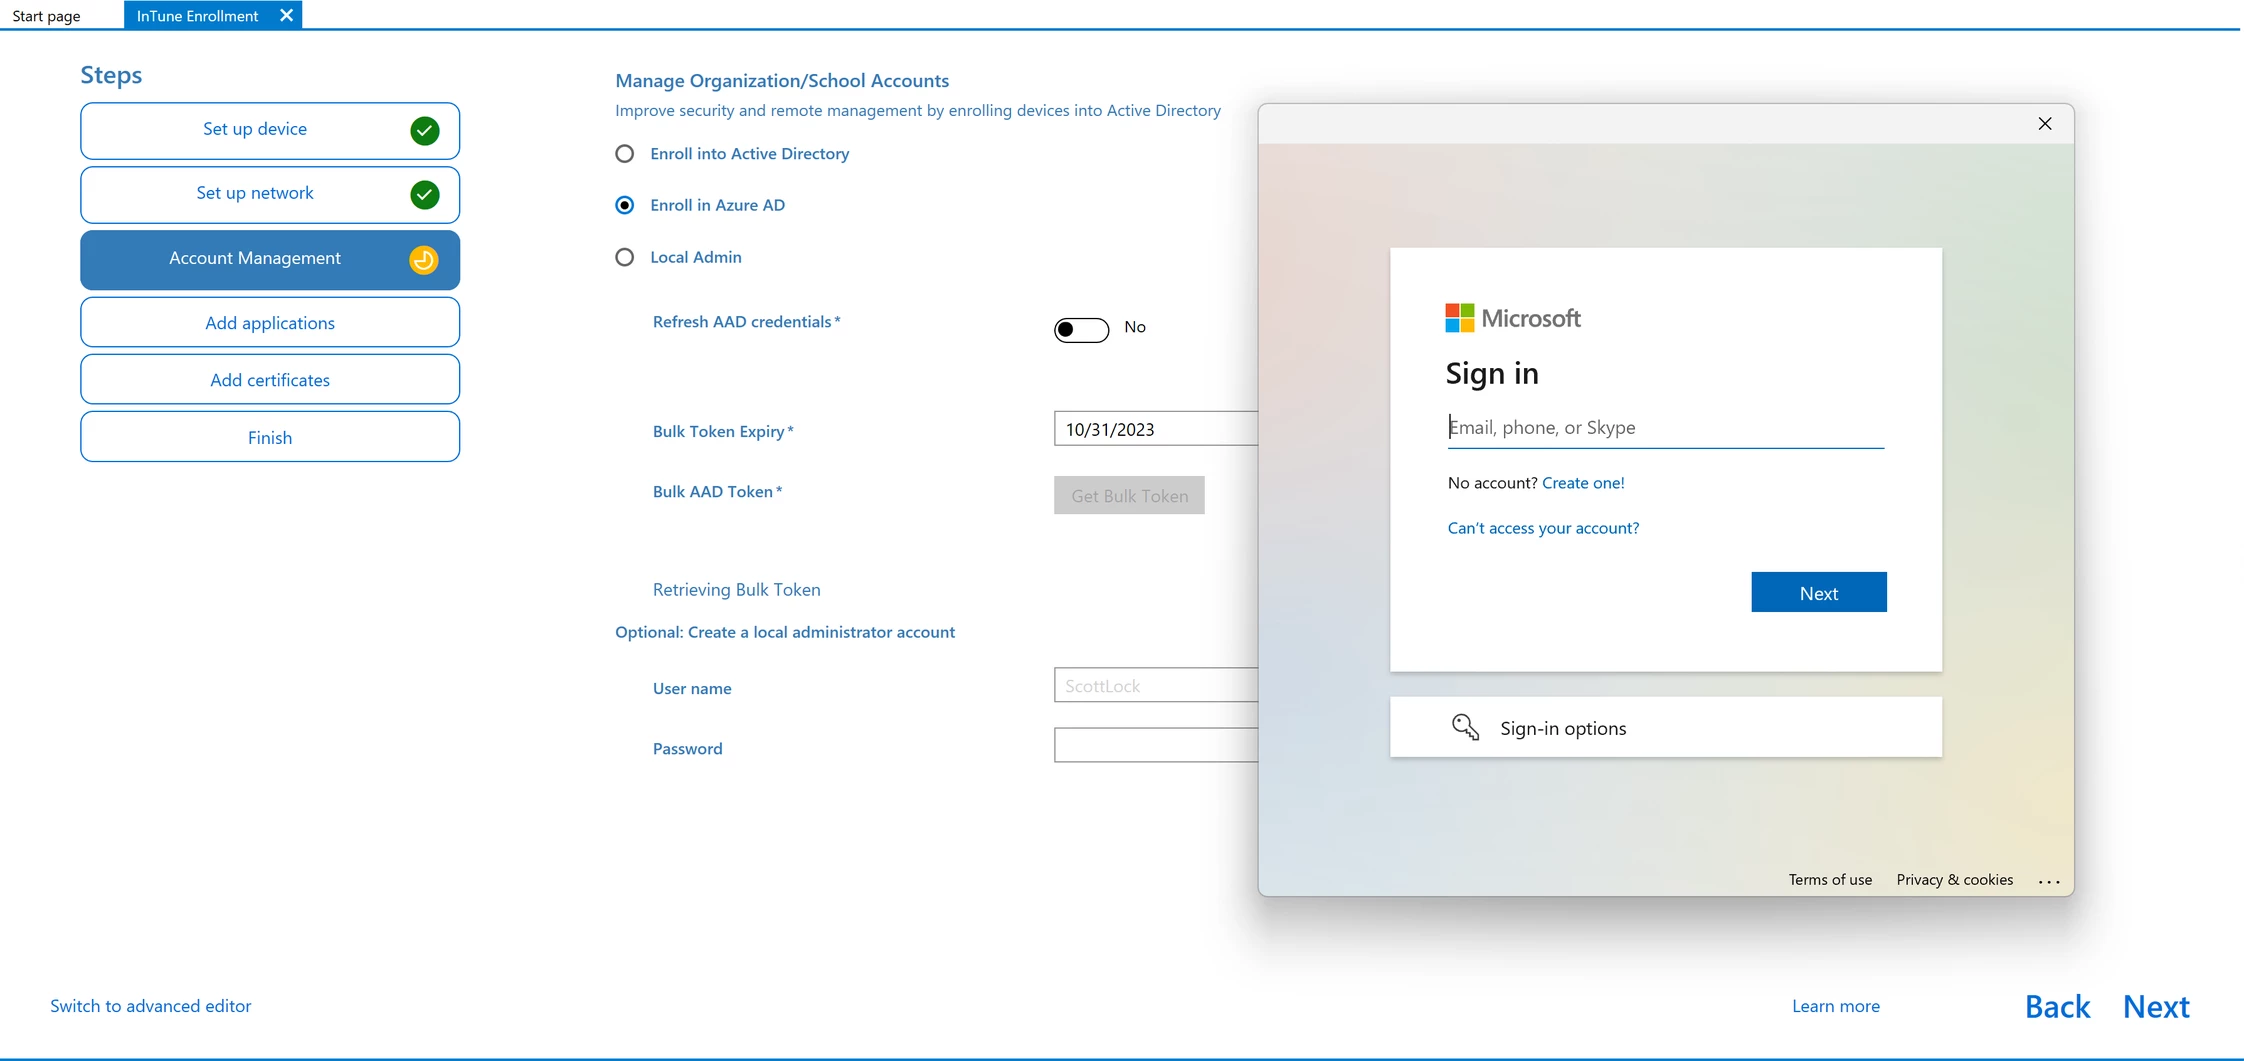
Once you’ve successfully signed in, you’ll see the message confirming the successful receipt of the token.
- Click Next. Feel free to skip the remaining steps by clicking Next on each one of them.
- In the final step, double-check your configuration summary and ensure everything is correct.
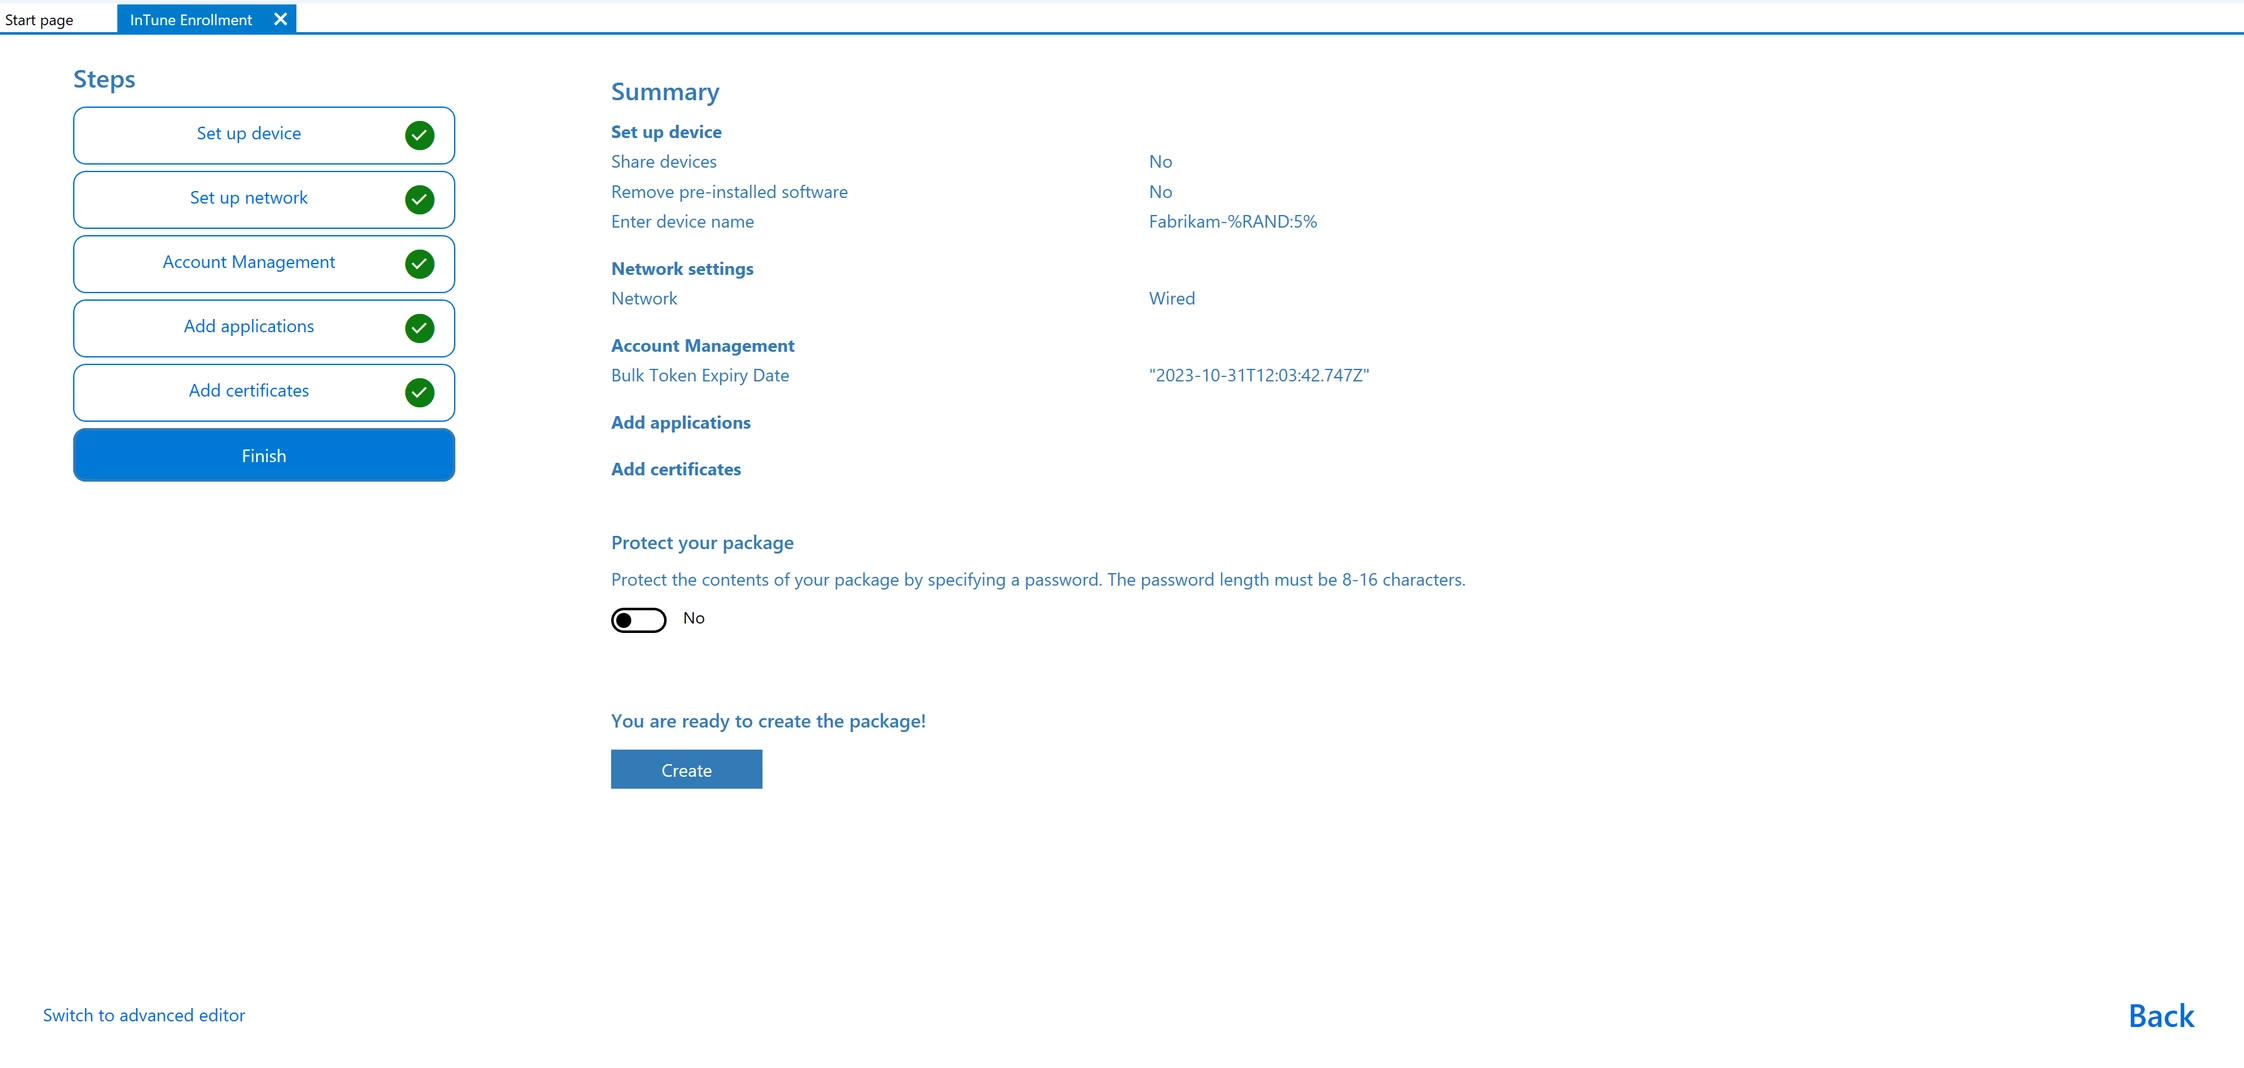
- Click Create and memorize the path to the package file.
Adding a provisioning package to your Golden Image and assigning it to a policy.
Configure the Golden Image
-
Log in to the Parallels My Account portal and navigate to the Parallels Management Portal.
-
Click on the Golden Images tab and select Add.

-
General Info: Enter a Name (e.g., "Win11 Enterprise + Intune") and Description.
-
Deployment Method: Select Declarative.
-
Installation source: Select Windows Enterprise for the latest Enterprise image directly from Microsoft.
-
Installation options: Select the order in which various Windows configuration steps happen. You can choose one of the following options:
-
Don't configure unattended installation. This is the option for those who have already included an answer file and all required software in their Golden Image.
Attention: If your custom ISO already contains any kind ofunattended.xmlanswer file, activating one of the other three options will lead to a conflict, and the user will have to go through the OOBE experience manually. -
Set up language and keyboard only. This option provides the user with a suitable keyboard/language combination to log in using their work or school account and apply the provisioning package afterward.
Attention: If your Microsoft Intune policies prevent Windows devices classified asPersonalfrom enrolling, this option may lead to error80180014. -
Automatic setup with local account. This option applies the package after creating a technical local account with administrative rights.
-
Automatic setup with provisioning package applied before sign-in. This option configures Windows and enrolls it in Intune before the user is allowed to sign in with their work or school account. This procedure usually takes 5 to 10 minutes longer due to the enrollment process.
Note: The third and fourth options may fail if the provisioning package can't be applied — for example, due to network issues reaching Microsoft services or an expired token. We recommend that you test the provisioning package manually before use.
-
-
Provisioning Package: Under the Provisioning package section, upload your
.ppkgfile (if <100KB) or provide a direct URL to the package. -
Click Add to save the Golden Image.
-
Navigate to the Policies tab.
-
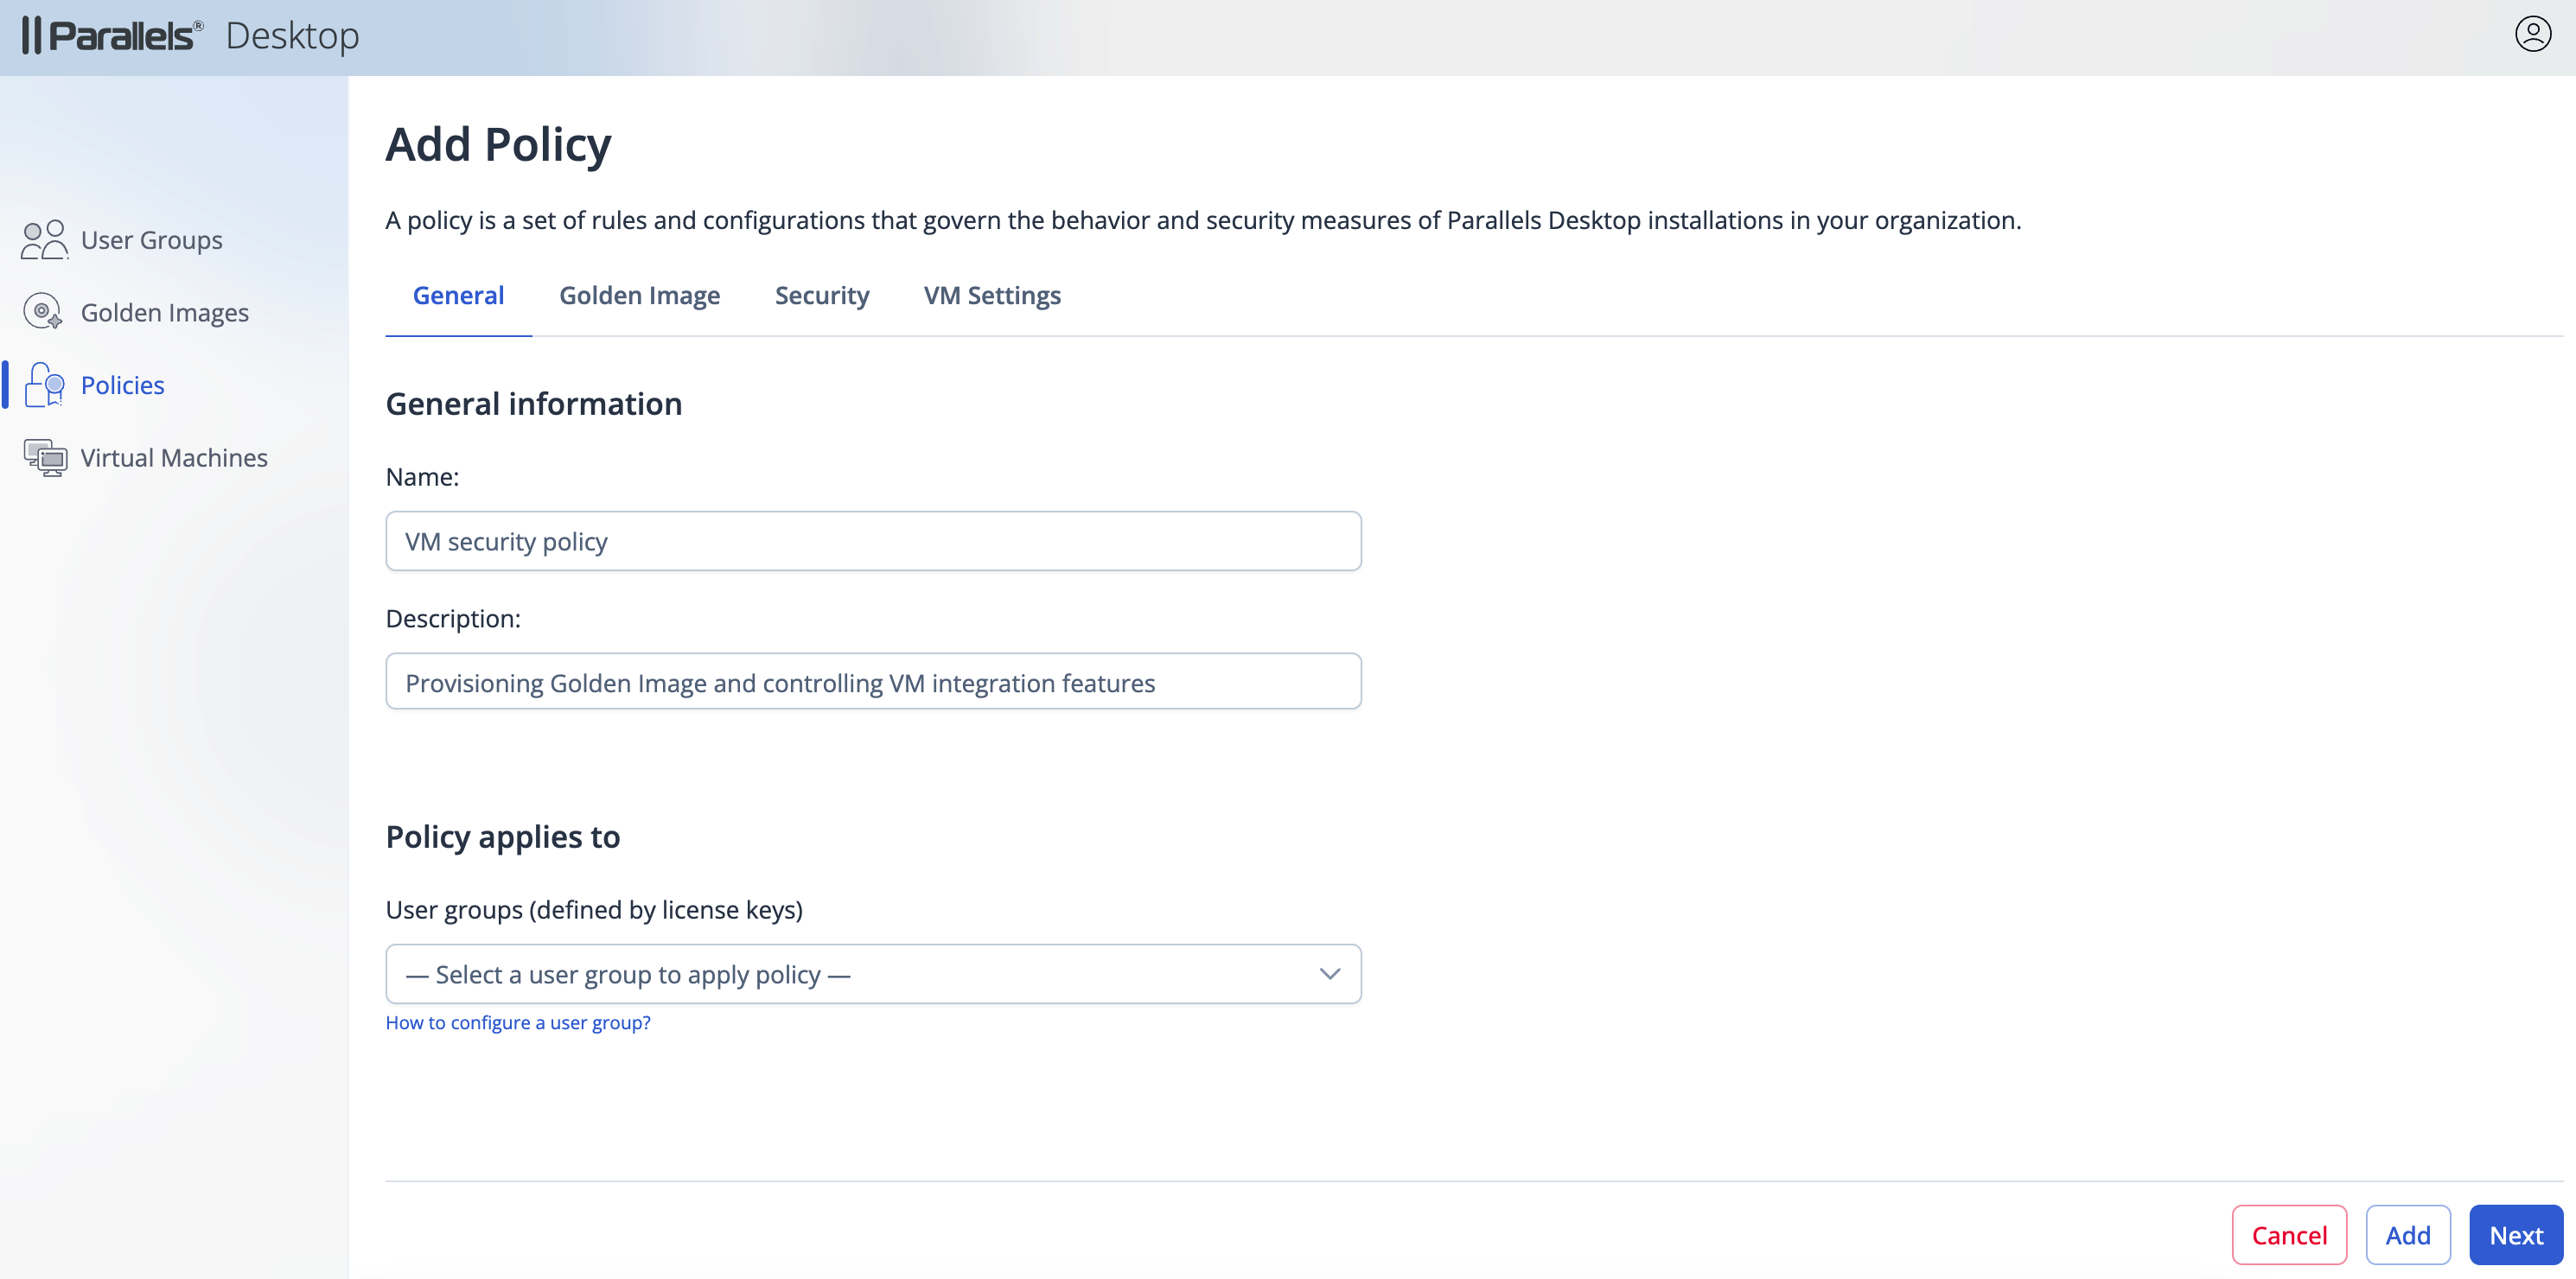
Click Add to create a new policy (or click the specific policy name to edit an existing one).
-
General Information: Name the policy (e.g., "Department policy").
-
Policy applies to: Select the target User Group (License Key) this policy should apply to.
Note: A license key/group can only have one active policy.
-
Golden Image: In the Golden Image tab, select the image created earlier in the dropdown.
-
Settings: Configure any additional security options (e.g., Block USB, Disable Shared Folders) as required and click Next.
-
Click Add.
Running the installation on the user endpoint.
-
Install Parallels Desktop and activate it using the provided key (or sign in via SSO if configured).
-
Download: Upon activation, Parallels Desktop detects the assigned policy. A dialog will automatically prompt the user to download the Corporate VM
-
Provisioning: Once downloaded, the VM starts, and the
.ppkgis automatically applied during the first run (OOBE), configuring the OS and enrolling it in management (e.g., Intune) without user intervention, only prompting to login into corporate account:

Transitioning from Previous Declarative Deployment Options.
Following the June 2026 update, Declarative Deployment installation options, that previously came as multiple checkboxes, are now presented as four mutually exclusive radio-button choices, each representing a specific combination of the former settings, which became unavailable. If you have Golden Images based on Declarative Deployment that were set up prior to the update, here is how they are mapped following the update:
- If you had no options selected, that image is now set to Set up language and keyboard only.
- If you only had Enable unattended installation based on Mac user data, that image is now set to Set up language and keyboard only.
- If you only had Create local user account based on macOS selected, that image is now set to Automatic setup with local account.
- If you only had Configure OOBE from macOS information selected, that image is now set to Set up language and keyboard only.
- If you had all three available options selected, that image is now set to Automatic setup with local account.
The following screenshot represents the previous setup for reference:

Was this article helpful?
Tell us how we can improve it.