We've recently noticed the issue when a 32-bit Windows 10 installed on a Mac with an Intel processor crashes with a Blue Screen of Death ( BSOD) after installing updates or during the installation process. Even though it's not a very popular scenario, please find the workaround below that will help you to fix the issue.
Resolution
1. Start your Windows 10 virtual machine (VM).
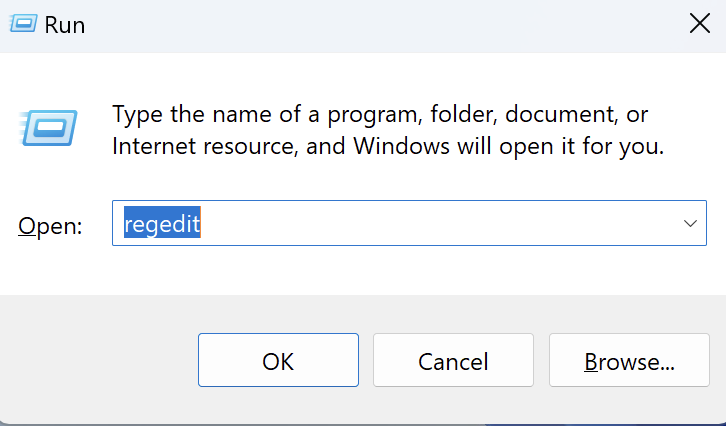
2. Press the Command + R key combination to open a Run dialog box. Then, type "regedit" and press Enter to run Registry Editor.
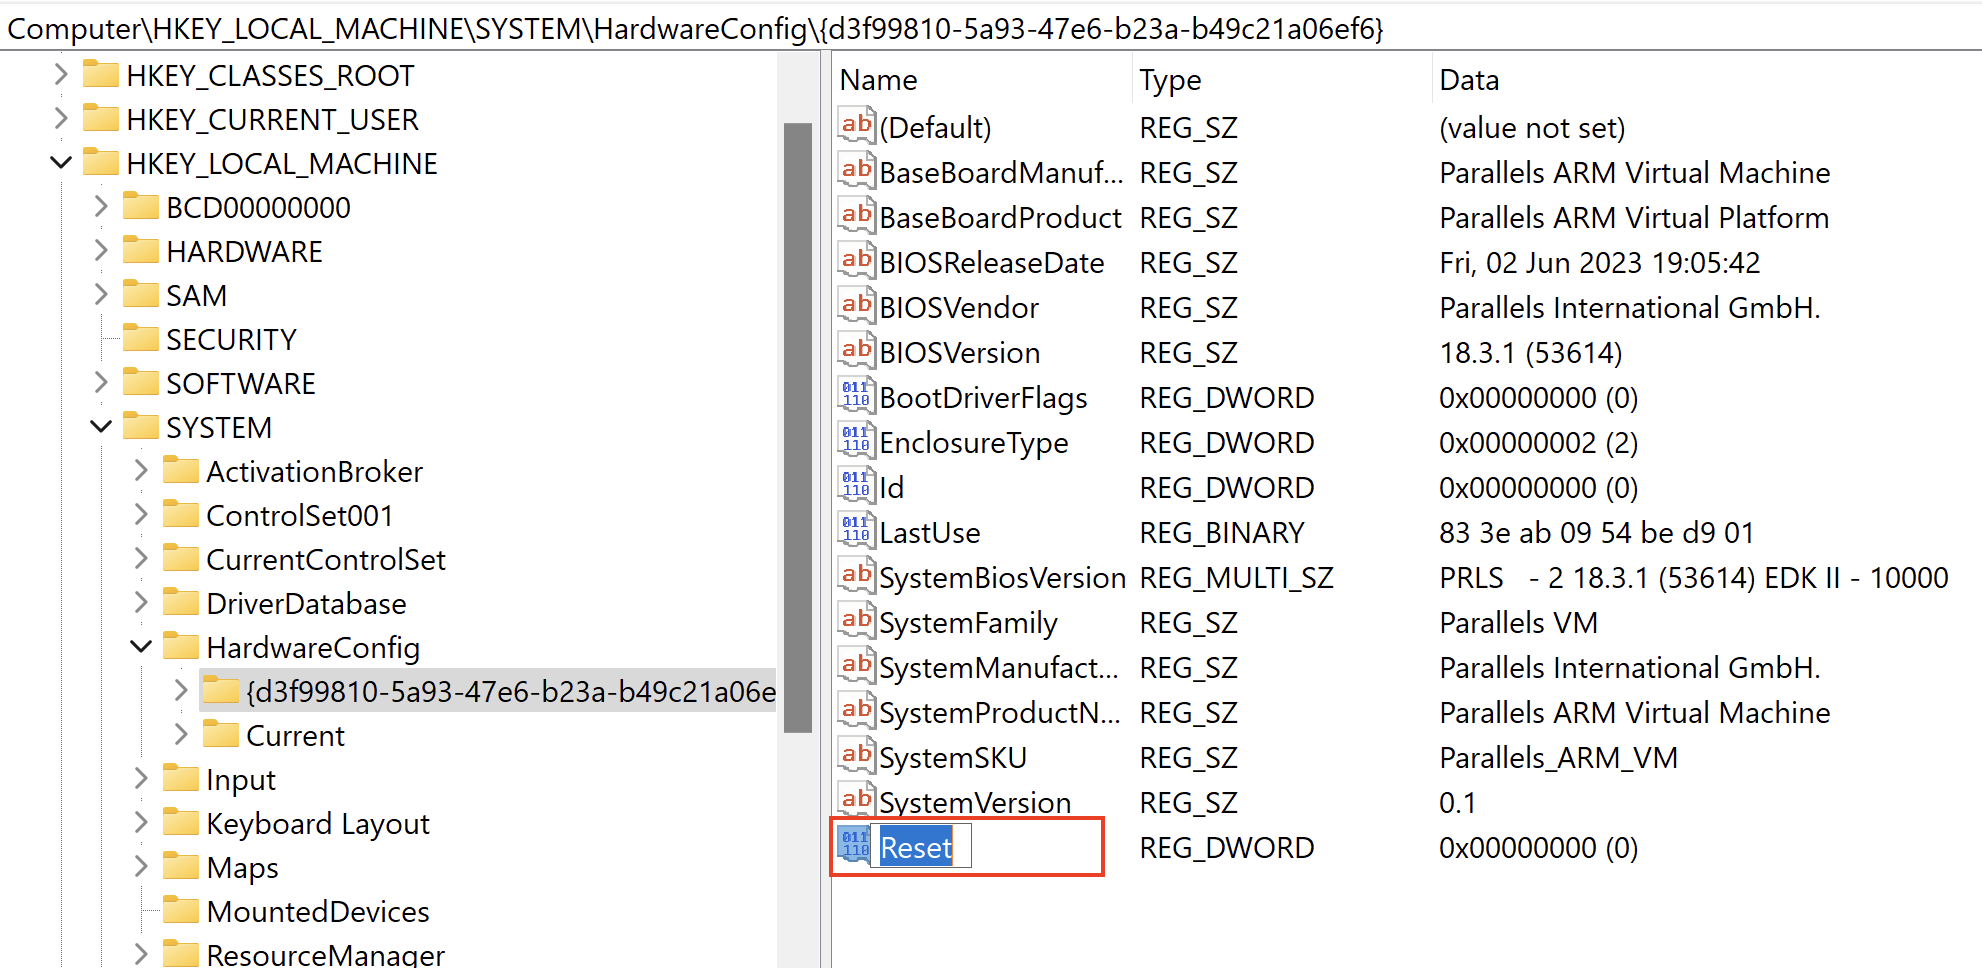
3. Locate the following registry key: HKEY_LOCAL_MACHINE\SYSTEM\HardwareConfig\<UUID>\ > right-click the UUID > New > DWORD (32-bit) Value.
Note: The UUID field in the above path varies by virtual machine. In the example provided in the screenshot below, the UUID is {d3f99810-***-***-***}.

4. Rename the newly created DWORD value as "Reset".
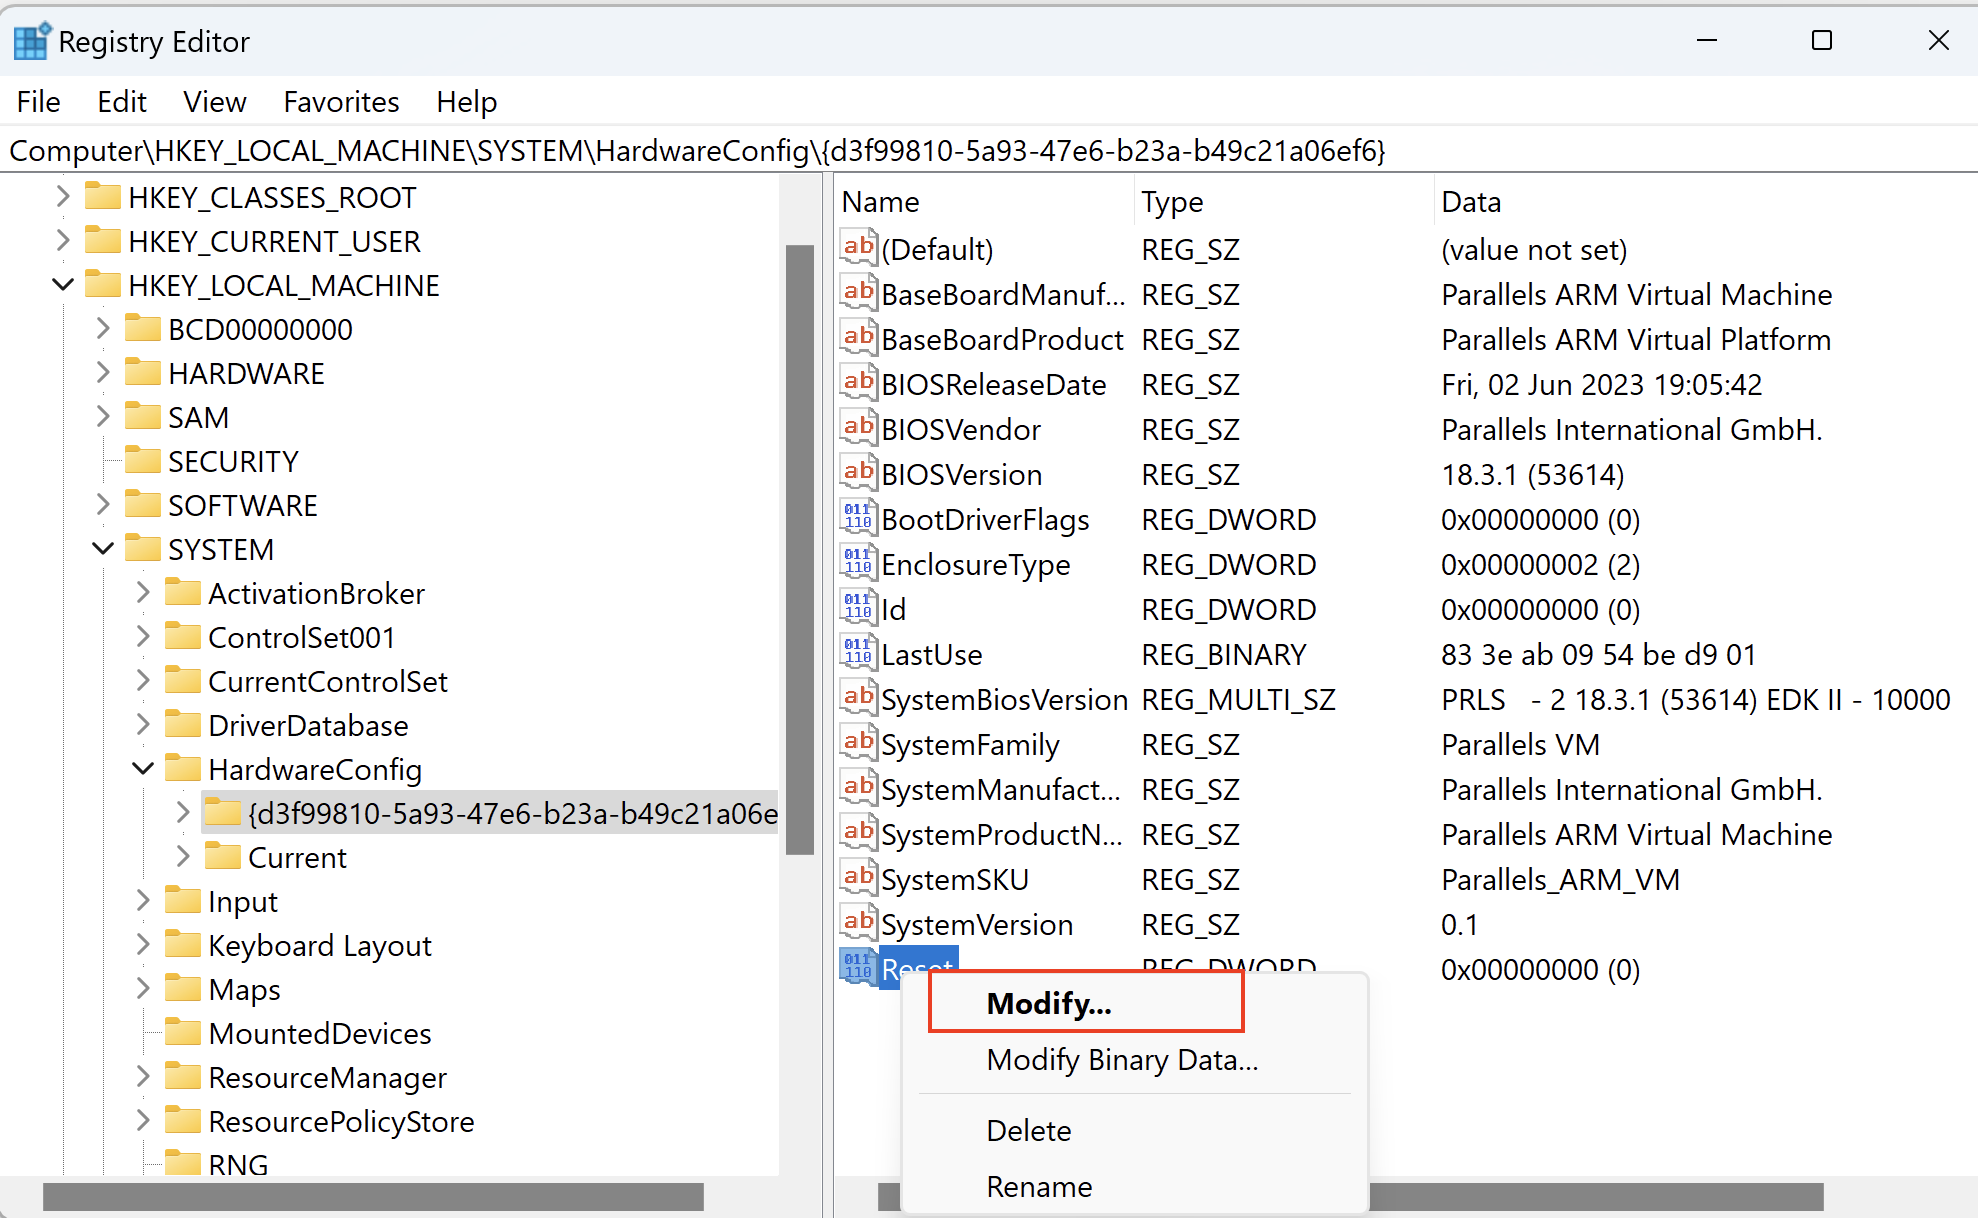
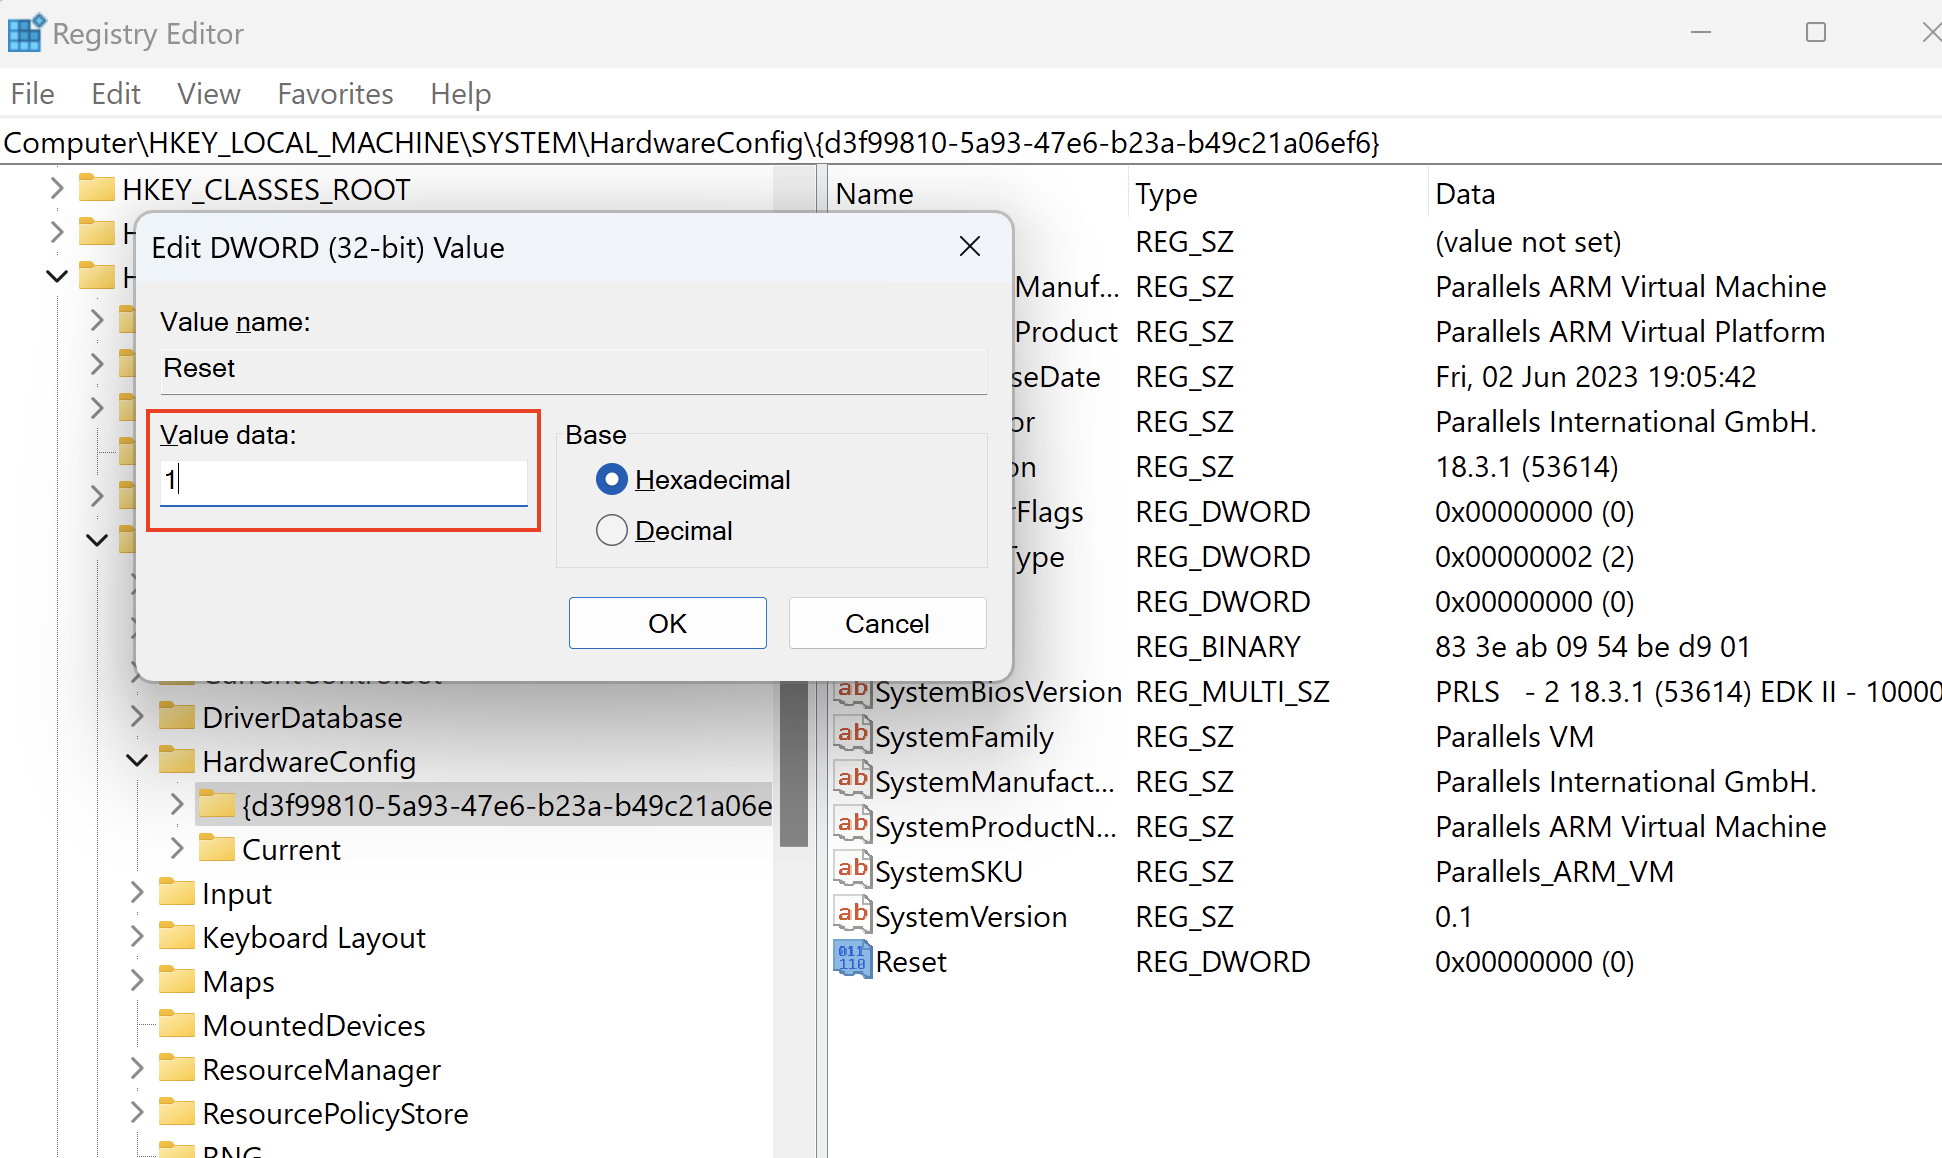
5. Right-click the newly created Reset DWORD Value > Modify > edit the Value data: input field and change the value from 0 to 1 > click OK.
6. Shut down your virtual machine (Actions > Shut down) and open the configuration settings of the VM.
7. Select the Hardware tab > Hard disk > click Advanced...
8. Note the currently selected option in the Location Dropdown.
9. Click on the Location dropdown and select an option beginning with "SATA 0:" e,g SATA 0:4 as selected in the example provided in the screenshot below.
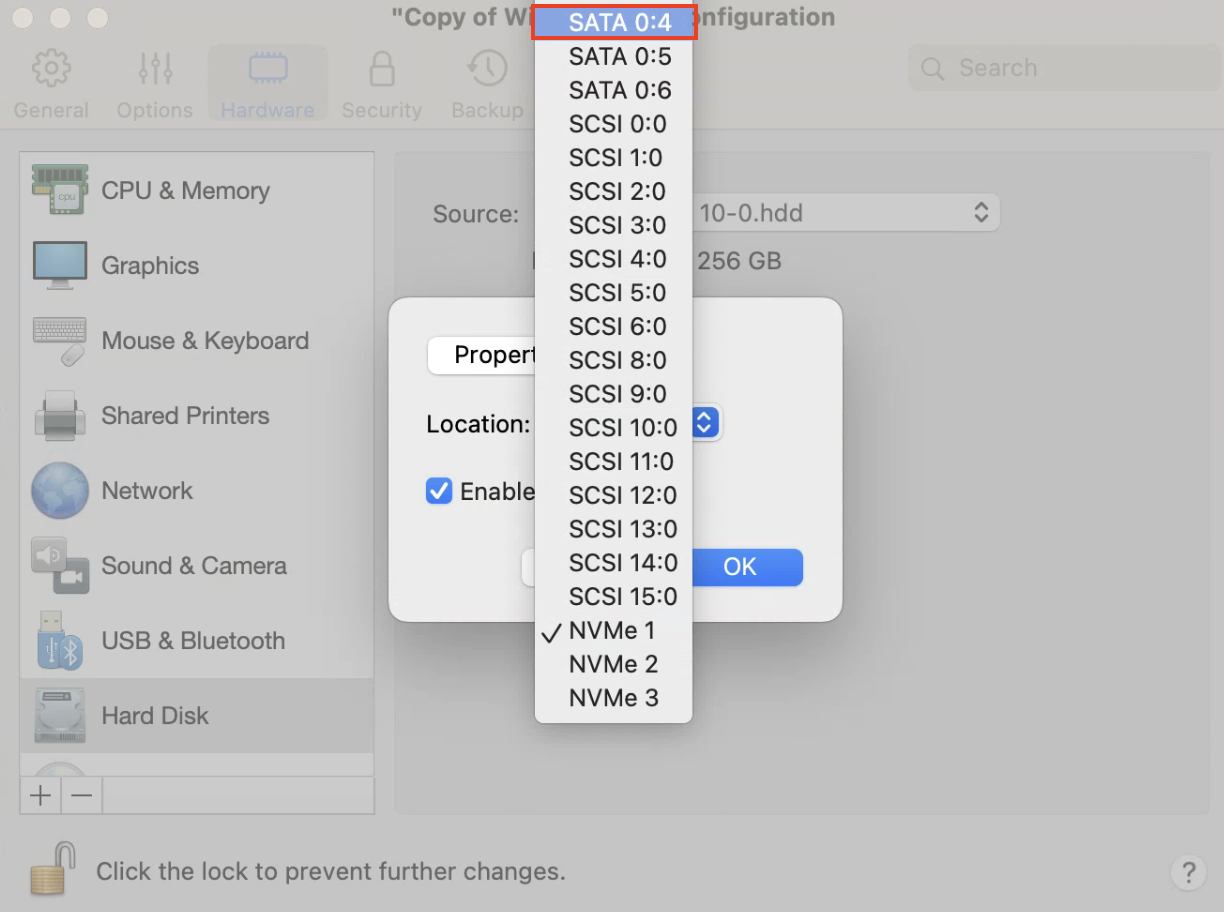
Note: in the event you have multiple Hard Disks connected to the virtual machine, please ensure your chosen option has not been selected by any of these other hard disks.
10. Click the "OK" button. Start your virtual machine.
Was this article helpful?
Tell us how we can improve it.