This article will walk you through the process of installing Power BI on your Mac system. Power BI is Microsoft's powerful business intelligence and data visualization tool, and with the help of this article, you'll be able to seamlessly set it up. By following the step-by-step instructions, you'll learn how to create a Windows virtual machine and install Power BI. Let's get started!
To install Power BI on Windows 11 virtual machine (VM), please follow the steps below:
1. Start Windows 11 and install the latest Windows updates: click on the Windows Start icon> Settings > select Windows Update > Check for updates.
2. Restart the virtual machine to apply changes.
3. Open your preferred web browser inside a Windows VM and go to the official Microsoft Power BI website and download the installation image of Power BI Desktop.

Note: When downloading, PBIDesktopSetup.exe is 32bit version and PBIDesktopSetup_x64.exe is 64bit version
4. Once the download is complete, locate the installer file (usually named PBIDesktopSetup_x64.exe) and double-click on it to start the installation process. Follow on-screen instructions.
Note: if you encounter the error message below, delete the installer of Power BI, restart Windows 11 and repeat the steps above:
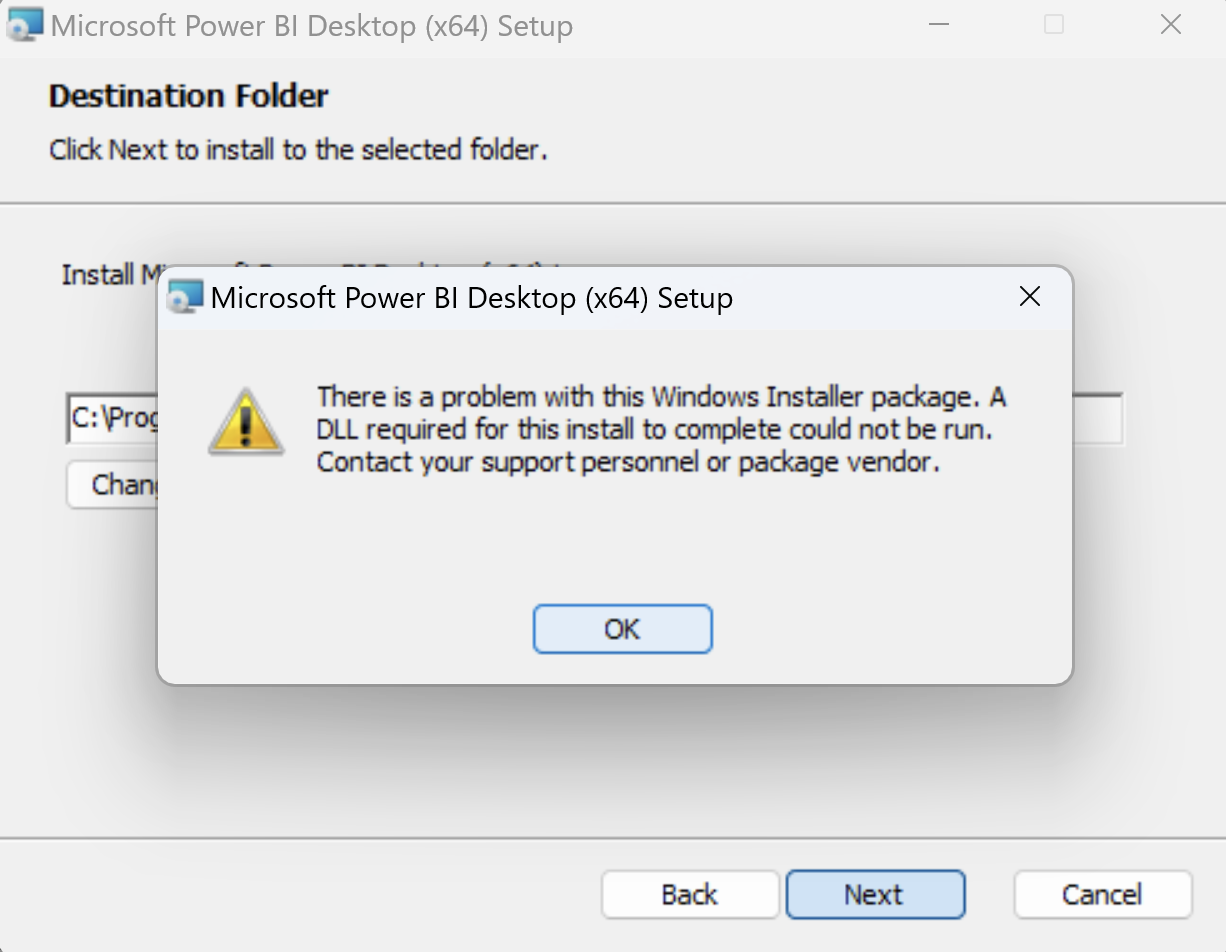
Note: when you launch Power BI, you may be prompted to sign in with your Microsoft or organizational accounts. Enter your credentials and follow the on-screen instructions to sign in.
That's it! You have successfully installed Power BI on your Windows 11 virtual machine running on a Mac with Apple silicon and can now start using it to create and analyze data visualizations.
Note: in case the x64 version still does not work after performing the above steps, download and install the x32 version named PBIDesktopSetup.exe
Known Issues
"Error fetching data for this visual" "An unexpected error occurred (file '', line , function '')"

In some cases, this error message may be encountered. This is a known issue with Power BI running on Arm-powered computers, on Windows running both via Parallels or natively as discussed on Microsoft forums.
Note: There are potential workarounds for the issue discussed both on mentioned Microsoft forum topic and Parallels forum, such as changing the filter to check if data value is greater than 0 or using 32bit version of the Power BI.
Was this article helpful?
Tell us how we can improve it.