We know many of you want to have an opportunity to create a macOS virtual machine (VM) Vagrant box to run it on a Mac with Apple M-Series chip. Starting with Parallels Desktop 18.3.0 you have the option to do that. It's important to note that we're constantly doing our best to streamline the process and make it more convenient for your needs.
Note: Vagrant plugin is available in Parallels Desktop Pro and Business Editions only.
In this article, you will learn how to create a macOS virtual machine box for Vagrant that runs on Mac computers with M-Series chips.
0. Download and install Vagrant.
0.1 Install Parallels plugin for Vagrant by executing the command below in Terminal:
1. Start Parallels Desktop and create a new macOS virtual machine as outlined in KB 125561.
Note: While creating, give the username as ‘vagrant’ only.
1.1. Enable passwordless sudo for macOS virtual machine.
1.1.1. Open Terminal in macOS virtual machine and run sudo visudo
Edit the line:
%admin ALL=(ALL) ALL
To say:
%admin ALL=(ALL) NOPASSWD: ALL
Now, you should now be able to run sudo without password.
2. Install Parallels Tools inside the macOS virtual machine.
3. Boot macOS virtual machine and enable Remote Login (System Settings > General > Sharing > Enable Remote Login). Don't forget to give “Full disk access to users”, do allow “All users” (in the same settings, press button)

4. Restart macOS virtual machine for the Remote Login to take effect.
5. Create an ssh public-private key from the host.
5.1. Start Terminal on the host side.
5.2. Execute the following command:
5.3. After every step press "Enter". You don't need to use a passphrase or file. As a result, you will get a similar output as in the example below:
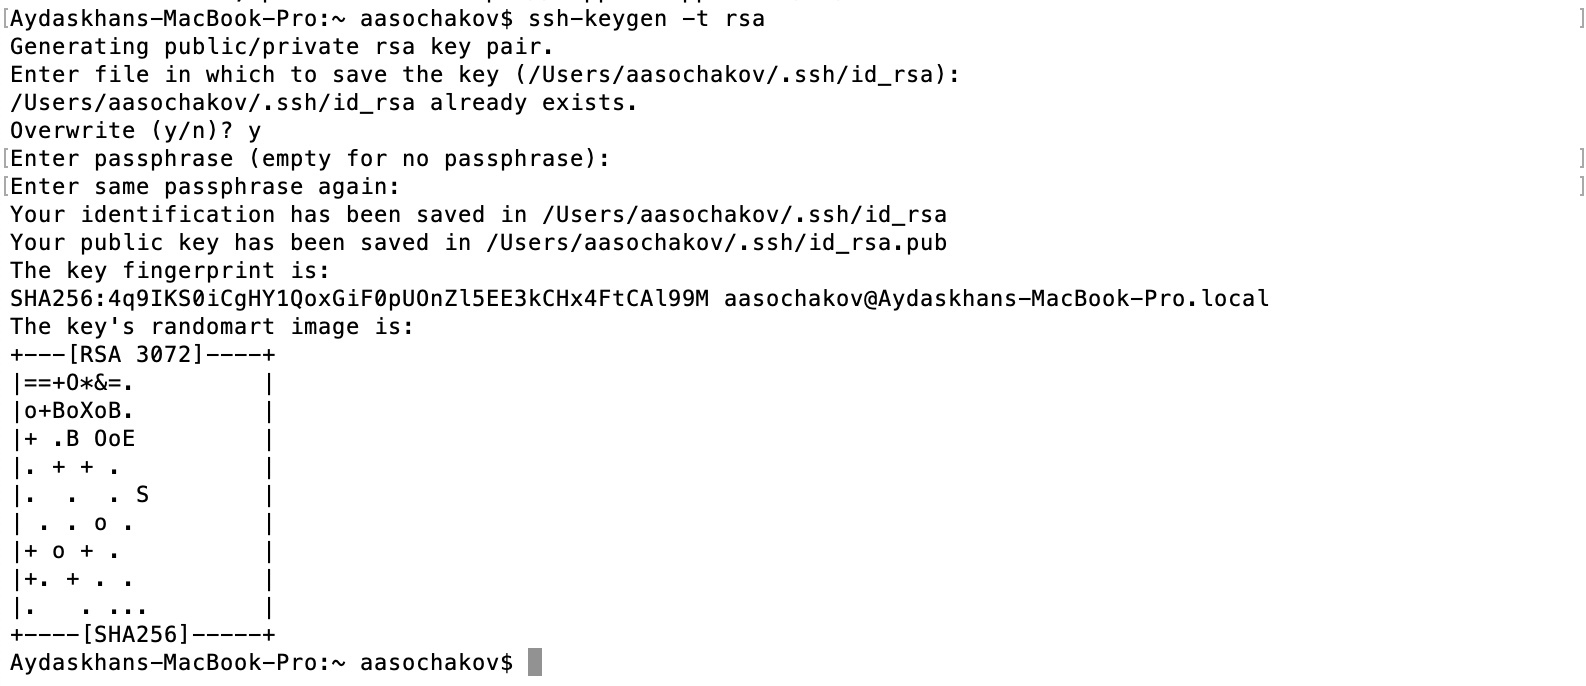
It will generate the files below in the ~/.ssh/ directory:

6. Upload the public key to macOS virtual machine from your host by executing the command below in Terminal:
Note: To check your virtual machine's IP address, go to Finder > System Settings > Network > Ethernet > IP address.
7. In Parallels directory on your Mac create a folder (something simple like 'VagrantTest').
8. Copy the initially created bundle of your macOS virtual machine (it has the .macvm extension) to the newly created folder (VagrantTest).
9. Optional: You can rename macOS virtual machine with a unique name so that you won't get any name collision issues.
9.1. Run Terminal on the host side and execute the following command:
Where the name 'macOS_13' is your virtual machine's name.
Note: Renaming the virtual machine is one of the solutions to avoid name collision. You can also remove macOS virtual machine from Control Center (Parallels icon > Control Center > Right-click on macOS 13 virtual machine > Remove 'macOS 13' > Keep Files).
10. Download Vagrantfile and put it in the VagrantTest folder.
11. Download metadata.json file and put it in the VagrantTest folder.
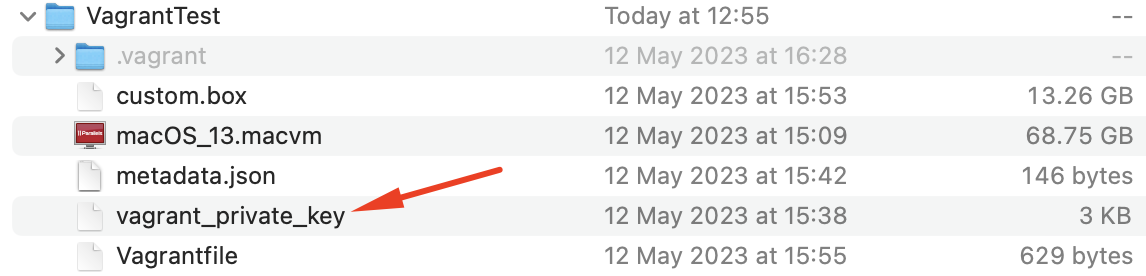
12. Copy your private key from ~/.ssh/ directory in VagrantTest directory and rename it to 'vagrant_private_key':
13. Create a box by Terminal.
13.1. Execute the following command:
then
where:
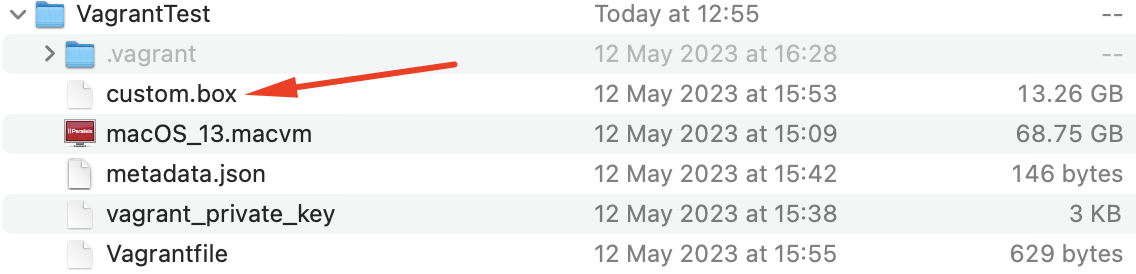
custom.box - any box name. For example, vagrant.box, vagrant_project.box, etc.
box.pvm - macOS virtual machine's name from step 1 (for example, macOS_13.macvm)
Vagrantfile, metadata.json, vagrant_private_key - files from VagrantTest folder.
Note: The name of the macOS 13 virtual machine should not contain any spaces.
14. Add the created box into vagrant boxes:
14.1. Run Terminal and execute:
where:
<name>.box - .box file from VagrantTest folder (like on the example screenshot above)
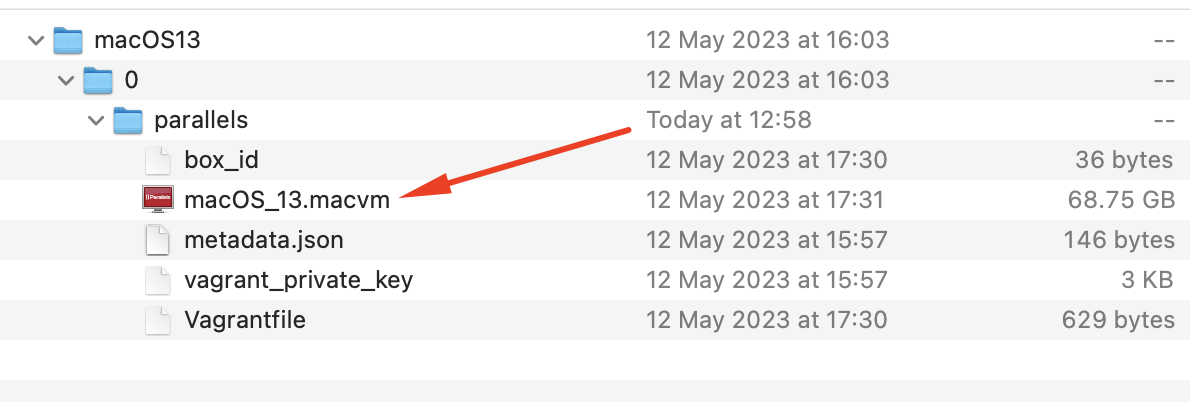
15. Go to ~/.vagrant.d/boxes/macOS13 folder and check that extension of macOS virtual machine is .macvm:
16. Now create a new folder in the home directory and name it VFTest (In the Finder, you can open your home folder by choosing Go > Home or by pressing Shift-Command-H).
Note: The name of the folder can be different. 'VFTest' is just for example.
17. Download Vagrantfile and put it in VFTest folder.
Note: The name of the file is VagrantfileVF. Please delete 'VF' so the name should be Vagrantfile like on the screenshot below:

18. In Terminal you should go to the directory with Vagrantfile ('VFTest' folder from step 15). Just type:
cd <path to the VFTest folder>
Check the example below:

19. And try any Vagrant command. For example:
20. This command will start macOS virtual machine (the name of the virtual machine will be different):
Now you are ready to execute Vagrant commands.
Was this article helpful?
Tell us how we can improve it.