Resolution
To successfully use Microsoft Azure as an external Identity Provider (IdP) for Parallels Secure Workspace, it's important that the username claim returns the user principal name (UPN) in the LDAP environment, which is most commonly an Active Directory (AD).
Configuring Parallels Secure Workspace: host headers
This needs to be configured per Workspace domain.
First, go to System Settings > Global > Domains. Select the Workspace domain for which this authentication flow will be configured. Validate what is specified for host headers. It should contain the host header that will be used to access the Parallels Secure Workspace environment. In this guide, this will be workspace.somedomain.org .
Microsoft Azure will only allow URLs using https; so make sure there is an SSL certificate configured in Parallels Secure Workspace for this Workspace domain.
Creating Azure Enterprise Application
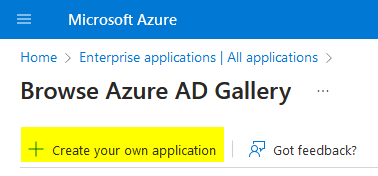
Log in to portal.azure.com and locate Enterprise Applications.
Click [ + Create your own application ].
Give the application a name of your choice.
Select "Integrate any other application you don't find in the gallery (Non-gallery)".
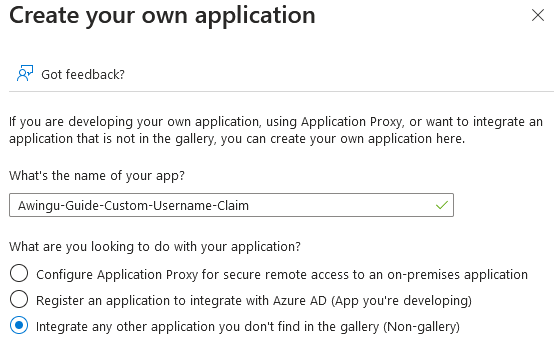
Confirm by pressing [Create].
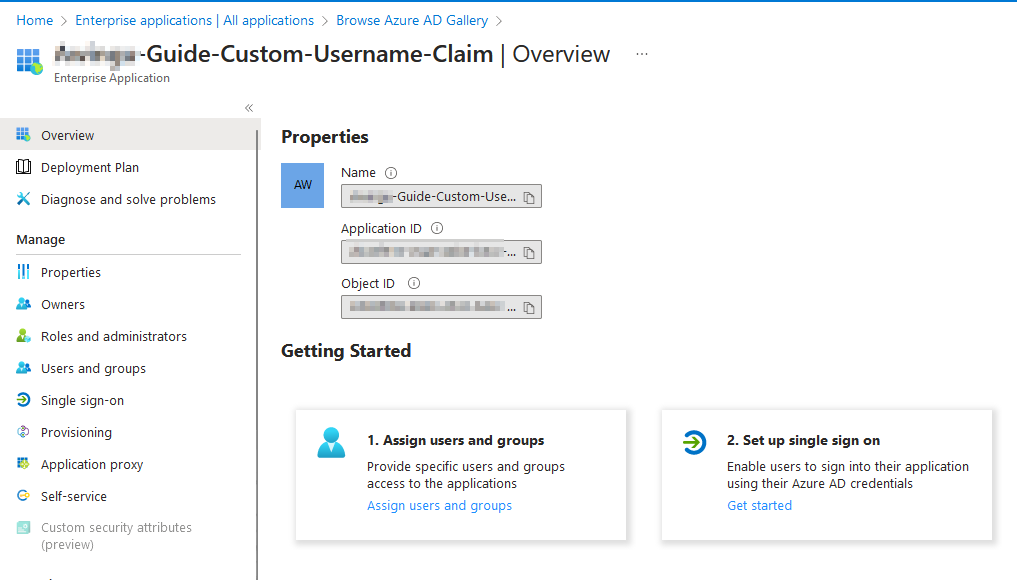
After a bit, the properties of the Enterprise Application should be shown.
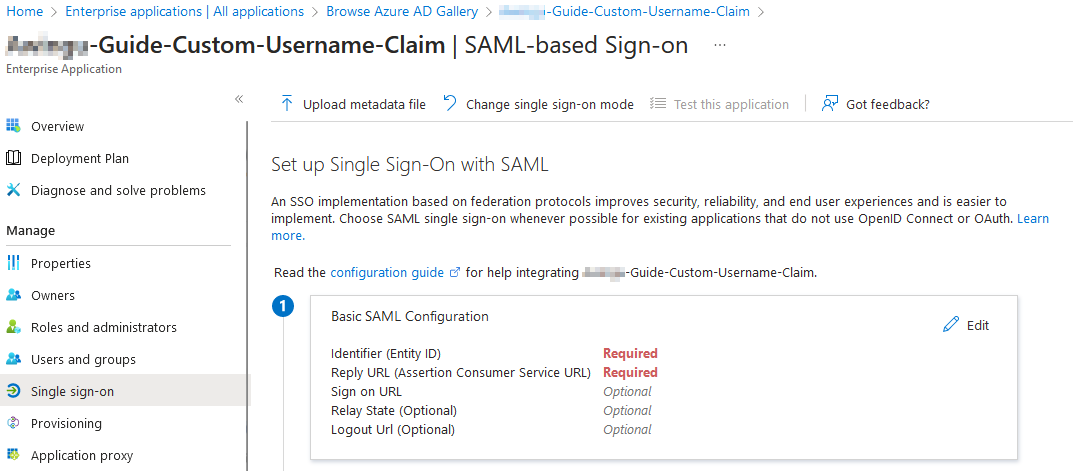
In the left navigation menu, choose Single sign-on.
Choose SAML:
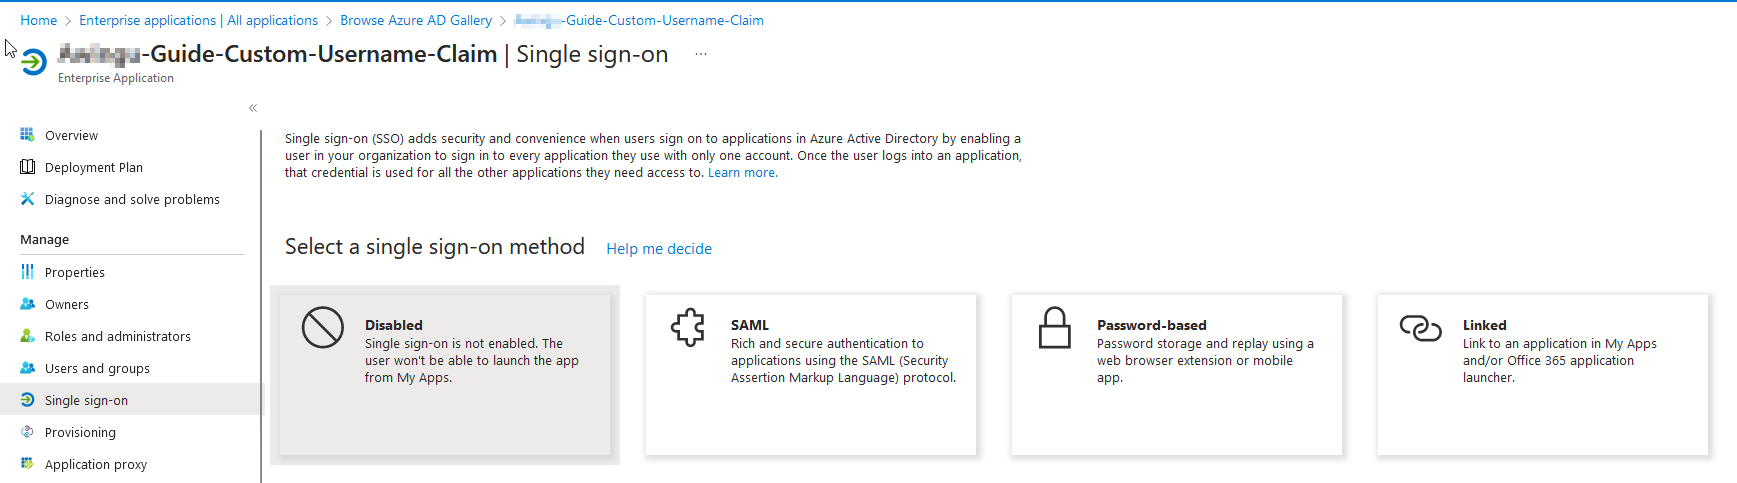
This will need to be completed step by step.
In the Basic SAML Configuration, click on Edit.
Basic SAML Configuration
- Identifier (Entity ID): This identifier can be any value. It will need to be the same in Parallels Secure Workspace later on. In this example, it is Workspace-Guide-Custom-Username-Claim
- Reply URL (Assertion Consumer Service URL): This must match the ACS URL in the Parallels Secure Workspace. In this example, it would be https://workspace.somedomain.org/api/saml/
- Sign on URL (Optional): No need to configure.
- Relay state (Optional): No need to configure.
- Logout Url (Optional): Recommended. This will need to match the log out URL in Parallels Secure Workspace In this example, it would be https://workspace.somedomain.org/api/slo/
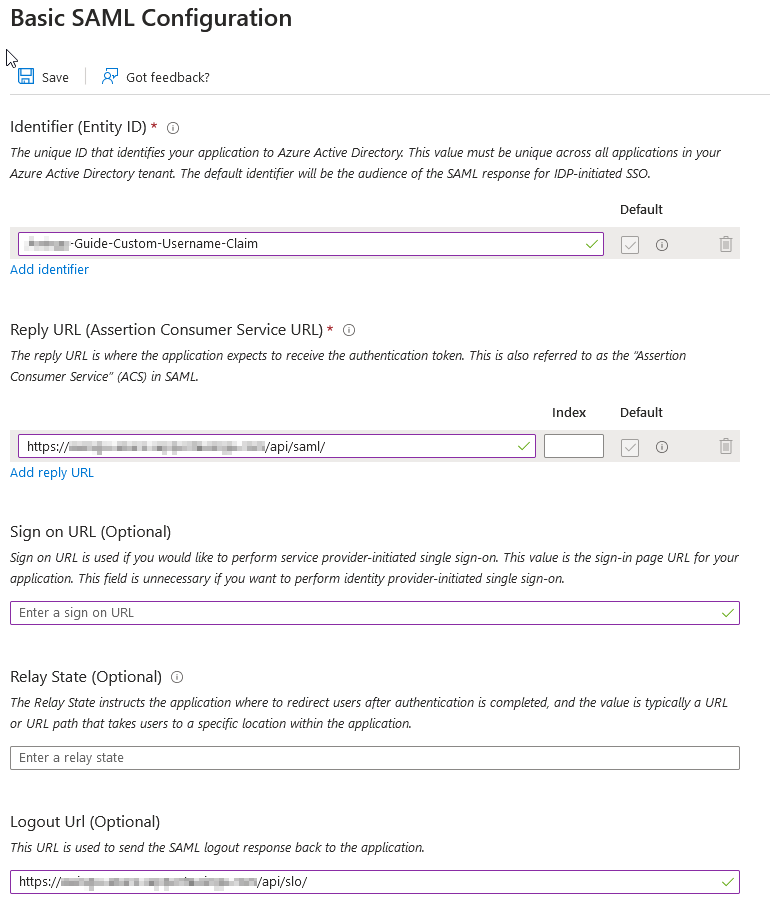
Click [Save].
Attributes & claims
The user principal name (UPN) is used to link the Microsoft Entra ID user and the local LDAP / Active Directory user.
If the user has a different UPN in Microsoft Entra ID, the username claim must be adjusted as below.
Click Edit next to Attributes & claims.
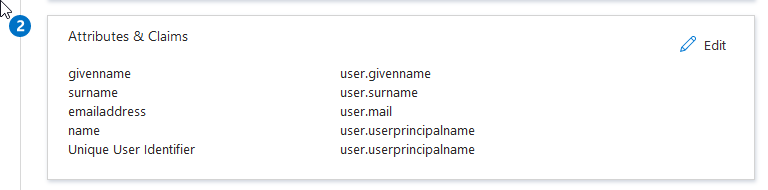
In most configurations, the claim http://schemas.xmlsoap.org/ws/2005/05/identity/claims/name is used [...]. By default, this returns the user principal name of the Azure user.
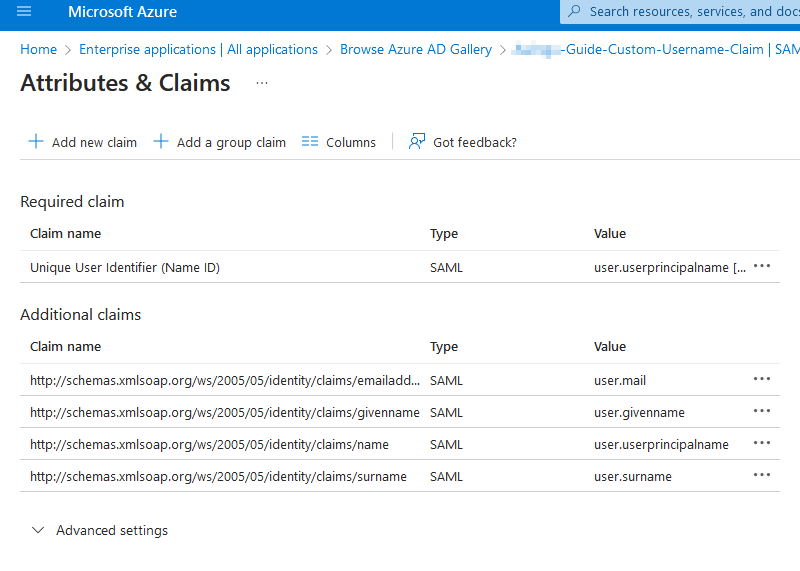
When this does not match the UPN of the LDAP user, there are two options:
- Click the claim name and change the source attribute to something else, for example: user.extensionattribute1
- Click [ + Add new claim ] to add an entirely custom claim.
- Name: Can be anything. For example: customatt
- Namespace: Can be left blank.
- Name format: Don't change, leave to default.
- Source: Depends on the use case. Most commonly: point to an Attribute and set Source attribute to the attribute (on Microsoft Entra ID) in which the user principal name of the local LDAP / Active Directory user will be stored. Make sure this field is populated for each user!
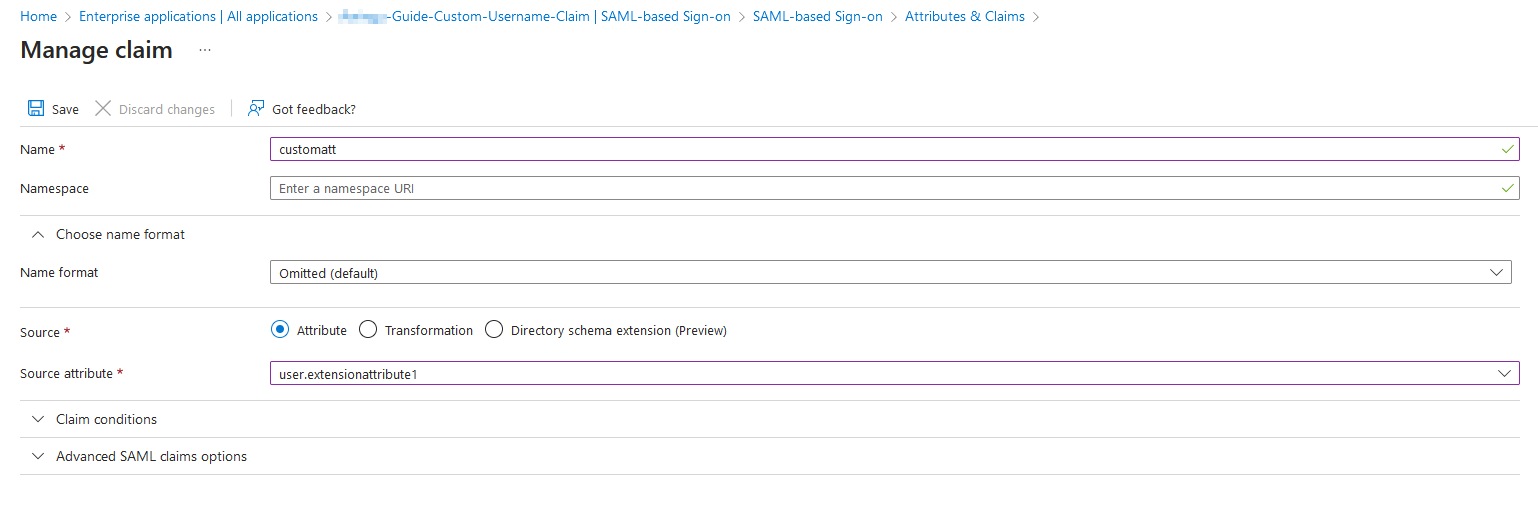
Click Save.
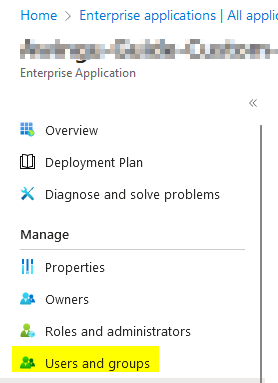
Configuring users and groups
Click Users and groups. Select all the users and groups who should have access to the Workspace.
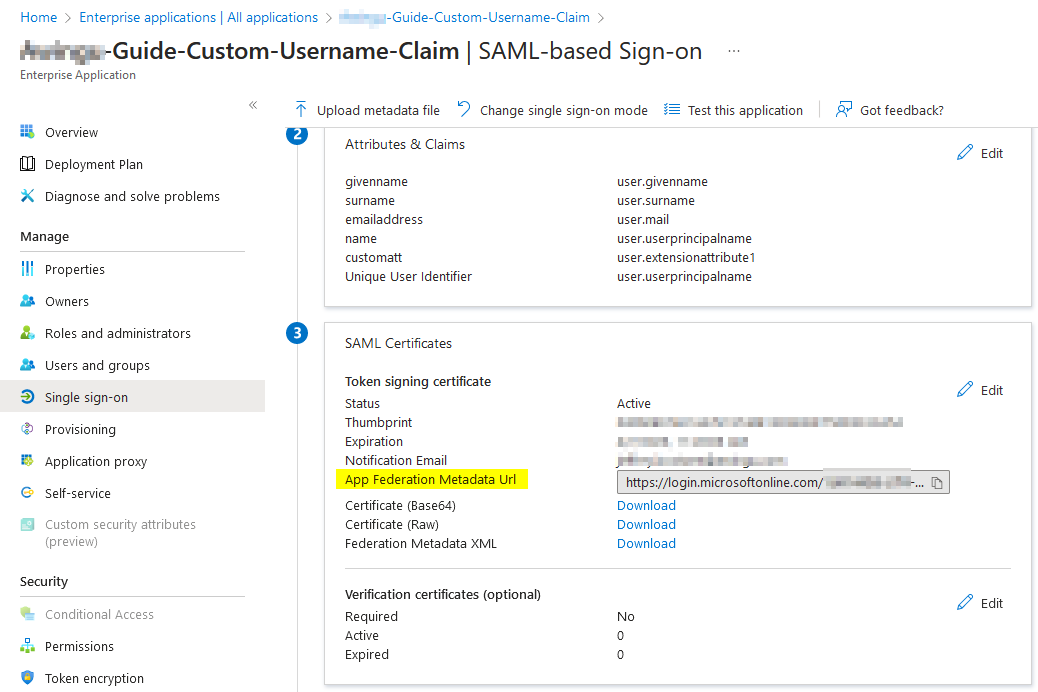
Grabbing federation metadata URL
Click Single sign on.
Under step 3, locate the App Federation Metadata URL.
Copy this value, it's needed in the Parallels Secure Workspace configuration.
Configuring Parallels Secure Workspace: Federated Authentication
In System Settings, after making sure the relevant domain is selected in the top left:
Navigate to System Settings > Configure > User Connector.
- Under Reverse Proxy, verify the default login host header is set to the host header which end users will use to access this Workspace domain (e.g. workspace.somedomain.org ).
- Under Federated Authentication:
- Set the Type to Pre-Authentication. (Note: This article is limited to the instructions to set up Pre-Authentication, but these steps are the same when setting up Single Sign-On (SSO). SSO requires additional steps though.)
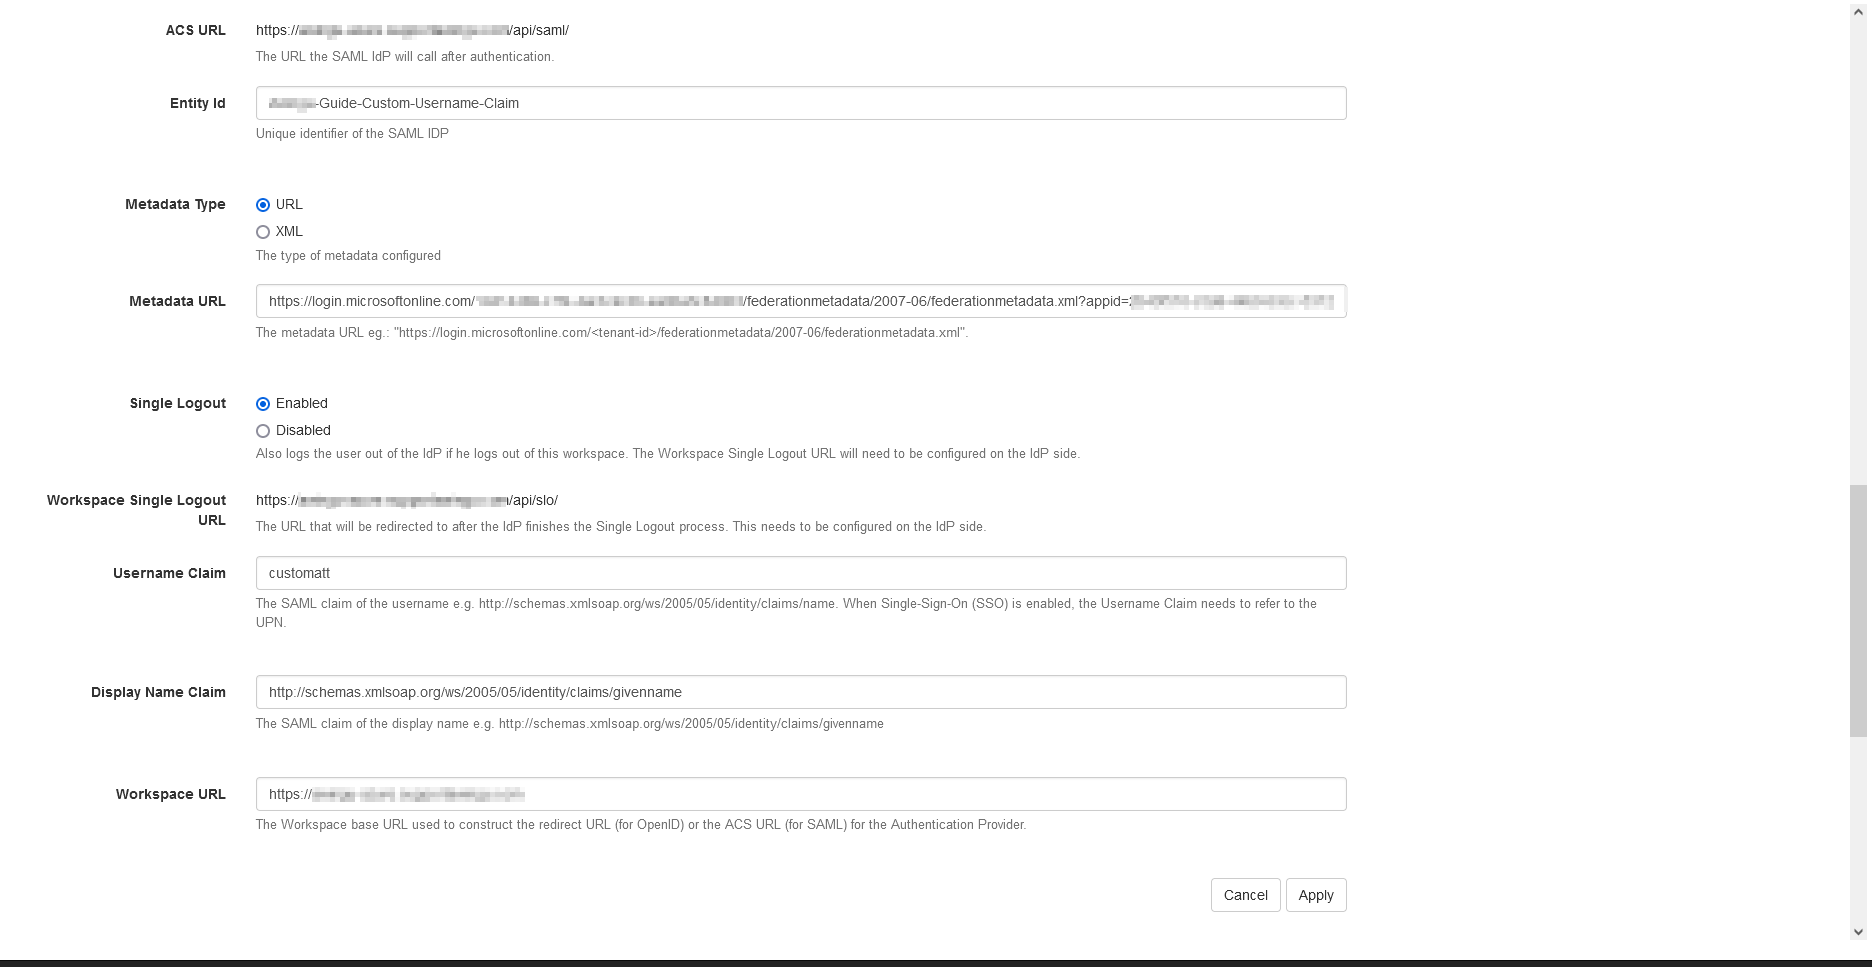
- Set the Protocol to SAML.
- Entity ID: Can be anything, for example: Workspace-Guide-Custom-Username-Claim
- Set the Metadata Type to URL. Paste the URL found in the Enterprise Application's Single Sign On Settings. It should look like this: https://login.microsoftonline.com/<unique_id>/federationmetadata/2007-06/federationmetadata.xml?appid=<app_id>
- It's recommended to enable Single Logout.
- Change the Username claim.
- Default: http://schemas.xmlsoap.org/ws/2005/05/identity/claims/name
- When using a custom claim: use the claim name, for example: customatt
- Display Name Claim: http://schemas.xmlsoap.org/ws/2005/05/identity/claims/givenname
- Workspace URL: This will be used to construct the ACS URL for the Authentication Provider. In most scenarios, this is the host header that end users will use to access this Workspace domain. For example: https://workspace.somedomain.org
- Click [Apply].
Note: the URLs will update each time the "Workspace URL" value has been saved.
Click Apply.
Additional hints
If Azure AD Connect (AADConnect) is being used to synchronize users from local Active Directory to Azure AD:
Set up a custom rule as described here: https://learn.microsoft.com/en-us/azure/active-directory/hybrid/how-to-connect-sync-change-the-configuration
- inbound: local AD (user principal name) -> metaverse
- outbound: metaverse -> extension1 (or any of the other ones available).
There's also a technical video available.
Was this article helpful?
Tell us how we can improve it.