In this article, we are going to review the setup process of Parallels Remote Application Server Reporting Service, which requires Microsoft SQL Server Reporting Services (SSRS) and use SQL Server Express Edition with Advanced Features installed on the separate host.
|
RAS |
SSRS |
SQL |
Location |
|
17.1 |
2019 |
2019 |
RAS Reporting and SSRS - same machine SQL - can be different machine |
|
18.0 |
2019 |
2019 |
RAS Reporting and SSRS - same machine SQL - can be different machine |
Important: The RAS Reporting component must be installed on the same machine as SSRS.
Prerequisites
- Create a dedicated Active Directory account that will be used to view the reports called rasreportingview.
- Make sure that the account which will be used for Microsoft SQL Server and Reporting Services installation is a domain account and has local administrative permissions on the target Windows Server machine. If required, add the account to the local Administrators group manually or using Group Policies.
- The same domain account from step 2 can be used for both SQL Server and SSRS deployment and configuration (make sure you assign SQL Administrator role).
Microsoft SQL Server Installation and Configuration
Installation
If you are planning to use SQL Server 2019 Express Edition, make sure you install the latest version. The installer can be downloaded at https://www.microsoft.com/en-us/Download/details.aspx?id=101064.
To install Microsoft SQL Server:
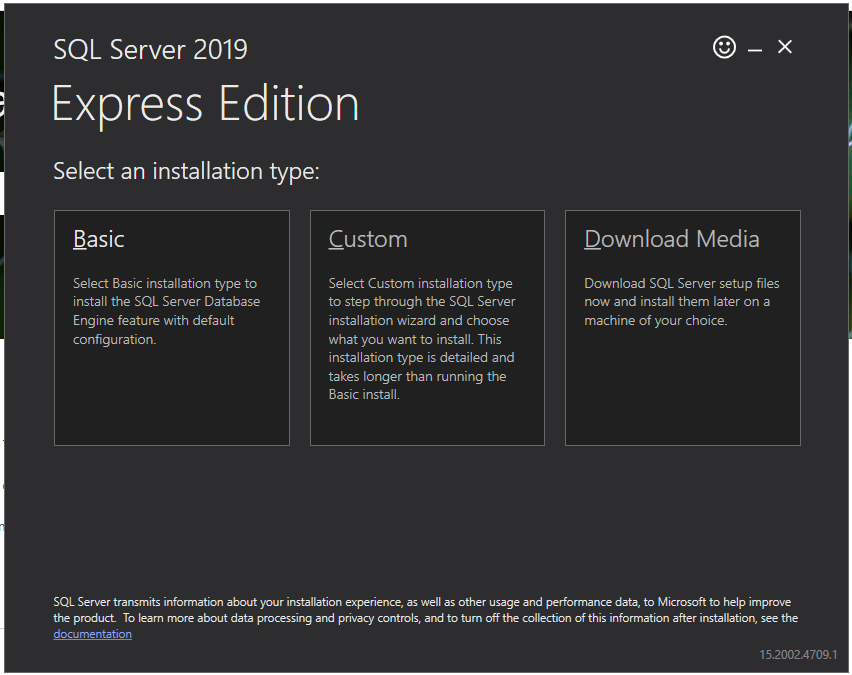
- Launch the installer and select Download Media:
- In the "Which package would you like to download" section, select Express Advanced:

- Specify the download folder and click Download to save the SQLEXPRADVx64.msi file.
- Run the SQLEXPRADVx64.msi installer.
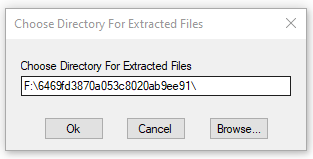
- Select a temporary folder to save installer binaries:
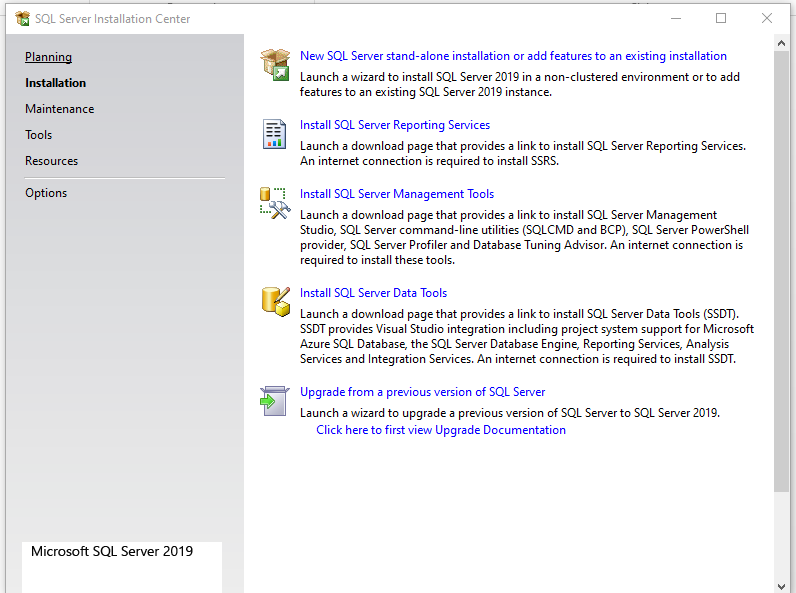
- In the SQL Server Installation Center, click on New SQL Server stand-alone installation or add features to an existing installation.
- On the License Terms page, accept the license terms:

- On the Microsoft Update page, if required, select Use Microsoft Update to check for updates:

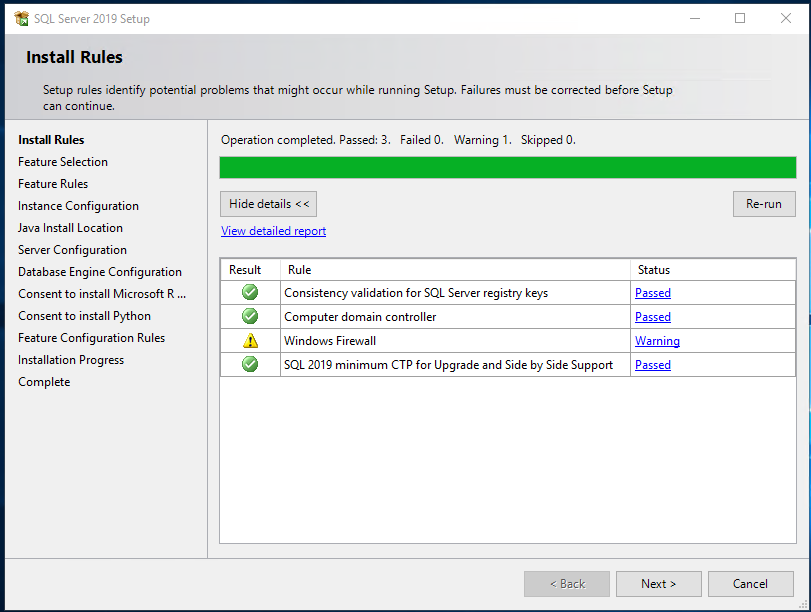
- On the Install Rules page, click Next
- On the Feature Selection page, clear the Machine Learning Services and Language Extensions option. Click Next:

- On the Instance Configuration page, under Named instance, either leave the default SQLEXPRESS or enter the name RASREPORTING (in upper case):

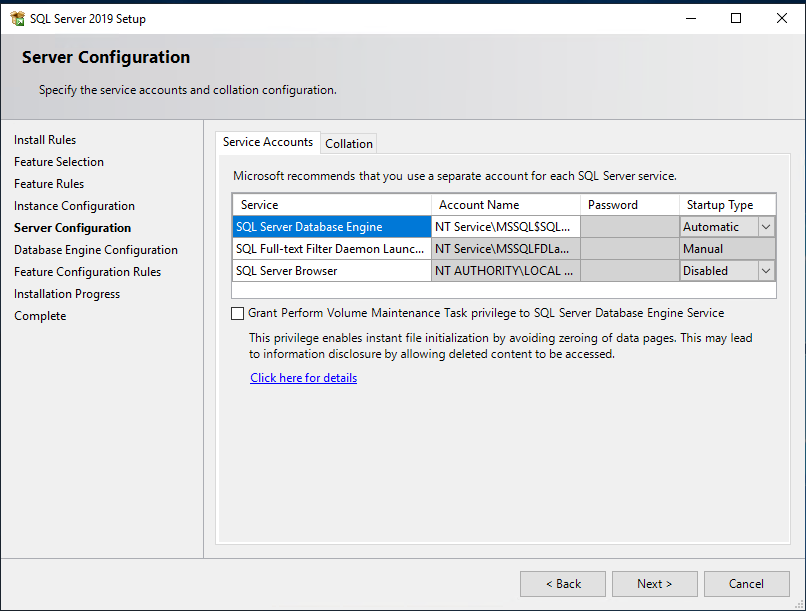
- On the Server Configuration page, specify accounts, which will be running SQL Server services. We will use default accounts:
- On the Database Engine Configuration page, add the local NT AUTHORITY\SYSTEM account and Active Directory account in the SQL Server administrator’s pane. This is the AD account that will be used to view the reports from the Parallels Remote Application Server Console (rasreportingview by default). Add additional accounts if required.

- Click Next.
- On the Complete page, click Close once the installation is finished:

SQL Server Remote Access Configuration
To enable remote connections to the SQL Server instance you need to enable TCP/IP and set port 1433 for all IP addresses:
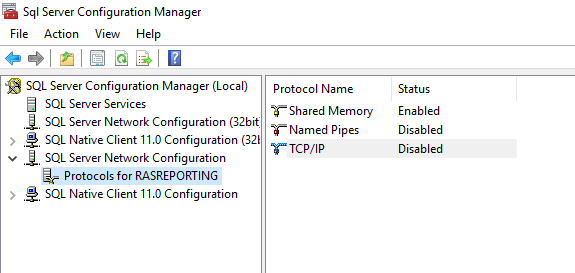
1. Open SQL Server 2019 Configuration Manager and go to SQL Server Network Configuration > Protocols for <Instance-name> (e.g. Protocols for RASREPORTING):
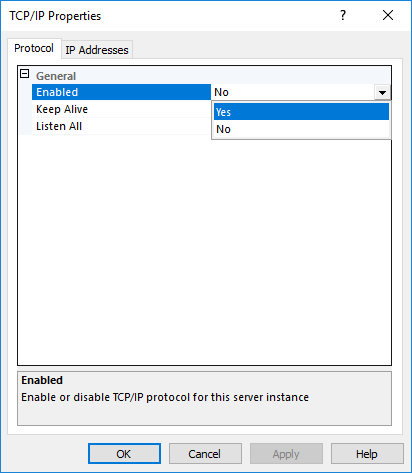
2. Right-click on TCP/IP, choose Properties and set the Enabled option to Yes:
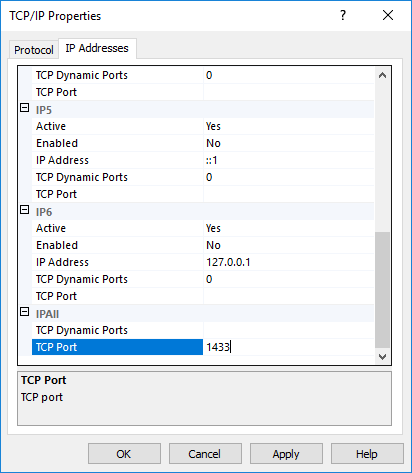
3. Select the IP Addresses tab. In the IPAll section, set TCP Dynamic Ports to blank and TCP Port to 1433:
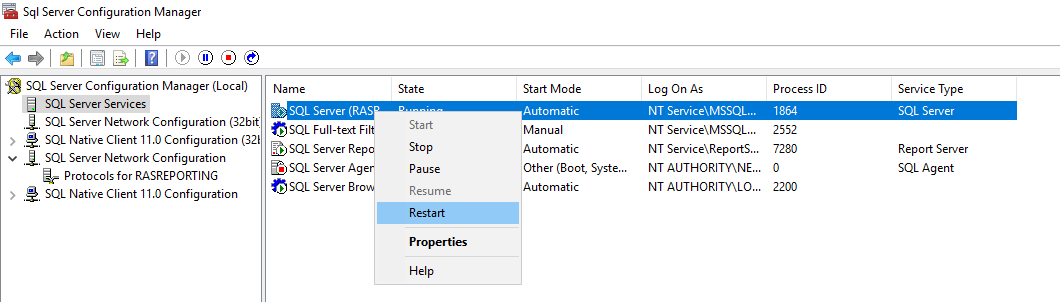
4. Restart the SQL Server instance by right-clicking it and choosing Restart.
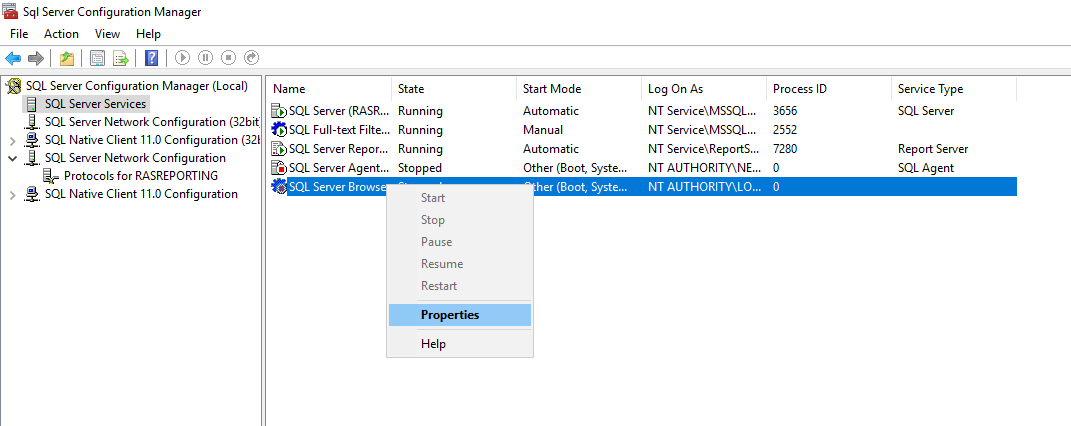
5. After the SQL Server instance is restarted, right-click SQL Server Browser and choose Properties:
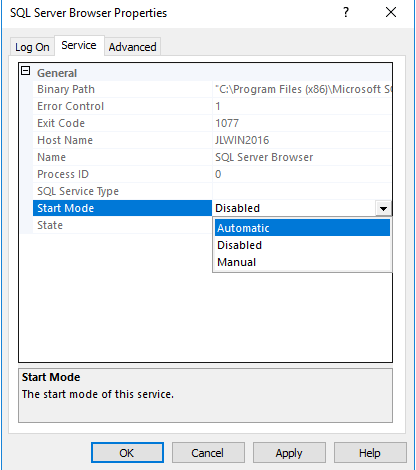
6. Select the Service tab and set Start Mode to Automatic. If the SQL Server Browser is not currently running, right-click it and choose Start.
Note: Remote connections are enabled by default in SQL Server 2019. To verify this setting, check the Allow remote connections to this server option as described in the SQL Server Configuration Using Management Studio section below.
SQL Server Management Studio Installation
Download the latest SQL Server Management Studio (SSMS) at https://docs.microsoft.com/en-us/sql/ssms/download-sql-server-management-studio-ssms?view=sql-server-ver15 .
- Run as Administrator the SSMS-Setup-ENU.exe installer.
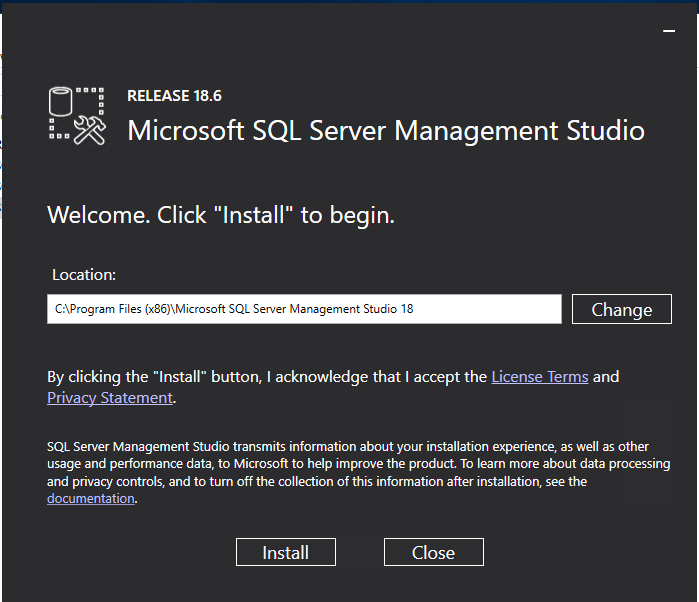
- On the Welcome page of the installation wizard, click Install. The installation is automatic. When the installation is finished, click Close.
SQL Server Configuration Using Management Studio
1. Open Microsoft SQL Server Management Studio.
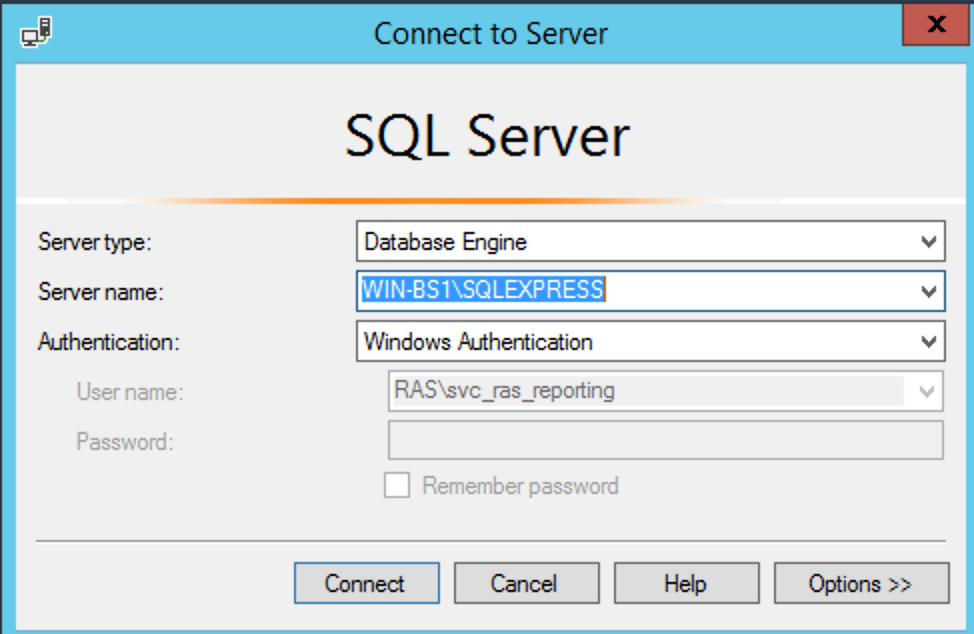
2. In the Connect to Server dialog, specify the following:
- Server type: Database Engine
- Server name: Select the name of the SQL Server that you are using (e.g. SQLEXPRESS)
- Authentication: Windows Authentication
- User name: Select the SQL Server administrator that will be used for configuration.
- Password: The SQL Server administrator password (if set).
3. Click Connect.
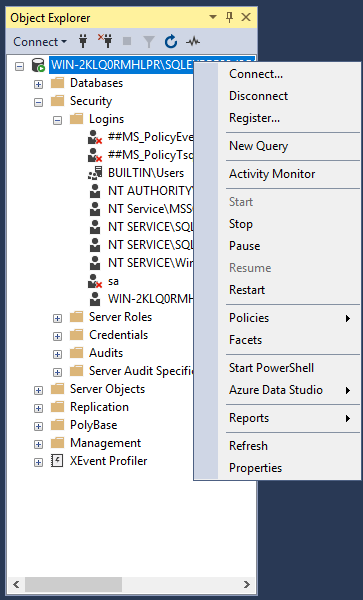
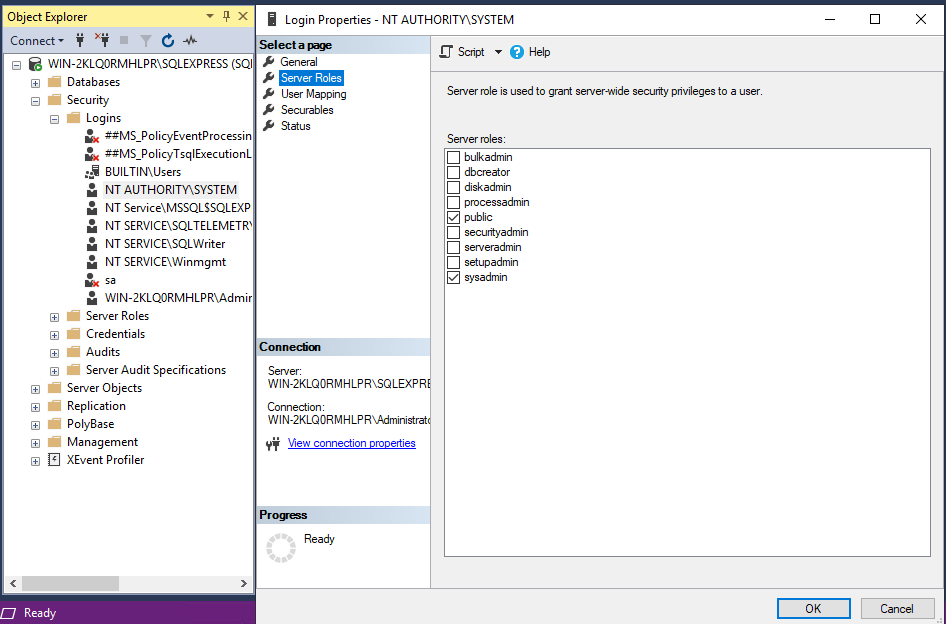
4. In the SQL Server Management Studio, right-click the SQL Server and choose Properties:
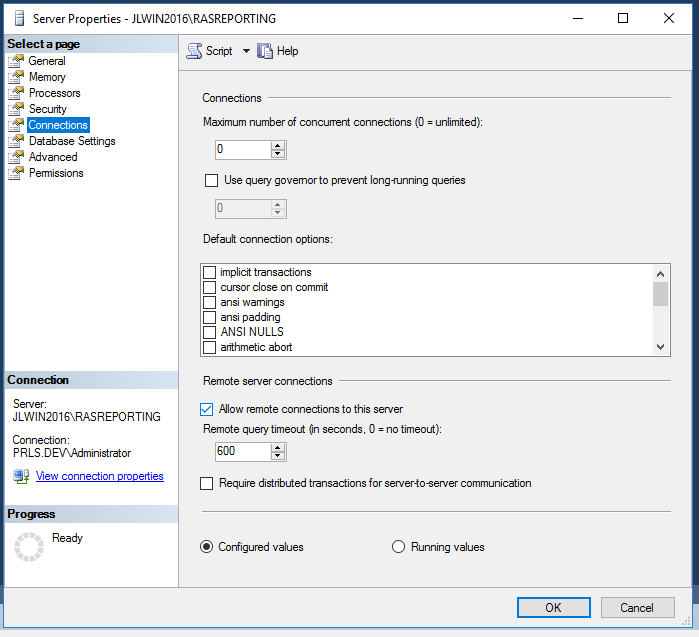
5. In the Server Properties dialog, select the Connections page and make sure that the Allow remote connections to this server option is selected. Click OK when done.
6. In the left pane, select the Security > Logins page and make sure that NT AUTHORITY/SYSTEM and domain accounts that will be used to view the reports are added and have the sysadmin server role enabled.
7. Close Microsoft SQL Server Management Studio.
Microsoft SQL Server Reporting Services Installation and Configuration
Installation
SQL Server Reporting Services 2019 is a separate component available at https://www.microsoft.com/en-us/download/details.aspx?id=100122 .
To install SSRS:
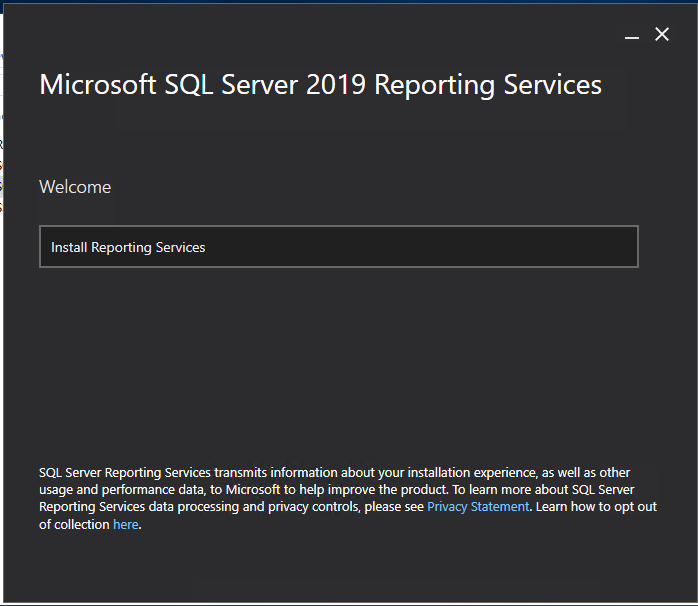
- Download the SQLServerReportingServices.msi installer and run it as administrator.
- Click Install Reporting Services
- If you install SSRS and SQL Server on the same machine, you can choose Express. We use the separate host therefore, in our example we'll select Evaluation (expires in 180 days).
- Click Next:

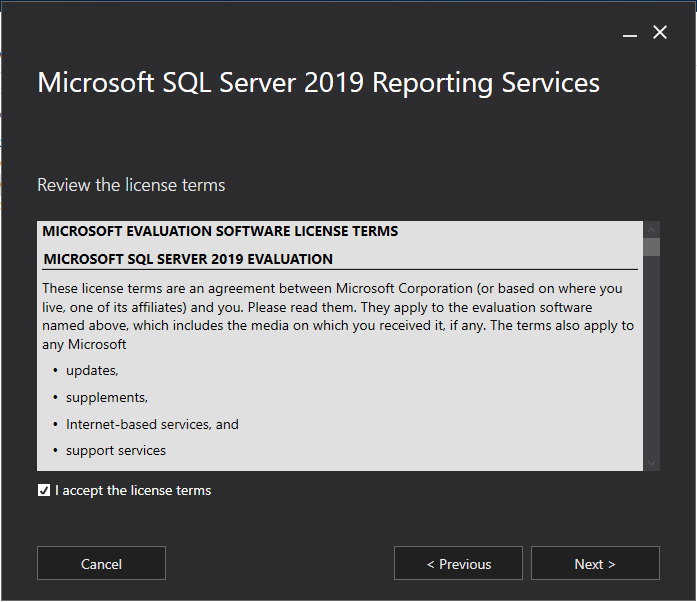
5. Accept the license terms on the Review the license terms page and click Next:
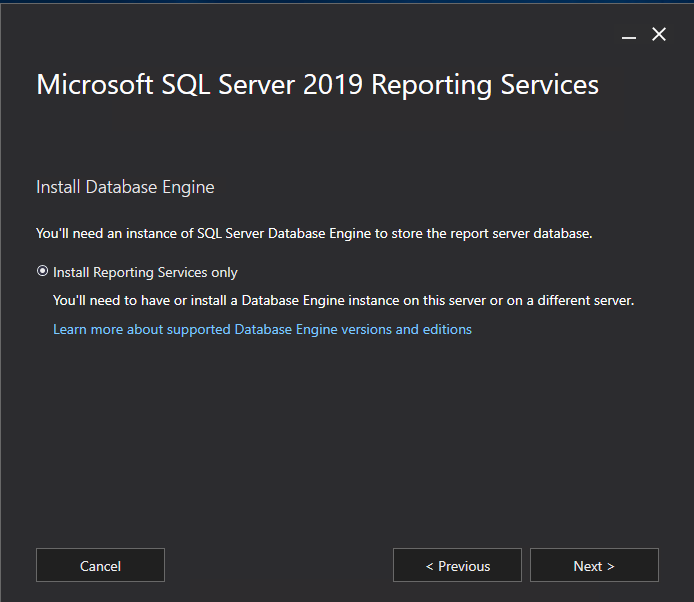
6. On the Install Database Engine page, click Next.
- On Specify an install location page, leave all by default and click Install:

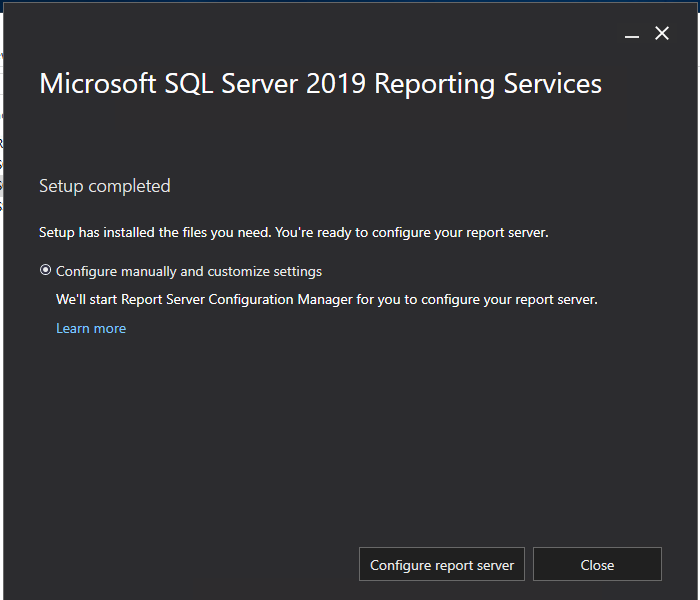
- On the Setup completed page, click Configure report server.
Configuration
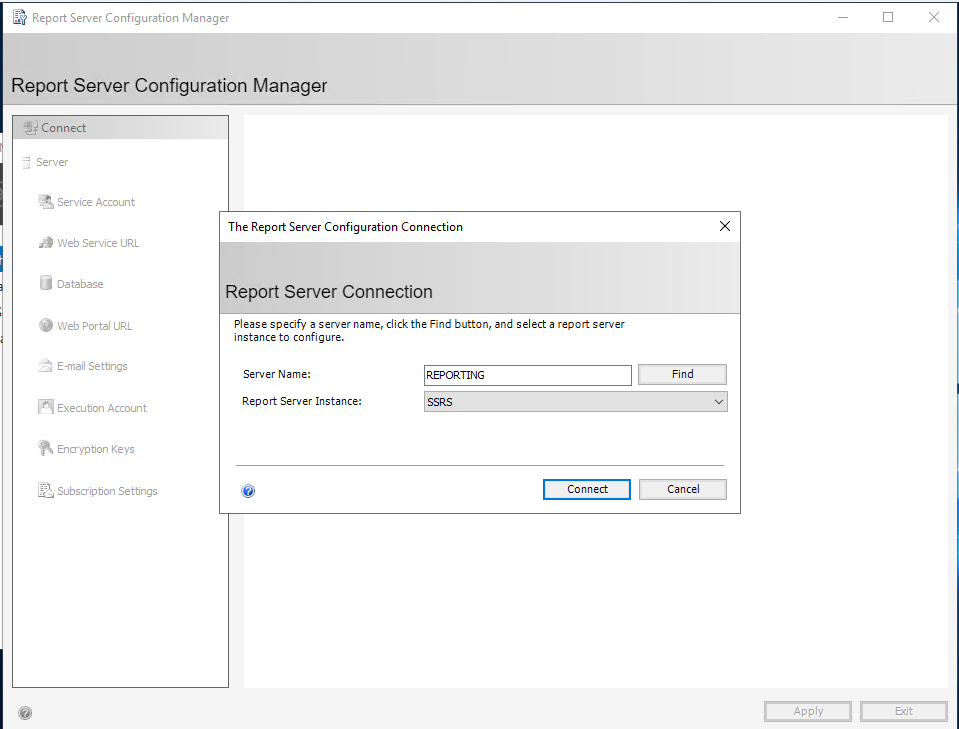
- Locate and launch Report Server Configuration Manager.
- Click on the Connect button:
- Once connected, set the following on on Web Service URL from the left pane :
- Virtual Directory: Make sure that the directory name is "ReportServer_RASREPORTING". If you used a different name for the SQL Server instance, you should see that name instead of the "RASREPORTING" part.
- Make sure the TCP port is set to 8085 and click Apply:

- Go to Web Portal URL and set Virtual Directory to Reports_RASREPORTING. If you used a different name for the SQL Server instance, you should use that name instead of the "RASREPORTING" part. Then click Apply.

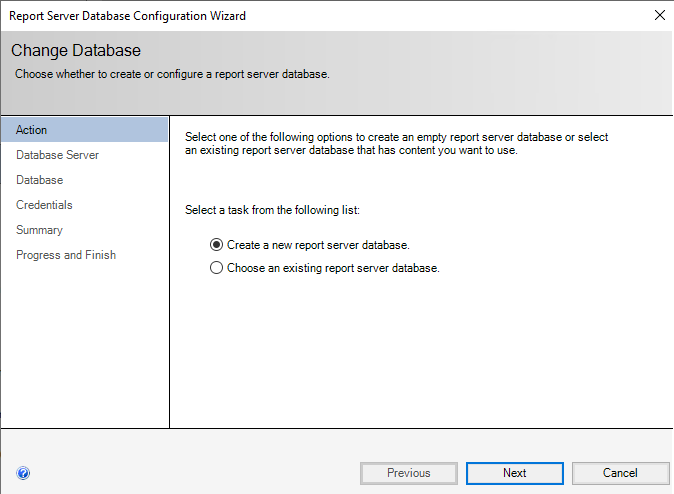
- Click on Database to set up a database on the remote SQL host (in our example, we installed SQL Server on a separate host) and click Change Database:

- Choose Create a new report server database and click Next.
- In the Server Name field, specify the SQL Server name using the Hostname\InstanceName format. Click Next.

- On wizard completion, click Apply and then click Close to close the Report Server Configuration Manager.
Parallels RAS Reporting Service Installation and Configuration
Installation
Download the latest version of Parallels Remote Application Server Reporting Service here: https://www.parallels.com/products/ras/download/links/ .
- Launch the installer on the server running SQL Server Reporting Services, specify the location of the SQL Server, SQL Instance Name and credentials:
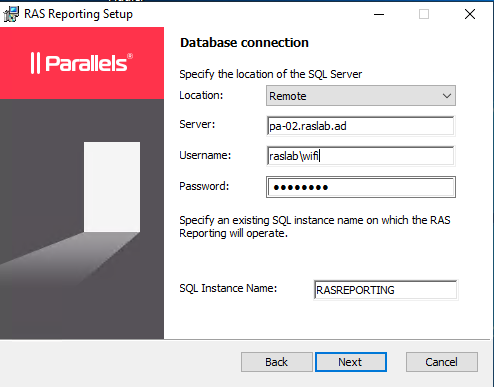
Note: At the time of this writing, SQL Server instance name is case-sensitive.
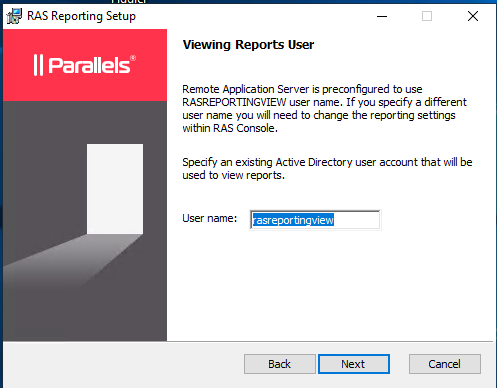
- On the Viewing Reports User pane specify the domain account that will be used to view reports in the RAS Console.
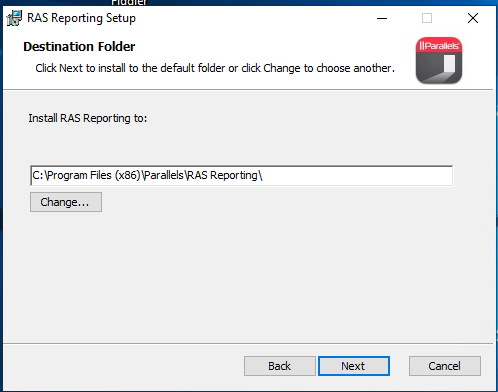
- Specify the folder where RAS Reporting should be installed. Click Next and then click Install.
- Close the wizard once the installation completed.
Configuration
Open the Parallels Remote Application Server Console and navigate to Administration > Reporting:
- Click Enable RAS Reporting.
- Specify the server with RAS Reporting installed and the port that will be used by Parallels RAS to connect to Parallels RAS Reporting Service (default port - 30008)
- Specify the domain user credentials and click on the Test Connection button. Once succeeded, click OK and Apply in the bottom-right to save the configuration changes.
- It is required to add the specified port to the firewall exception list for incoming traffic on the host running SQL Server and Reporting services.
Now switch to the Reporting pane and make sure that you can see the list of available reports in the middle pane.
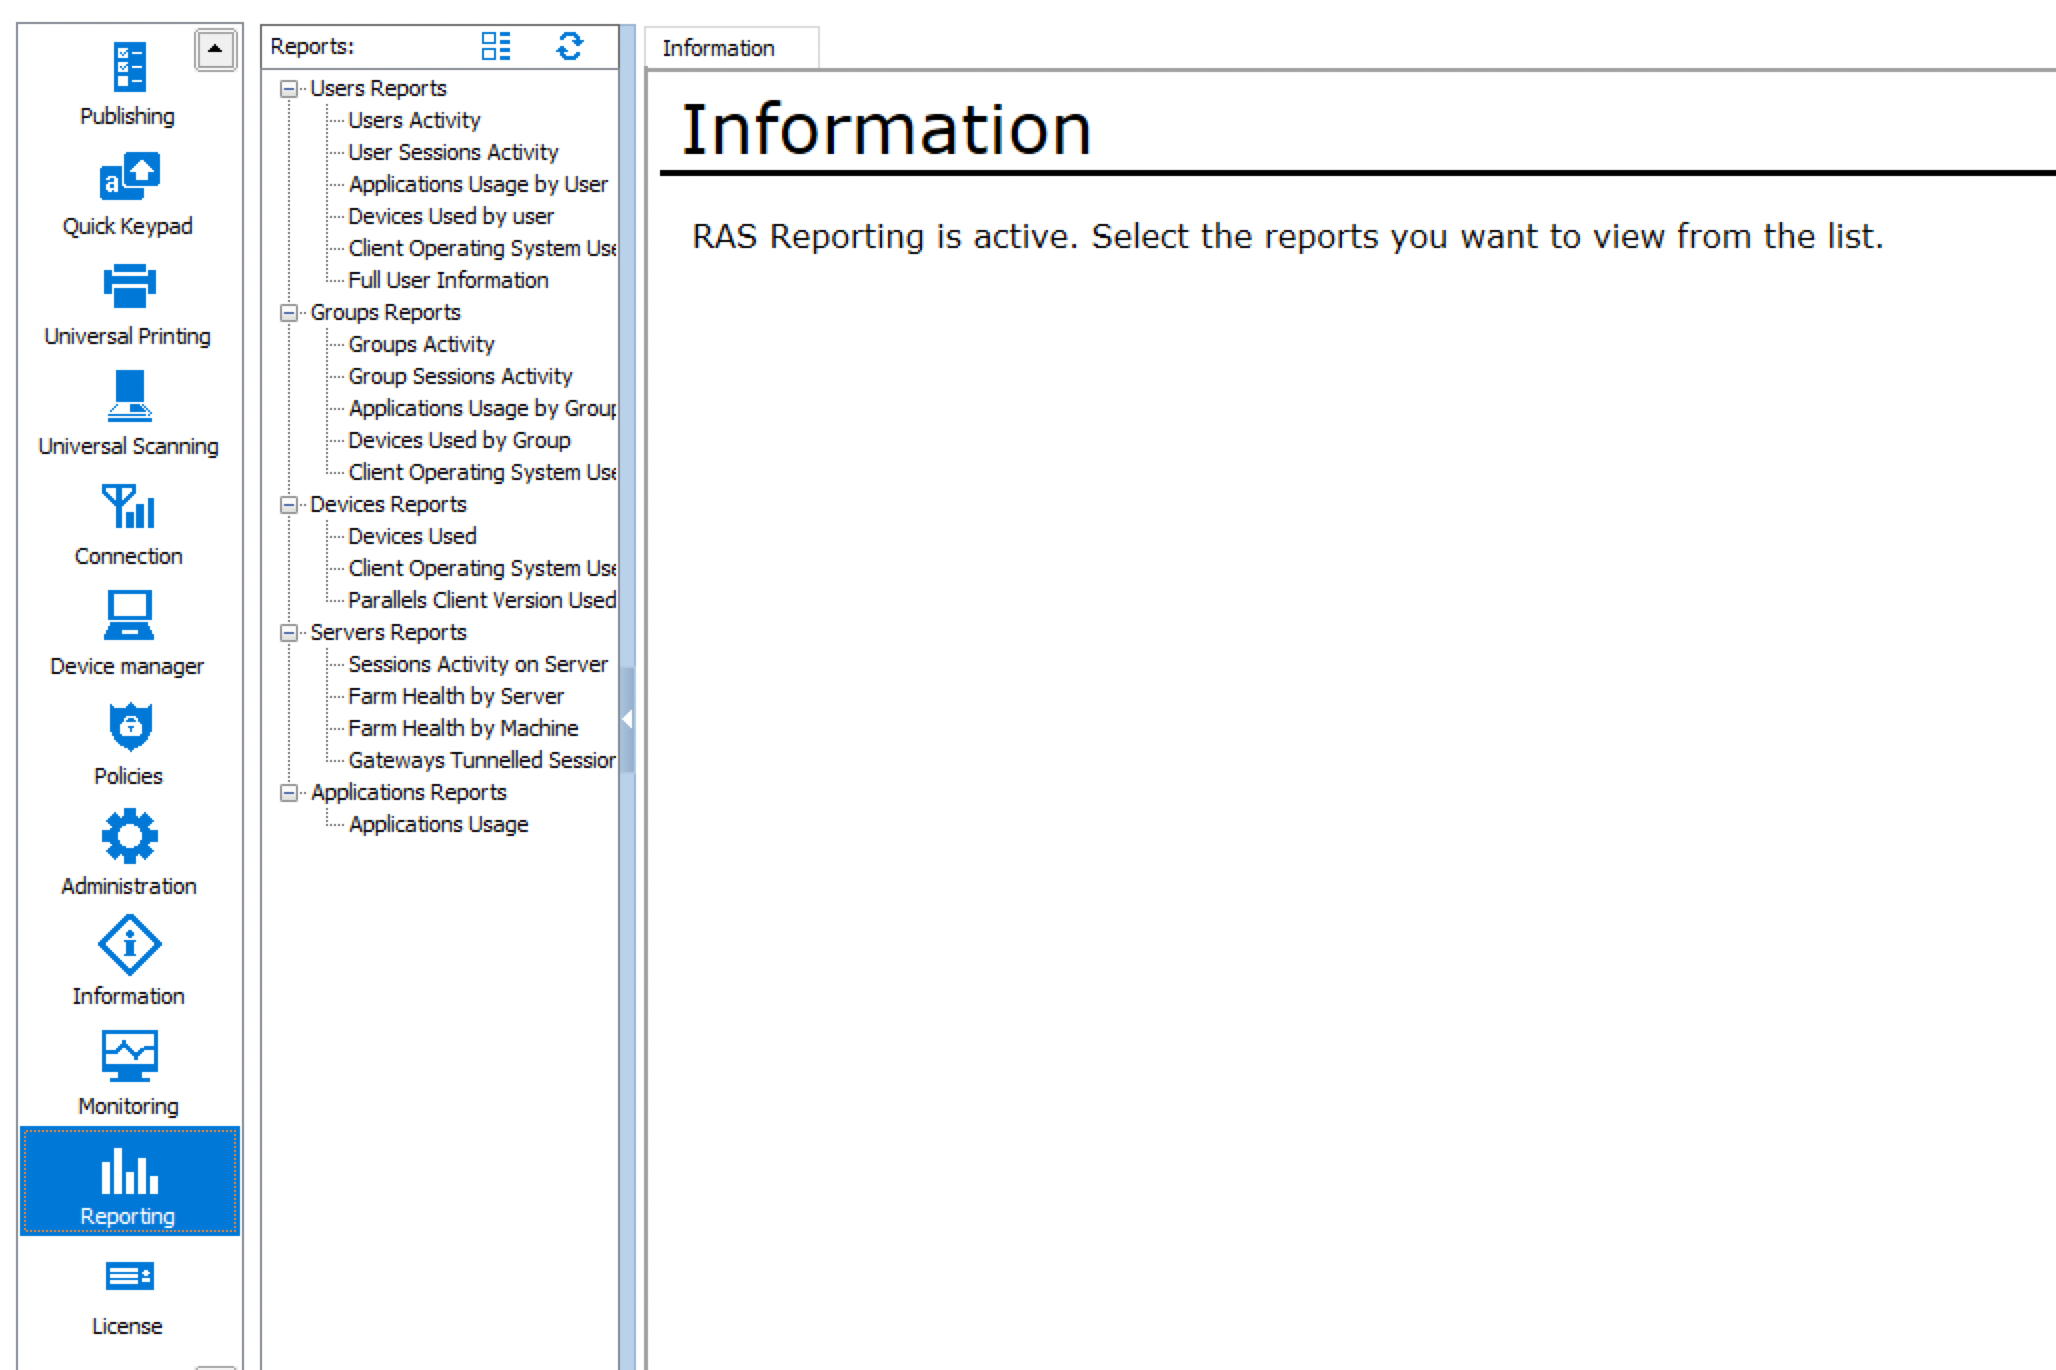
At this point, Parallels RAS will begin collecting the data and display it in reports similar to the following example:

Note:
- When installed, Parallels Reporting Service will start collecting data about newly established sessions. Pre-existing sessions will not be included in reports.
- Parallels Reporting Service commits the session information to the database after the user (session owner) is logged off. If you don't see the information about a particular user in a report, make sure the user is logged off, not just disconnected.
- Parallels Reporting Service keeps its logs at the following locations:
Was this article helpful?
Tell us how we can improve it.