Target Audience
- Independent software vendors (ISVs), service providers (SPs), small to medium enterprises (SMEs) and large enterprises
- Microsoft Azure administrators and Parallels RAS administrators familiar with virtual desktop infrastructure (VDI) environments
Requirements
- Access and subscription on the Azure portal
- Experience with Azure Active Directory and related modules.
Configuring Azure Application for virtual machines (VMs) listed in single Resource Group
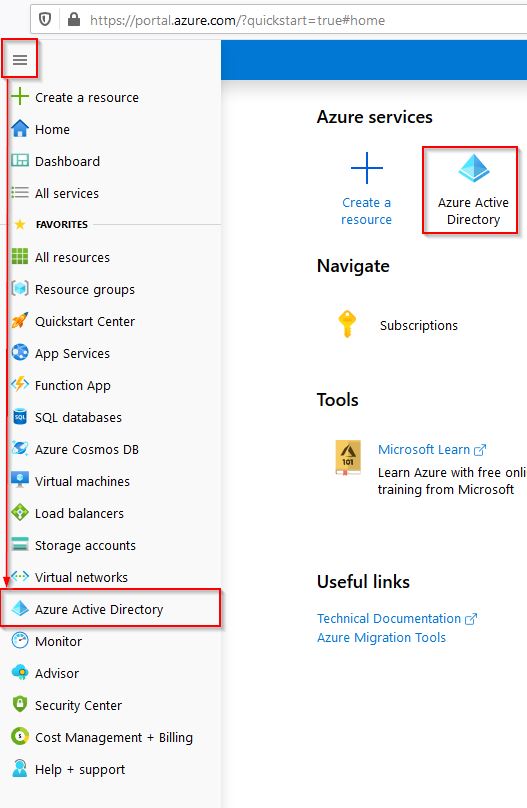
1. Go to the Azure portal and open Azure Active Directory.
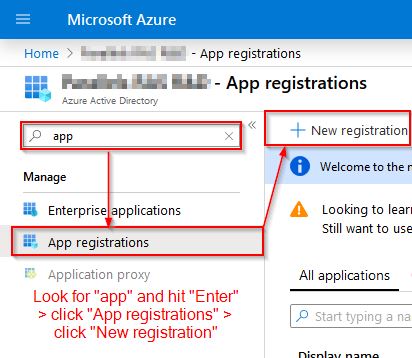
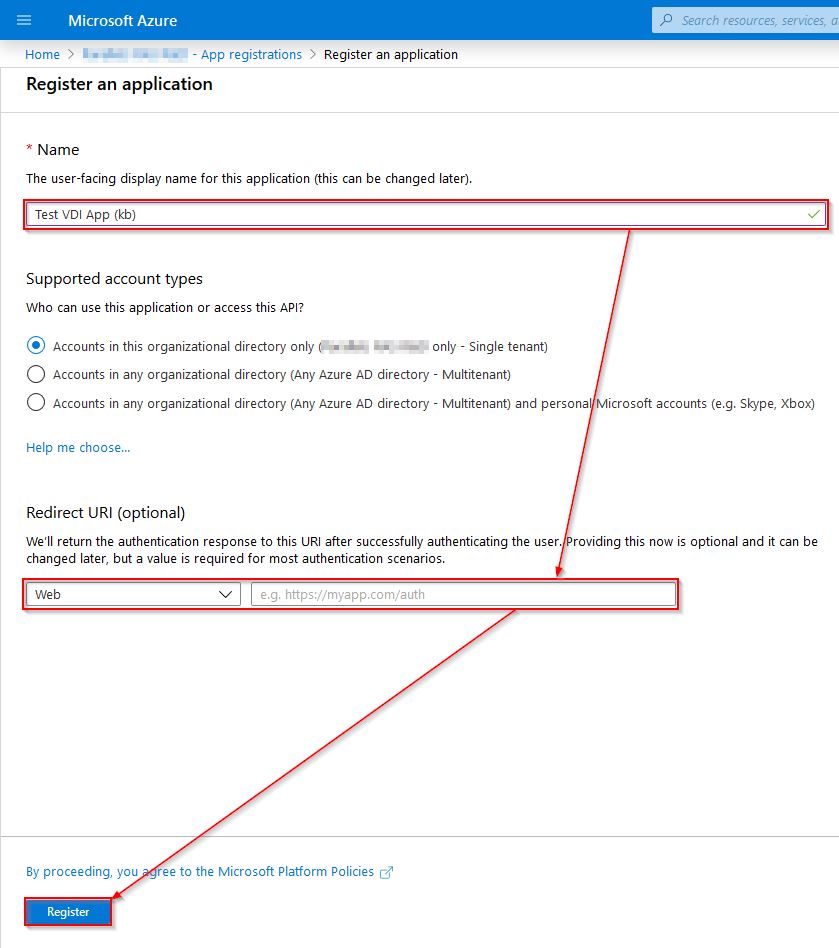
2. Register a new app, which will then be used to establish communication between Azure and Parallels® Remote Application Server (RAS).
3. Complete registration.
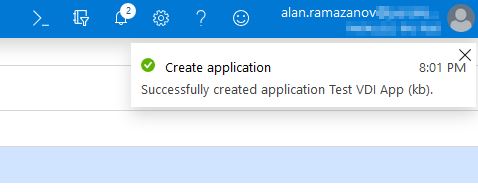
The following message indicates a successful registration:
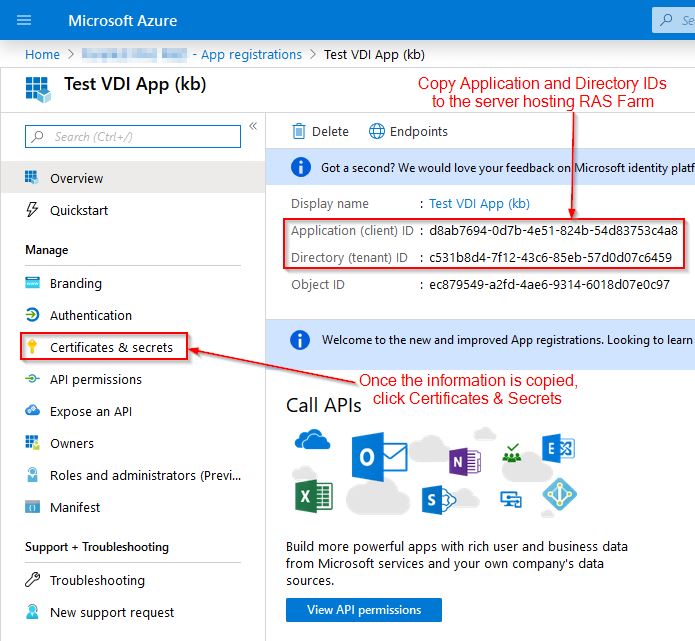
Successfully created application Test VDI App (kb).
4. Tenant and Client IDs will be required for the Parallels RAS Console so it's better to save them to the server hosting the Parallels RAS Console. Once done, proceed to Certificates & secrets.
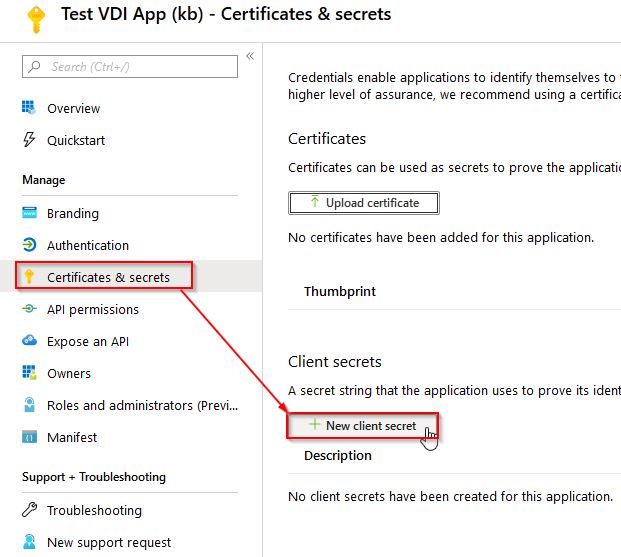
5. Configure New Client Secret.
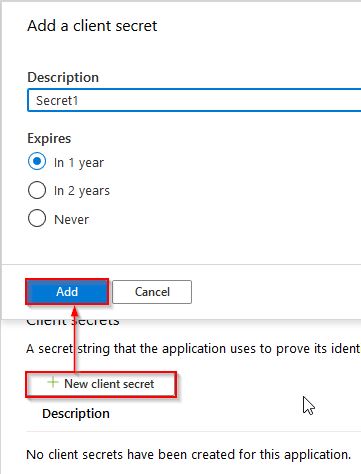
6. Set expiration and click Add.
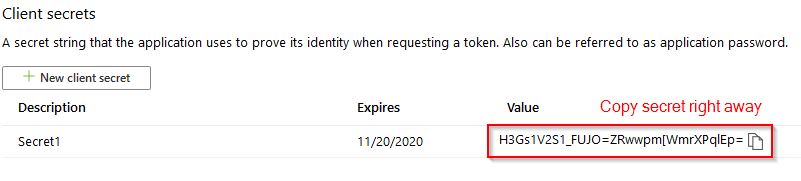
7. Copy the secret as it will not be available after this page will be refreshed or reopened.
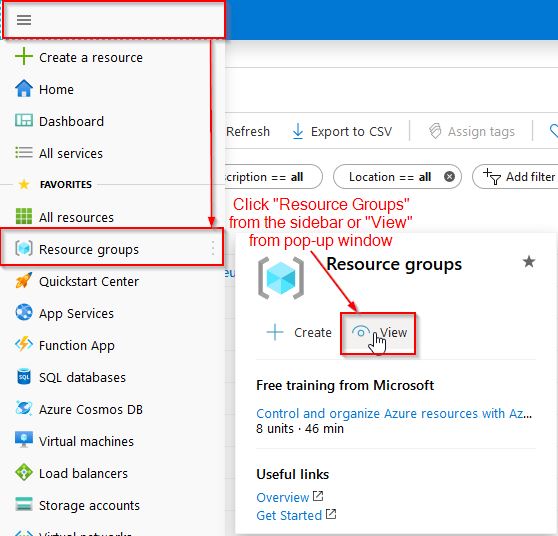
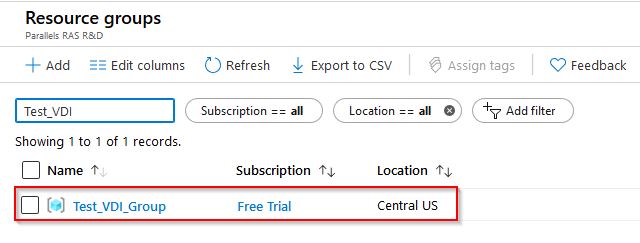
8. Open Resource groups.
9. Create a new resource group or select the existing one and scroll down.
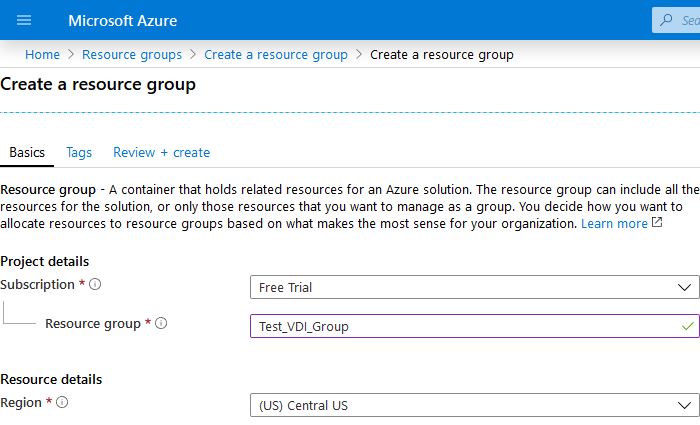
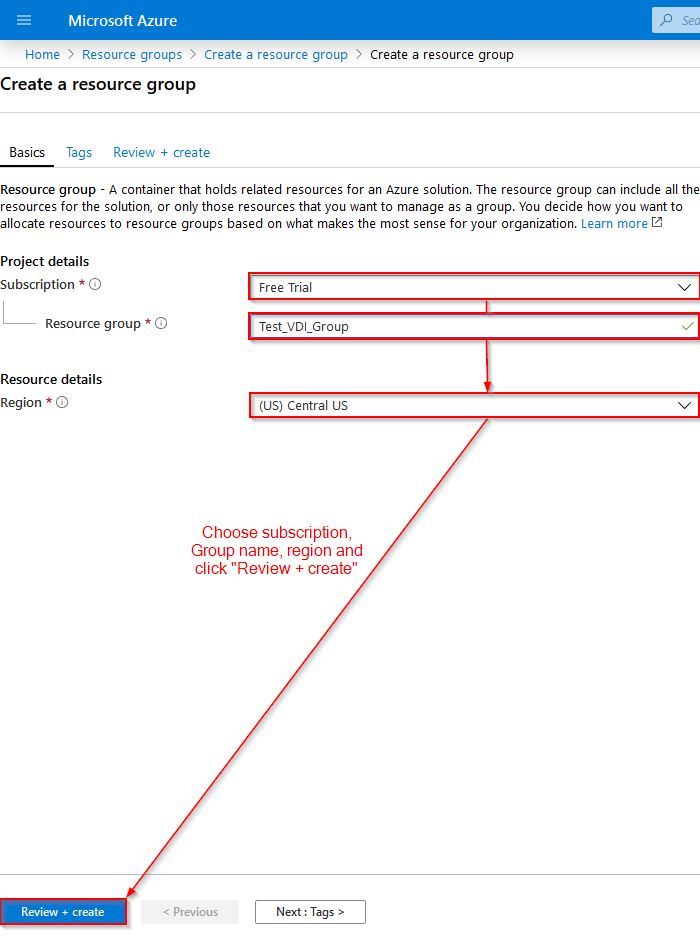
10. Specify Group parameters and click Preview & create.
11. Click Create.
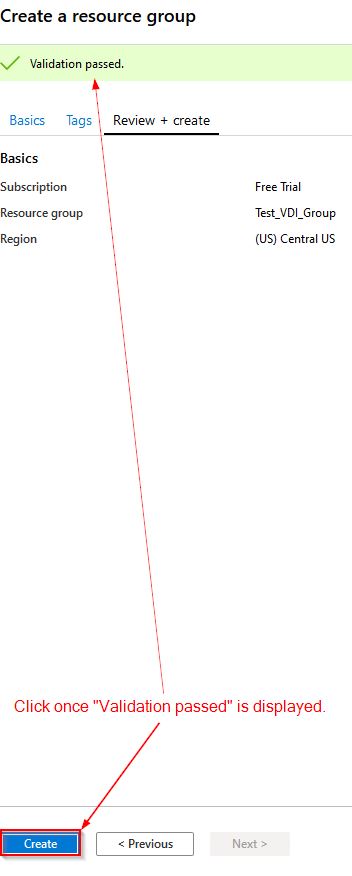
The resource group should now be available.
Note: You might need to refresh this page in order to see the newly created resource group.
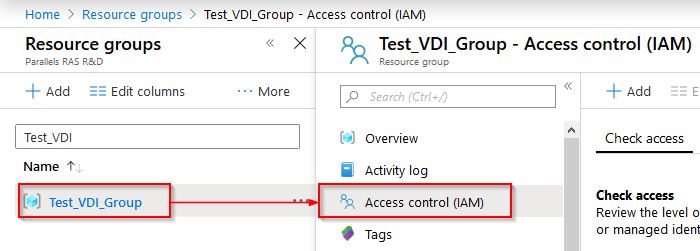
12. Click on the group name and then select Access Control (IAM).
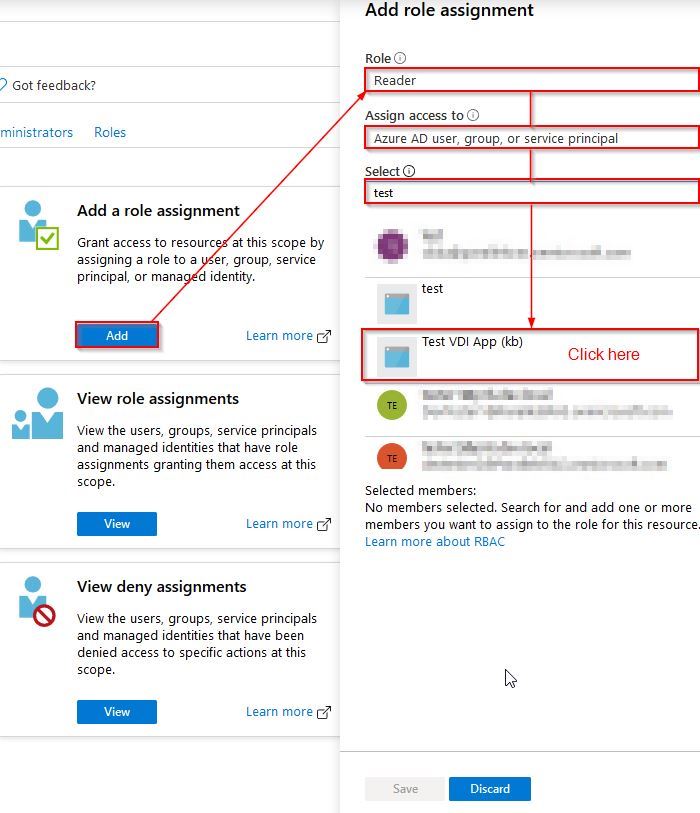
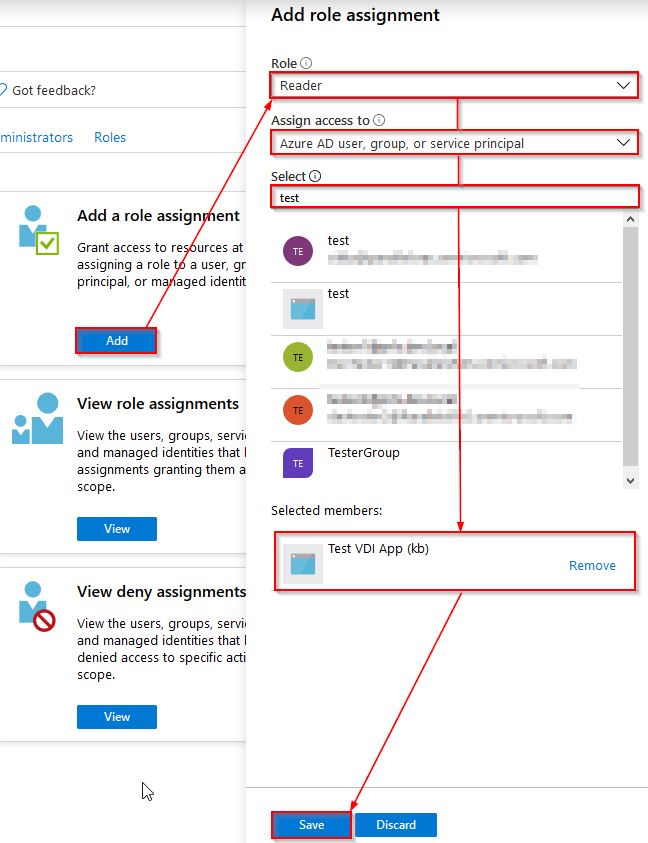
13. Add Reader role to the application.
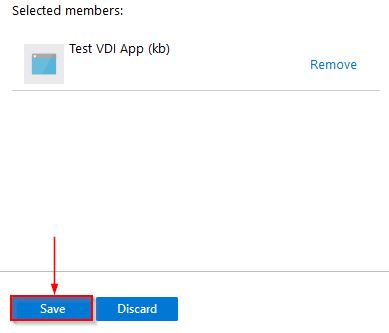
14. Once the application is selected, click Save.
15. Add Contributor role to the application using the same approach.
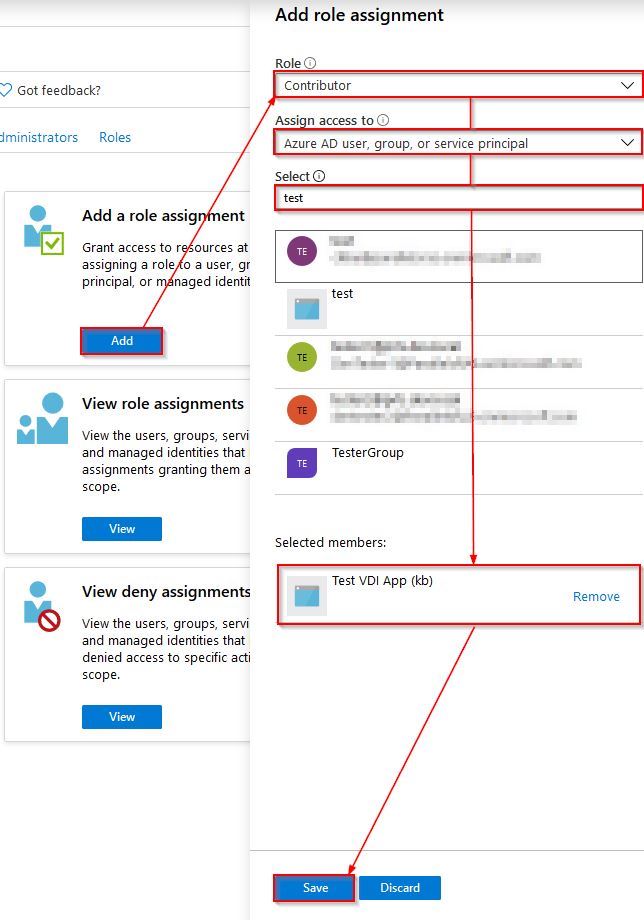
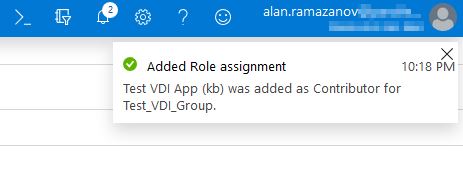
16. The following message indicates success:
Test VDI App (kb) was added as Contributor for Test_VDI_Group.
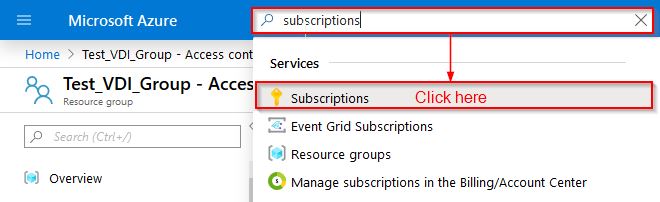
Listing all resource groups under specific subscription
1. Open subscriptions from the Menu pane > All Services > Subscriptions or simply find it in search:
2. Choose the subscription that is currently active.
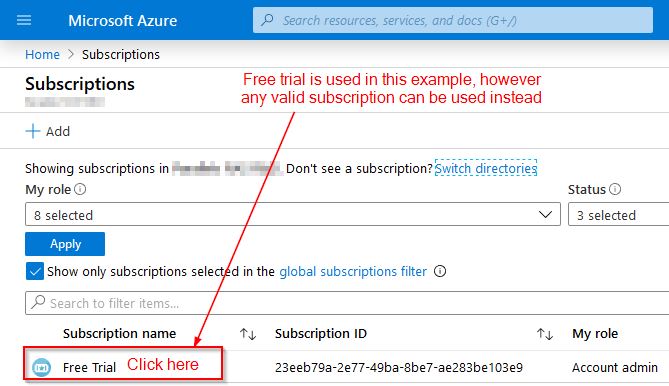
3. Copy the Subscription ID to the server hosting the Parallels RAS Console and open IAM afterward.
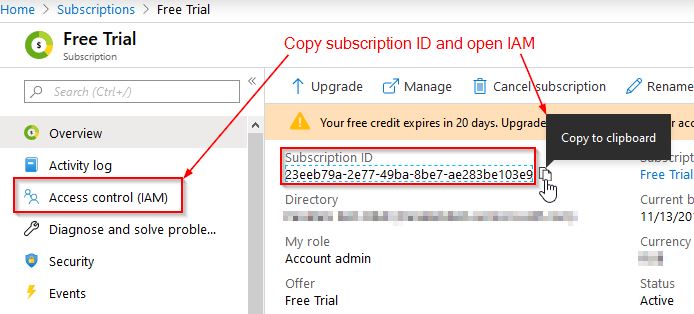
4. Add Reader role to this subscription:
Adding Azure VDI provider in the Parallels RAS Console
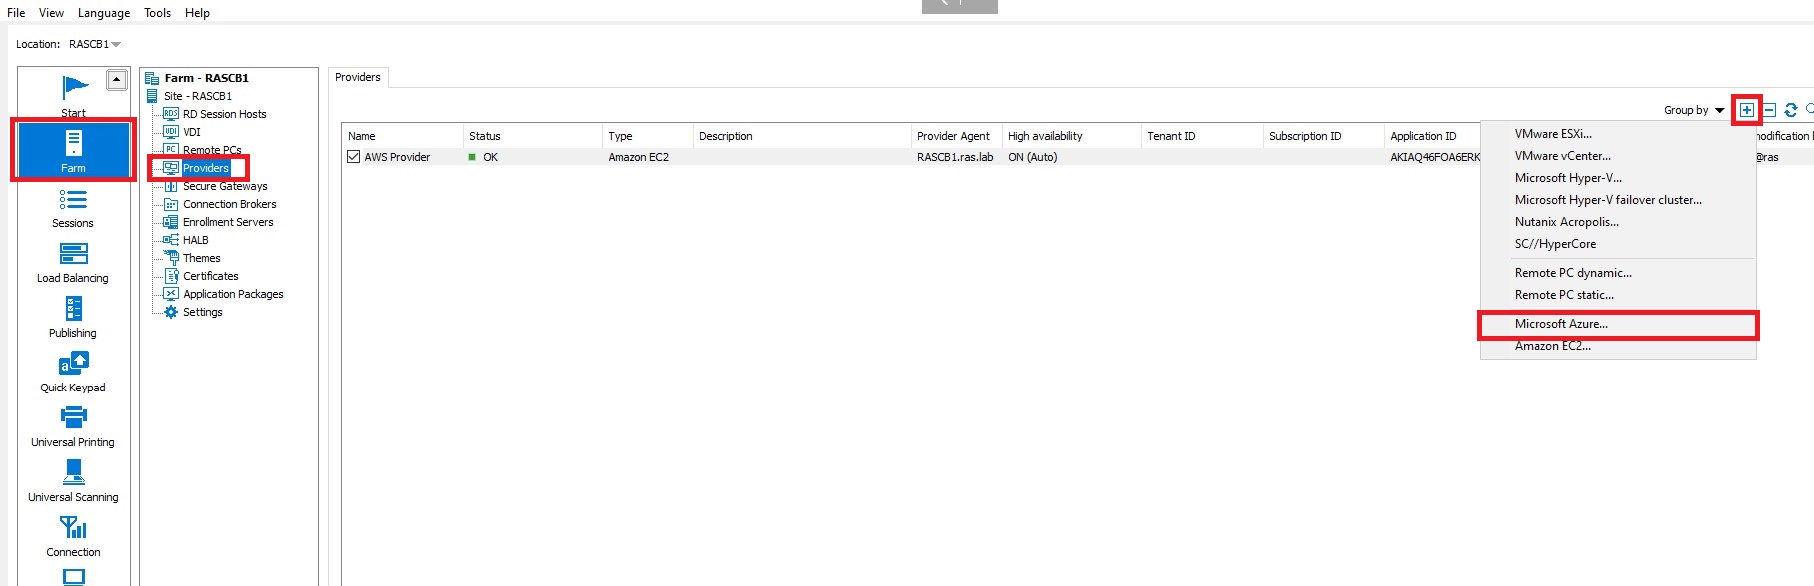
1. From Parallels RAS Console > Farm > Providers > click + or Tasks > Add. (click on the image to enlarge)
2. Select Microsoft Azure from the list of available providers.
3. Input Name, Tenant ID, Subscription ID, Application ID, and Application Key (Client Secret) and click Next.
Note: Advanced Settings in this window allow setting up Dedicated VDI Agent and Preferred Publishing Agent right away.
4. On the next window, verify that VDI Agent is installed and the agent status is OK. Then click Finish.
The VDI host is now added. Some time is needed for agents to synchronize settings.
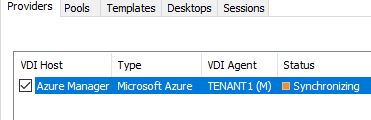
Depending on the environmental conditions, this may take about a few minutes. Once complete, you will see the status OK (green).

Was this article helpful?
Tell us how we can improve it.