Symptoms
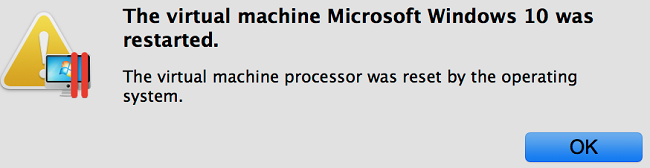
The virtual machine processor was reset by the operating system. error message is shown when working with a Windows virtual machine:
Resolution
While Parallels Engineering Team is working on the permanent fix for this issue by disabling hybrid hibernation it's possible to temporary resolve the issue:
- Shut down the Windows virtual machine and open its configuration.
- Switch to the Hardware tab and choose Boot Order from the list.
-
Expand Advanced Settings dropdown menu and insert the following boot flag in the Boot flags section:
kernel.report_hibernate=0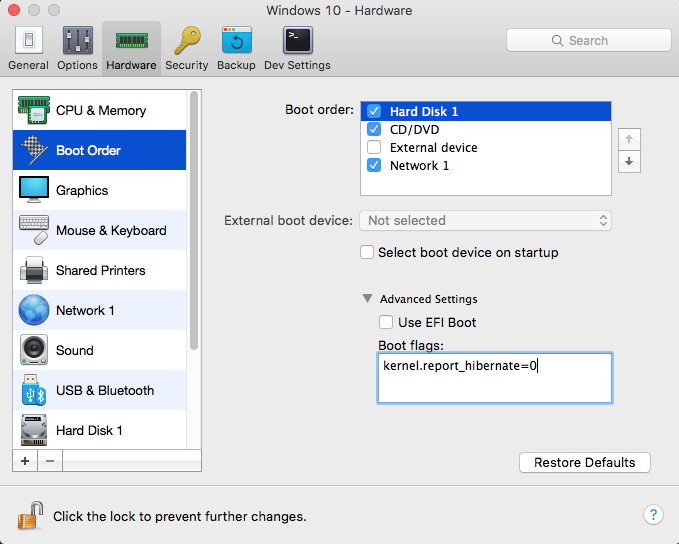
-
Close the configuration window and start the Windows virtual machine.
Alternative Solution
- Start Parallels Desktop.
- Launch the Windows virtual machine.
- Create snapshot: from the top menu bar select Actions > Create snapshot.
- Press command button to bring Start menu and then type cmd.
- You will see Command Prompt in suggestions, right-click on it and select Run as Administrator.
NOTE: Be sure that you run Command Prompt as Administrator or you will encounter the following error message:

- In the Command Prompt type powercfg -h off and hit Enter/Return.
- Check the behavior.
Workaround for Windows 7 virtual machines after installing Security Update for Microsoft Windows (KB4093118)
Due to the fact that the issue occurs immediately after log in to Windows has been performed to apply the changes below it's required to boot Windows in Safe Mode.
If after the issue has occurred Windows suggests to use Safe Mode do it and proceed directly to the step 9. Otherwise start from the beginning.
- Open System Preferences on Mac > Keyboard and enable the option: Use all F1, F2, etc. as standard function keys.
NOTE: Otherwise it wouldn't be possible to use the F8 key from the keyboard to enter Advanced Boot Options. - Launch Parallels Desktop and do not launch the virtual machine.
- Open virtual machine configuration > switch to Hardware tab, then select Boot Order from the list.
- Tick Select boot device on startup checkbox and close configuration window.
- Start the Windows 7 virtual machine and immediately click inside the virtual machine window to transfer focus inside it.
NOTE: It may be required to perform a couple of attempts to do it. Repeat until succeeded. - Press Esc button on the keyboard, as a result the list of available boot devices will appear.

- Press a button which corresponds to SATA 1 drive (in most of the cases it would be 2) and immediately start hitting F8 (Function key).
- The following screen called Advanced Boot Options will appear, select Safe Mode and hit Enter/return on the keyboard.

- Log in to Windows and click on Start menu, then type msconfig and hit Enter/return on the keyboard.

- On the appeared screen select Services tab then click on Service column header to adjust services by their names.
- Locate Windows Media Player Network Sharing Service and uncheck it, then press Apply button.

- After clicking OK button Windows suggest a restart to apply changes. Press Restart button.
Was this article helpful?
Tell us how we can improve it.