With the expiring feature you can assign an expiration date to a virtual machine so that a user can no longer start the virtual machine or mount its hard disk .hdd file after this date is reached.
This feature is especially useful when a virtual machine is provided for a temporary worker or contractor which has a defined amount of time he or she would need access to the virtual machine.
Follow the steps below to use this feature:
-
Start Parallels Desktop Business, but do not start your virtual machine
-
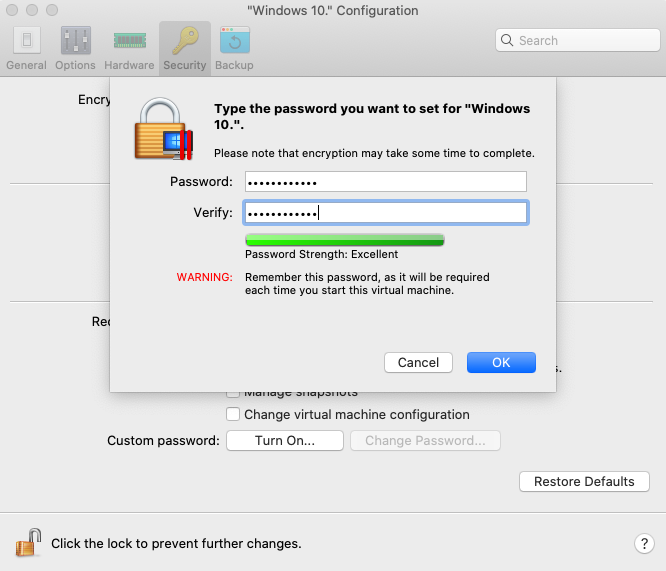
Open the Virtual Machine's Configuration > Security. Encrypt the virtual machine’s hard drive by pressing the Turn On button. Set a password to protect the encryption.

-
Once the hard disk is encrypted, press the Set Date button and provide a password and the expiration date.


Do not allow this VM to start after: By default, the expiration date defaults a 30 days from the current date, however you can modify it according to your needs.
Contact Info: A free text field that can be customized to reflect current contact info. E.g. your Corporate IT support person responsible for virtual machines.
Time Server: In the case of a secure organization where internet access is restricted, the time server can be modified to reflect an internal server to the organization.
-
Once these values are set, the special password can be used to change the current password, or change the date or other information.

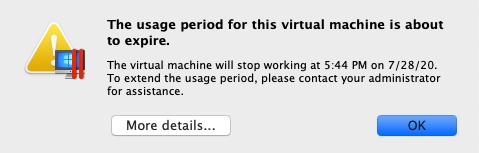
Beginning seven days away from expiration, Parallels Desktop Business will present a notice when the virtual machine is started, informing the user that he or she has X more days before expiration.
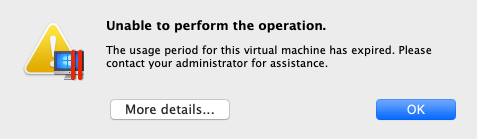
Once the day/time is reached, the user will receive a notice the virtual machine has expired and that he or she cannot use it any longer.
Was this article helpful?
Tell us how we can improve it.