Note: this article only applies to Intel-based Mac computers, as the Boot Camp® feature is currently not available on Mac computers with M1 chip.
Import Boot Camp to the external hard drive
You can import your Boot Camp® partition to a Parallels Desktop® for Mac virtual machine (VM) and use it on an external hard drive.
- Create a Windows VM from Boot Camp using the instructions from KB 123314.
- Shut down the VM you have just created from the Mac® menu bar (Actions > Shut Down).
- Plug the external hard drive that you want to move the VM to into the Mac.
- Open Parallels Desktop Control Center by clicking on the Parallels Desktop logo
 on the Mac menu bar and choosing it from the list.
 - Right-click (tap with two fingers) on the Boot Camp machine and choose Import Boot Camp, then confirm it again by clicking Import.
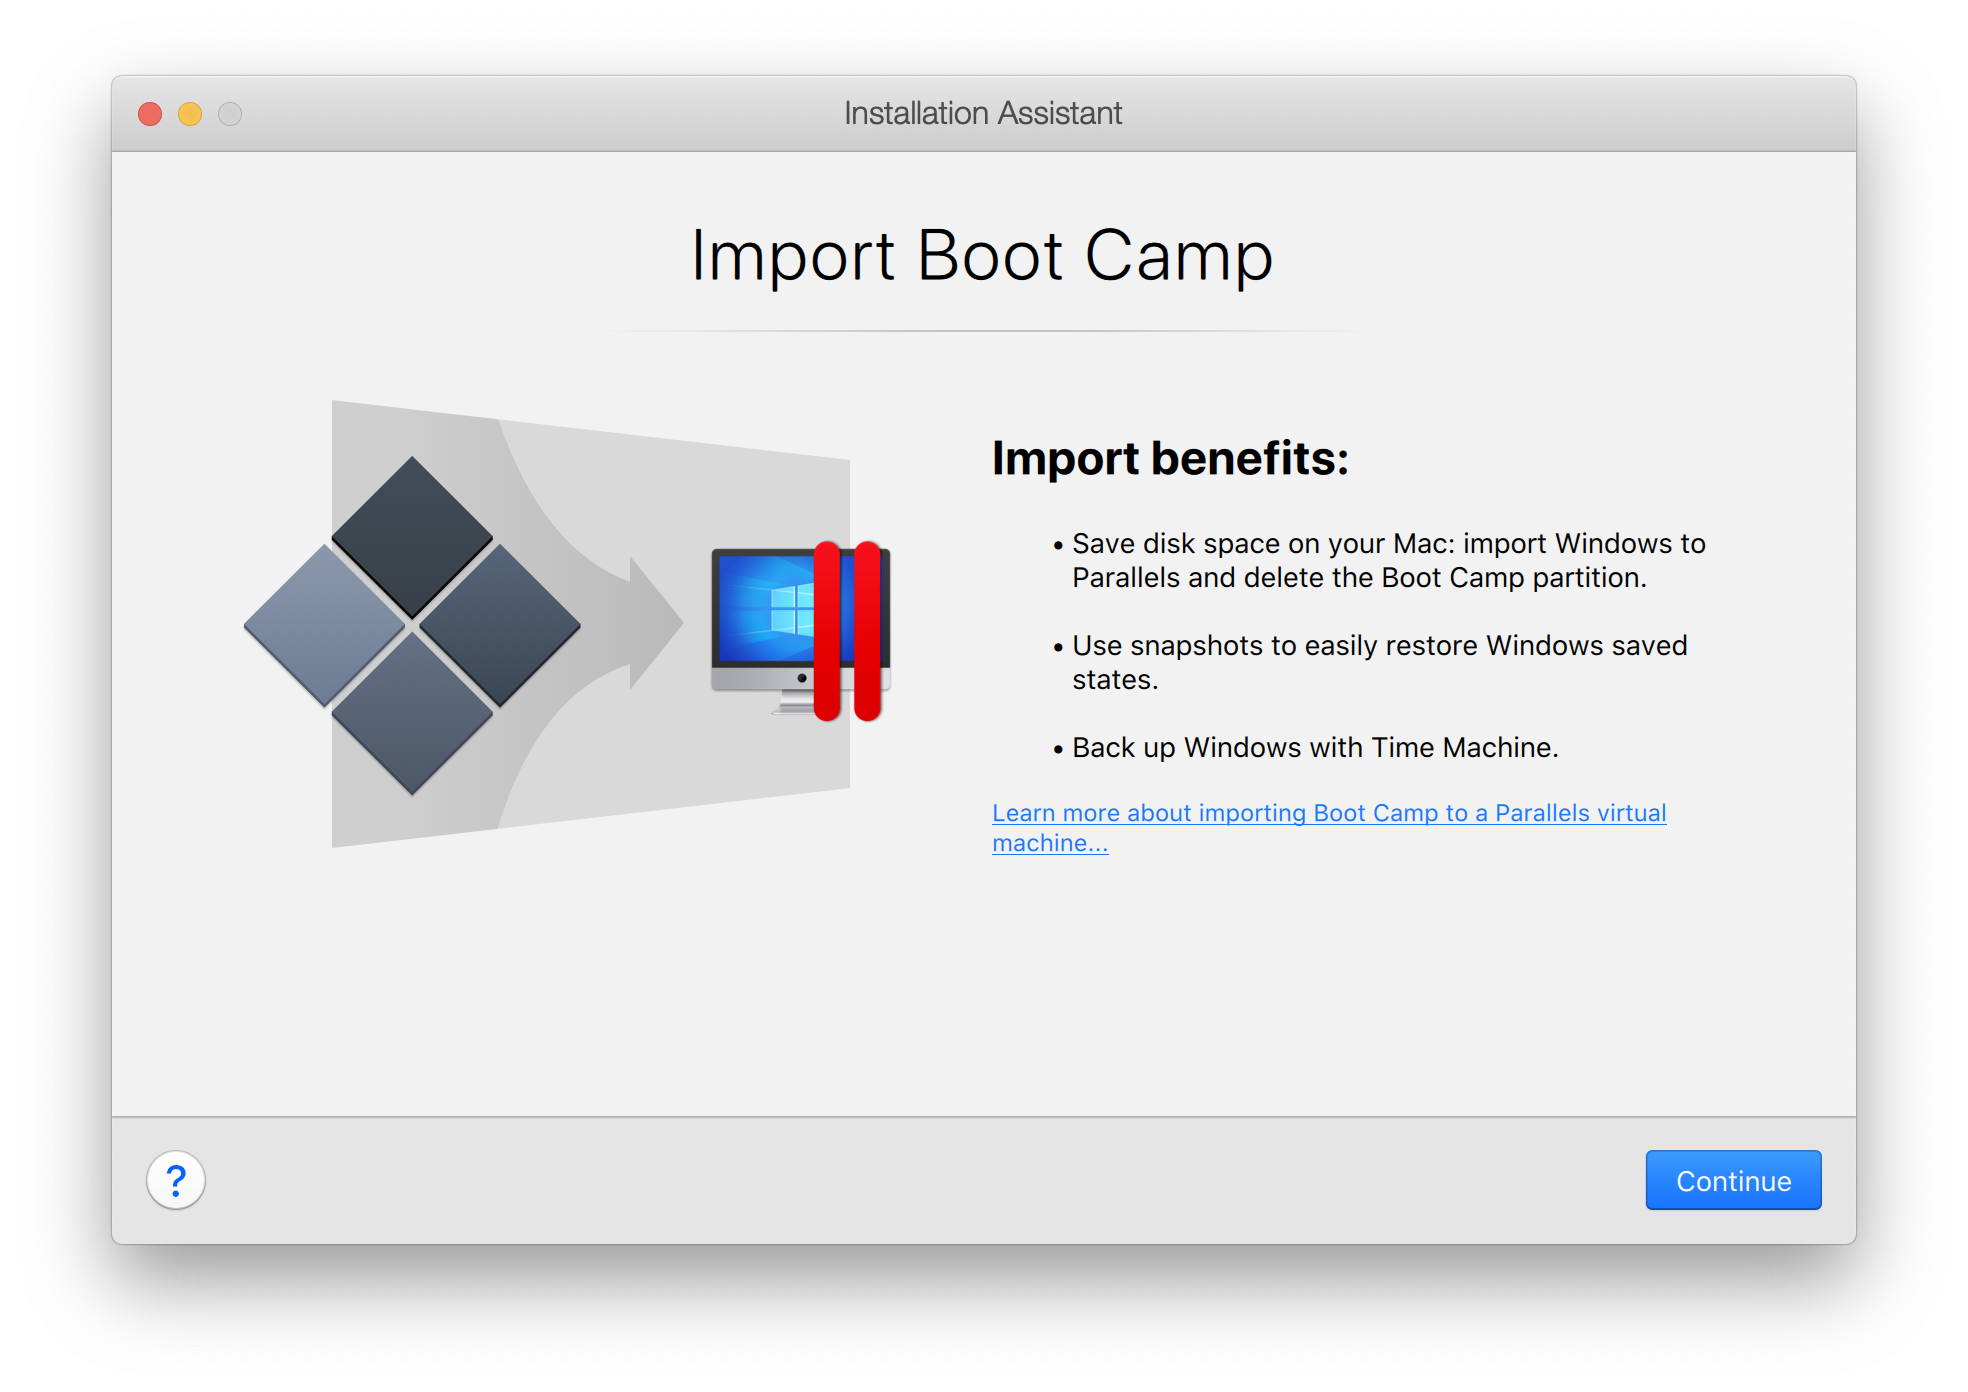
- Installation Assistant will open in the new window. Select Continue to proceed with the import process.
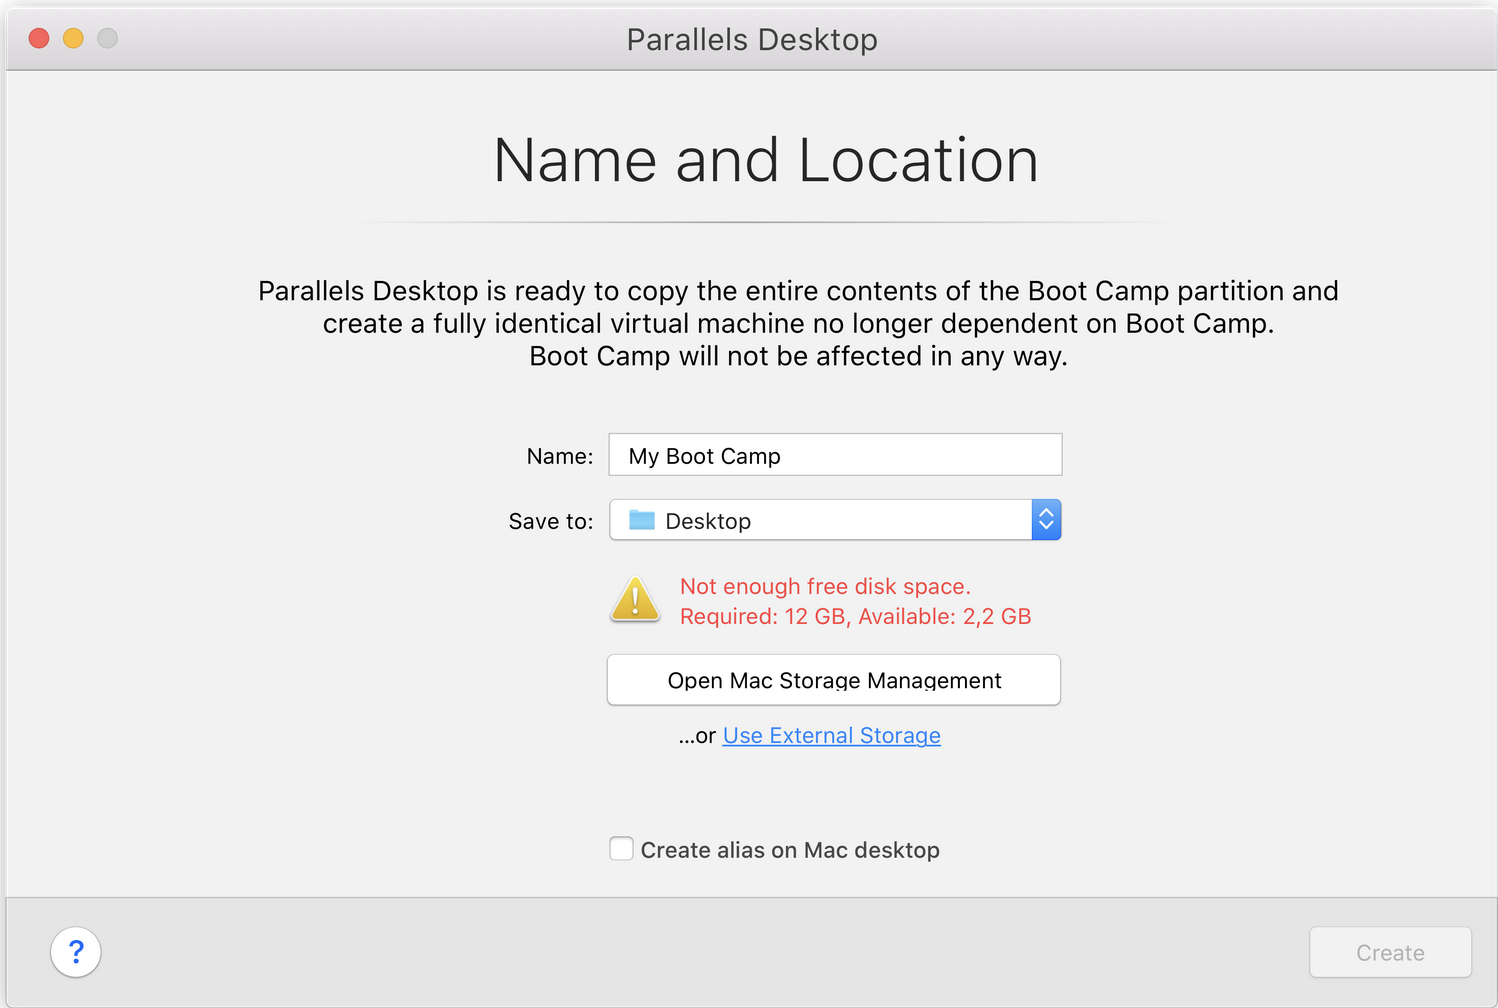
- Choose the name for the machine and the location on the external drive (that you connected in step 3) to save it to.
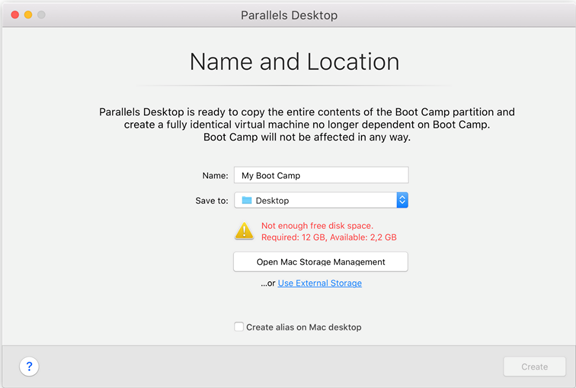
Note: Make sure if you have enough space on the external drive. If you don't, you will get the following message. Free up the required amount of disk space on the drive, then select Create.
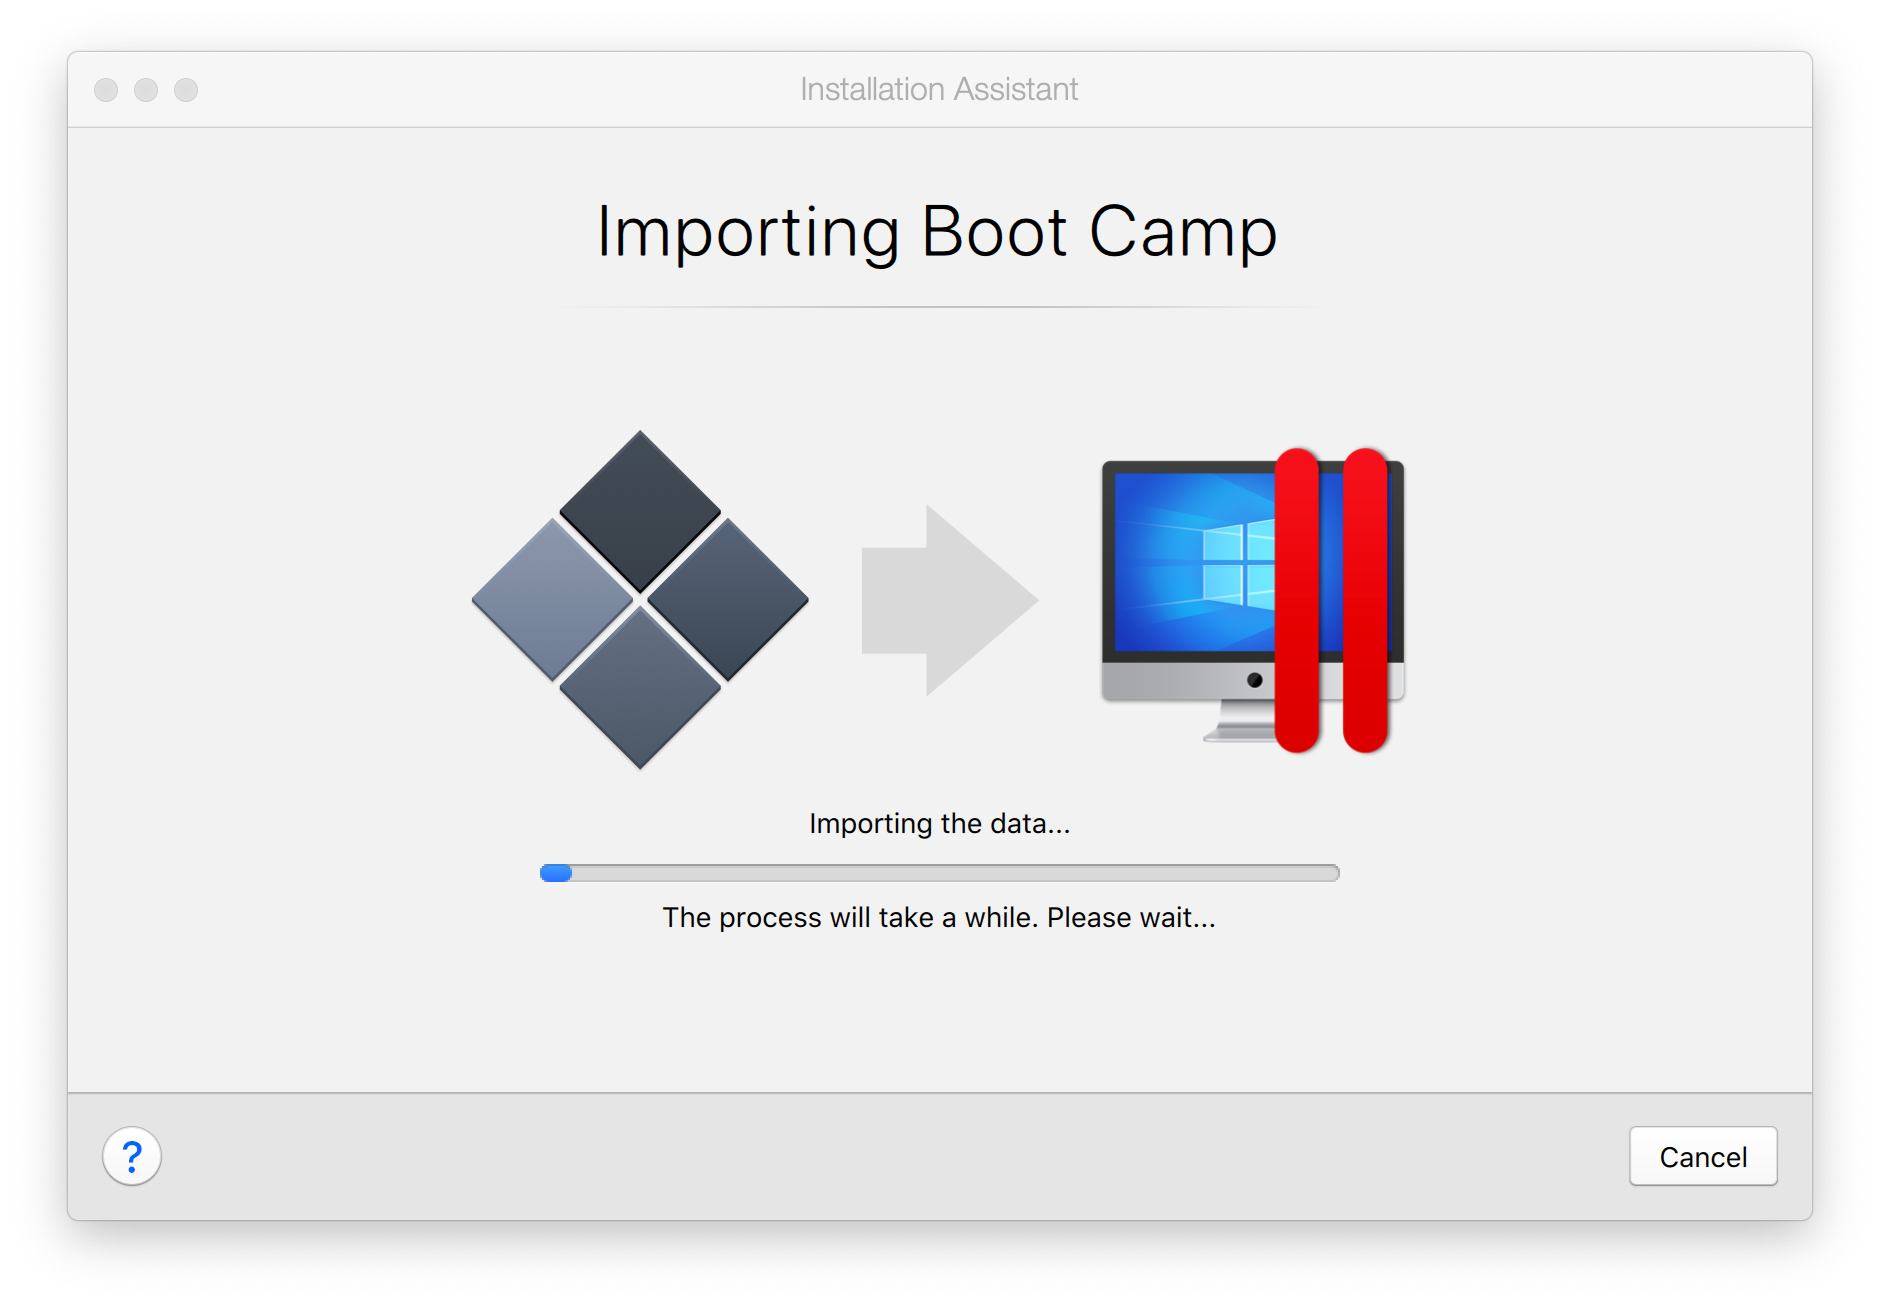
Important: The import process will start. It may take a while to finish the process. Do not quit Parallels Desktop or shut down the computer.
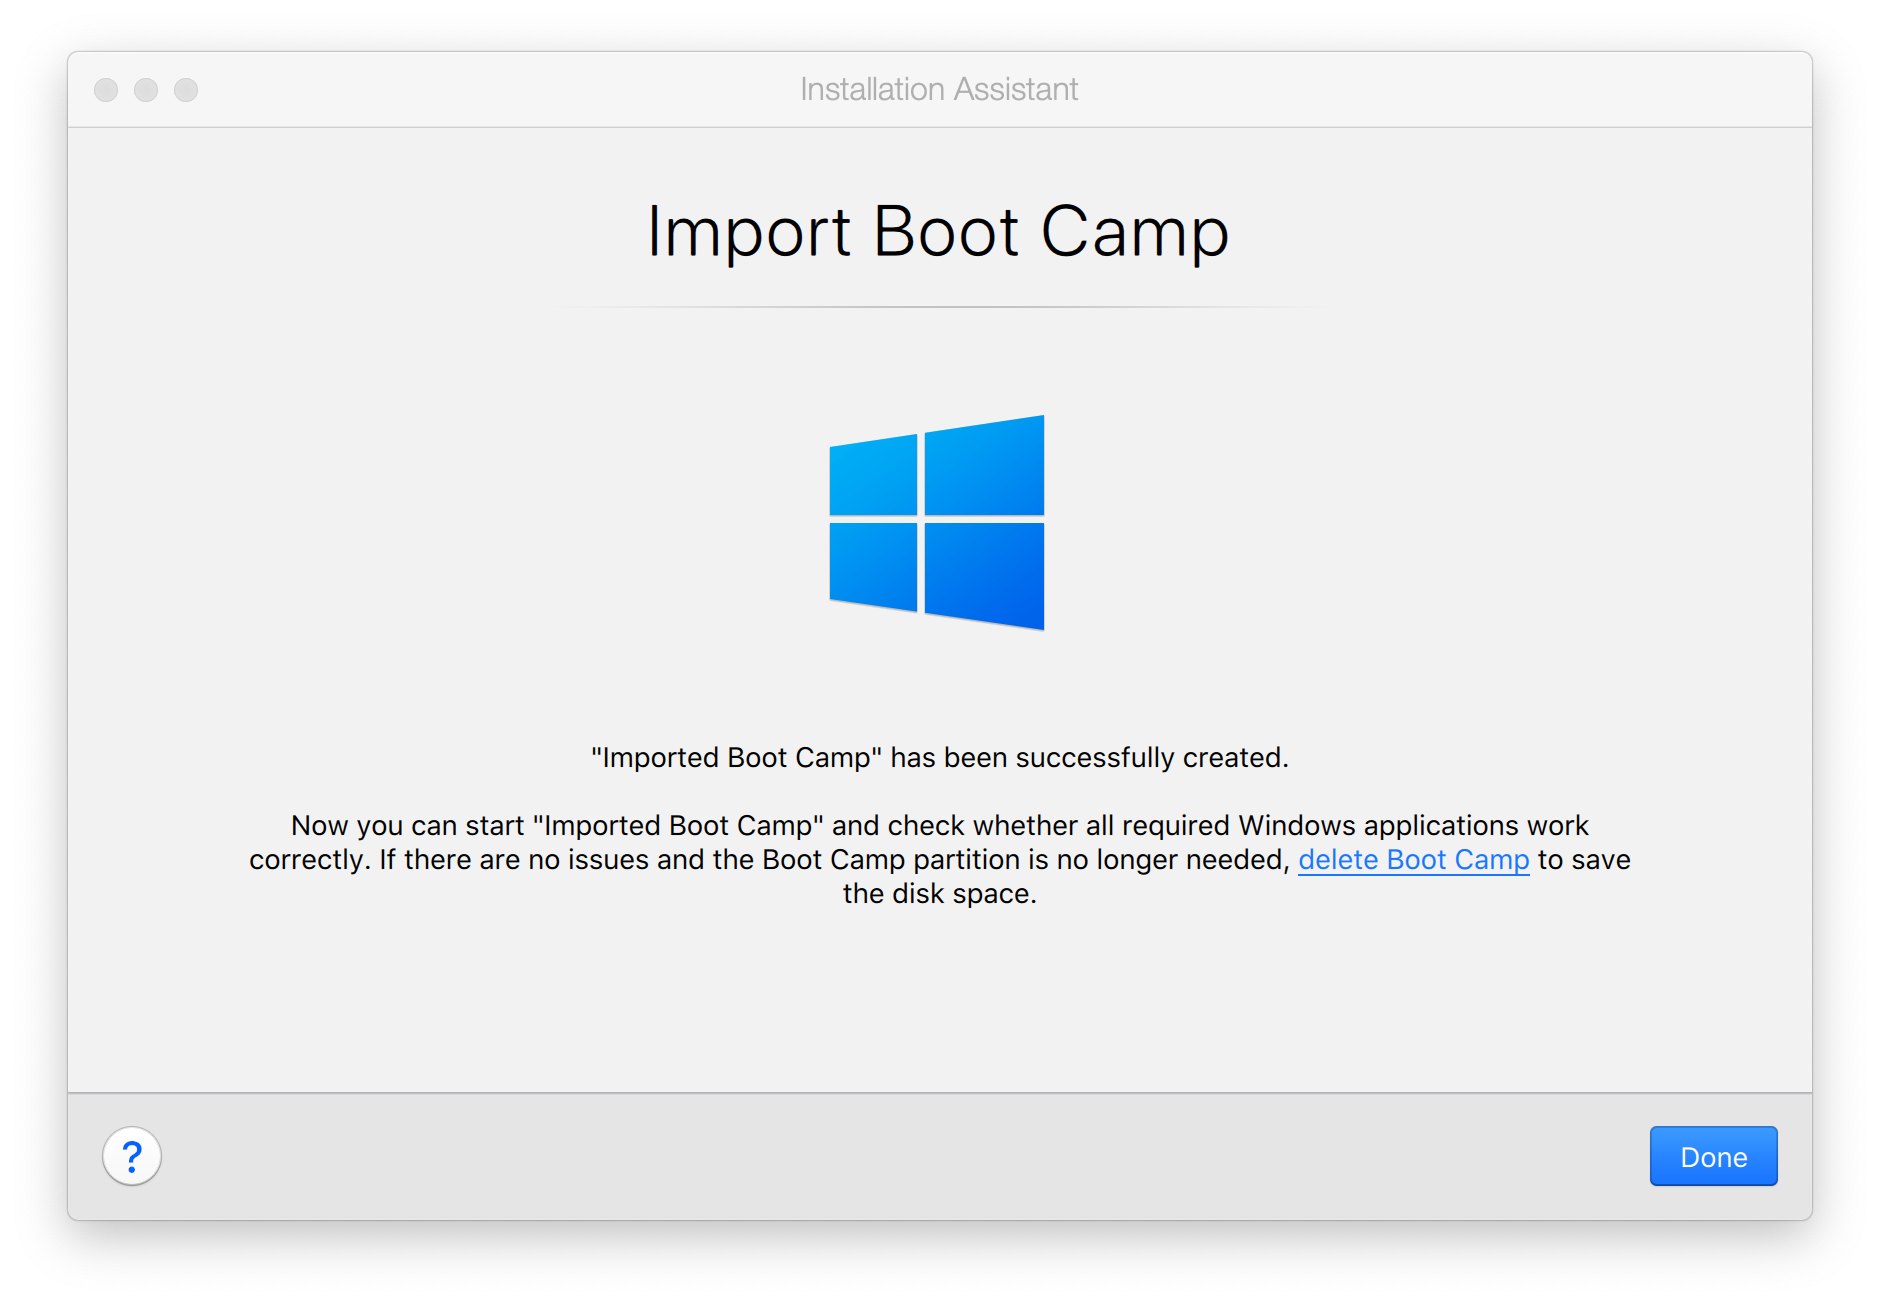
- When the import process has finished, select Done to close the Installation Assistant or select Delete Boot Camp to learn how to delete your Boot Camp partition.
- Find your external drive in Finder or on the Mac desktop. Double-click the imported machine to register it in Parallels Desktop and launch Windows.
Transfer the imported Boot Camp partition in the VM format to your new Mac
If you have a new Mac and would like to transfer the existing Boot Camp partition from the old Mac to the new one, you can import your Boot Camp partition into a VM and then transfer the Windows VM to the new Mac.
- Create a Windows VM from Boot Camp using the instructions from KB 123314.
- Shut down the Windows VM you just created from Mac menu bar (Actions > Shut Down).
- Plug the external hard drive that you want to move the VM to into the Mac.
- Open Parallels Desktop Control Center by clicking on the Parallels Desktop logo
 on the Mac menu bar and choosing it from the list.
 - Right-click (tap with two fingers) on the Boot Camp machine and choose Import Boot Camp, then confirm it again by clicking Import.
- Installation Assistant will open in the new window. Select Continue to proceed with the import process.

- Choose the name for the machine and the location on the external drive ( that you connected in step 3) to save it to.
Note: Make sure you have enough space on the external drive. If you don't, you will get the following message. Free up the required amount of disk space on the drive, then select Create.
Important: The import process will start. It may take a while to finish the process. Do not quit Parallels Desktop or shut down the computer.

- When the import process has finished, select Done to close the Installation Assistant or select on Delete Boot Camp to learn how to delete your Boot Camp partition.
Note: You can still use the original Boot Camp Windows installation separately from Parallels Desktop.

- Unplug the external drive with the imported Windows VM from the old Mac. Connect it to the new destination Mac.
- Find your external drive in Finder or on the Mac desktop. Double-click on the imported machine to register it in Parallels Desktop and launch Windows.
Note: If you have not yet installed Parallels Desktop on the new Mac, you can download it here.
Was this article helpful?
Tell us how we can improve it.