Question
How to increase disk size in a macOS virtual machine?
Information
Note: make sure to create a backup of your virtual machine before performing these steps.
- Open the virtual machine's Configuration: click Parallels icon || > Control Center > right-click on the virtual machine > Configure.
- Go to Hardware > Hard disk > Properties and move the slider to the desired value.

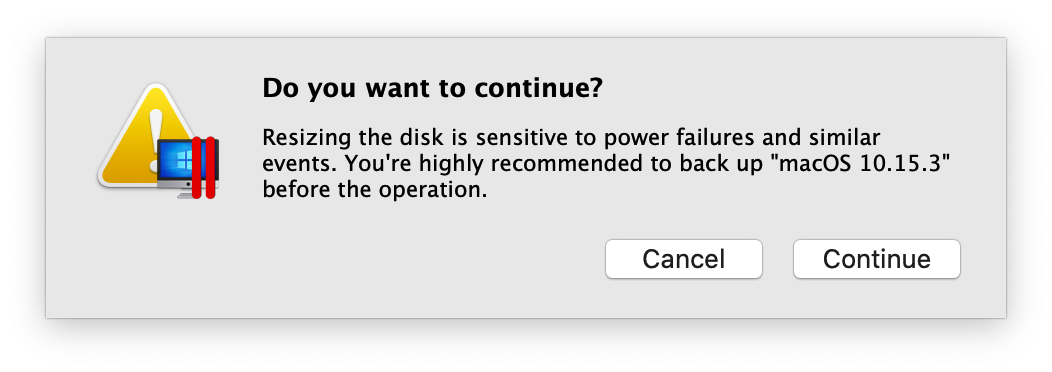
- Click Apply to save changes. A notification regarding the necessity of making a backup of the virtual machine will appear. Click Continue to apply changes.
- Run the virtual machine. Open Disk Utility, select the hard disk, click Partition.
- Increase the partition size up to the size of the disk. Depending on the macOS version, you may need to do it using a graphical user interface (such as in macOS El Capitan), or by manually entering the value, to make it equal to the expanded disk size, and pressing Enter.
- Then click Apply > Partition, and after a couple of minutes the operation will finish and the partition will be expanded.


Alternative solution
If you are unable to expand the virtual hard drive for some reason, an alternative solution would be to create a new virtual hard drive of the desired size and install macOS from your original virtual machine's recovery partition to that drive.
To perform that, perform the following steps:
- Shut down your virtual machine (Actions > Shut down). If it is in a suspended state, resume it and then shut down.
- Open the virtual machine's Configuration: click Parallels icon || > Control Center > right click on the virtual machine > Configure.
- Go to Hardware > + > Hard Disk and select the desired size.


- Open Boot Order and enable Select boot device on startup.
- Run the virtual machine. Once you see a black screen, press any key on the keyboard to enter the boot device menu.
- Use the arrows to navigate to the "...Recovery" option and press Enter.

- The system will enter recovery mode. Once in recovery mode, press Reinstall macOS > Continue.
- When presented with a choice of the disk to install macOS to, select the new disk and press Continue.
- The installation will begin. Once the installation is over, macOS will boot into the original installation. Shut down the virtual machine, open virtual machine's configuration > Hardware > Boot order, and use the arrows on the right side to move the new disk (most likely, Hard Disk 2) to the top.

- Run the virtual machine. It will boot from the newly created drive, while the original virtual machine's drive will be connected as a secondary one, so you would be able to transfer all the necessary data from it.
- Once all the data has been transferred, feel free to remove the original drive: in the virtual machine's configuration go to Hardware, click on the original drive and click "-" > Move to Trash.

Was this article helpful?
Tell us how we can improve it.