Note: this article only applies to Intel-based Mac computers, as the Boot Camp® feature is currently not available on Mac computers with M1 chip.
I have Windows installed on my Mac via Boot Camp, how can I use it in Parallels Desktop?
Information
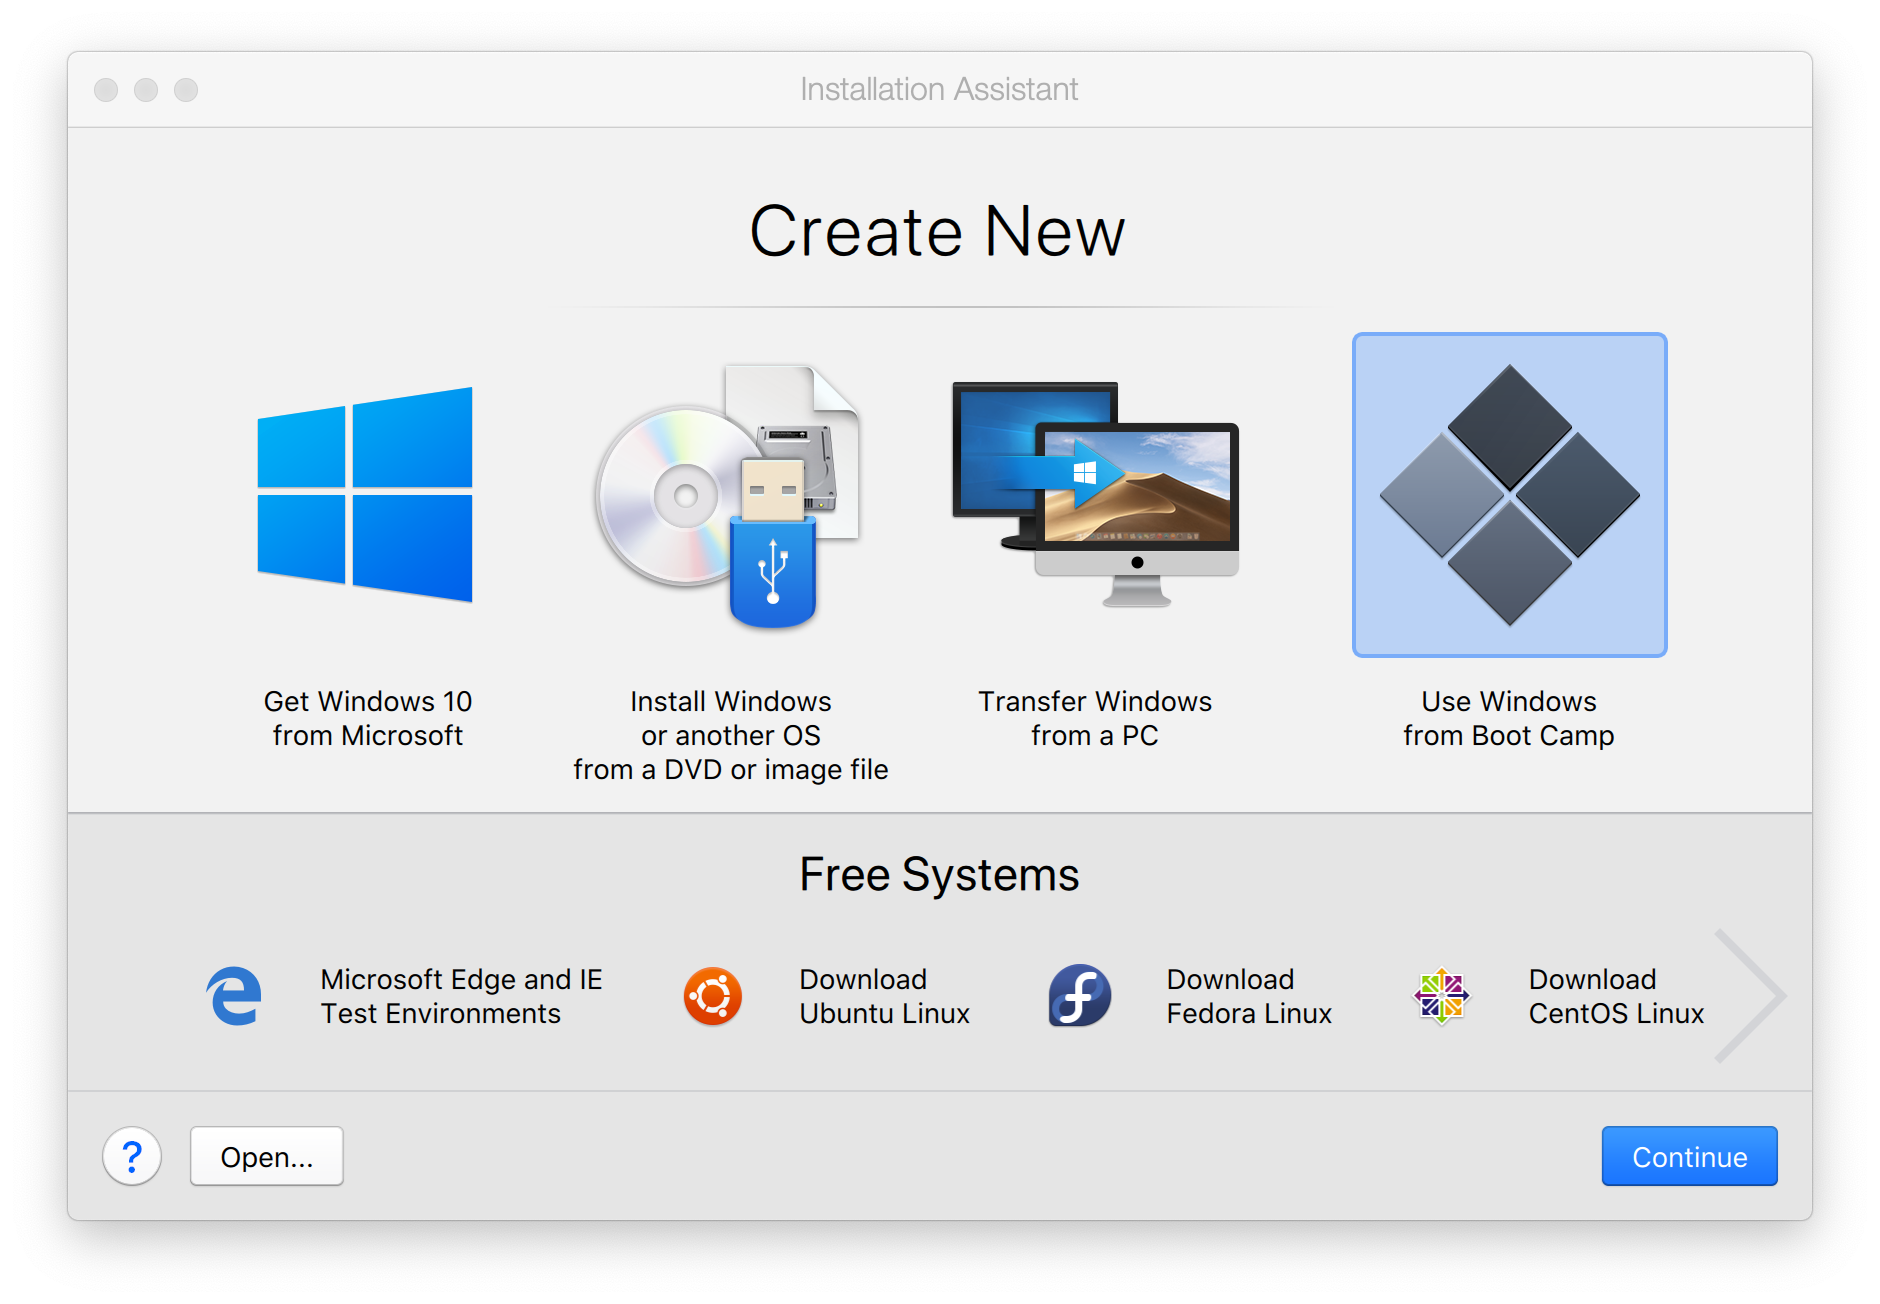
- Launch Parallels Desktop and select File > New on Mac menu bar to create Windows virtual machine.

- In the appeared Parallels Desktop Installation Assistant window choose Use Windows from Boot Camp, then follow the onscreen instructions to set up your existing Windows in Parallels Desktop.


Note: You can change the virtual machine's name, location and customize its settings before creation.

- After passing the customization screen you will get a confirmation screen that Windows or some of its application may ask for reactivation, proceed further by clicking on Continue.

Your Windows virtual machine will be created in the chosen location on your Mac hard drive.
When you launch Windows in Parallels Desktop for the first time, Parallels Tools drivers will install automatically allowing seamless operation between Windows and macOS. Once Parallels Tools are installed, you will be prompted to restart Windows.
After creating Boot Camp based Windows virtual machine in Parallels Desktop you can still use the original Boot Camp Windows installation separately from Parallels Desktop.
Transfer Boot Camp Windows installation to a new Mac
Please see KB 113658 for more information about importing your Boot Camp installation into a virtual machine and then transferring it to the new Mac.
Was this article helpful?
Tell us how we can improve it.