This article addresses a known installation issue affecting SOLIDWORKS Student Edition when launched directly from a network or shared folder. When the setup executable is launched from a network path, the installation may fails, hangs, or not complete successfully.
To ensure a successful installation, always run the SOLIDWORKS Student Edition installer from a local drive (for example, C:\) rather than directly from a network or shared folder by following the steps below:
-
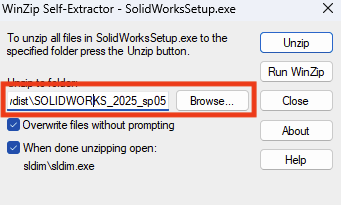
Run (double-click) SolidWorksSetup.exe, which is stored in the shared Downloads folder.
-
Ensure that the unzip location points to
c:\swdist\<SW_VERSION>, this should be the default value when run from the shared Downloads folder. (where the folder<SW_VERSION>should be populated with the version of solidworks which is being installed. Example:c:\swdist\SOLIDWORKS_2025_sp05).
-
Click Unzip.
-
-
Once unzipped, the SOLIDWORKS installer should open automatically, if the When done unzipping open: sldim/sldim.exe option is selected (default).
-
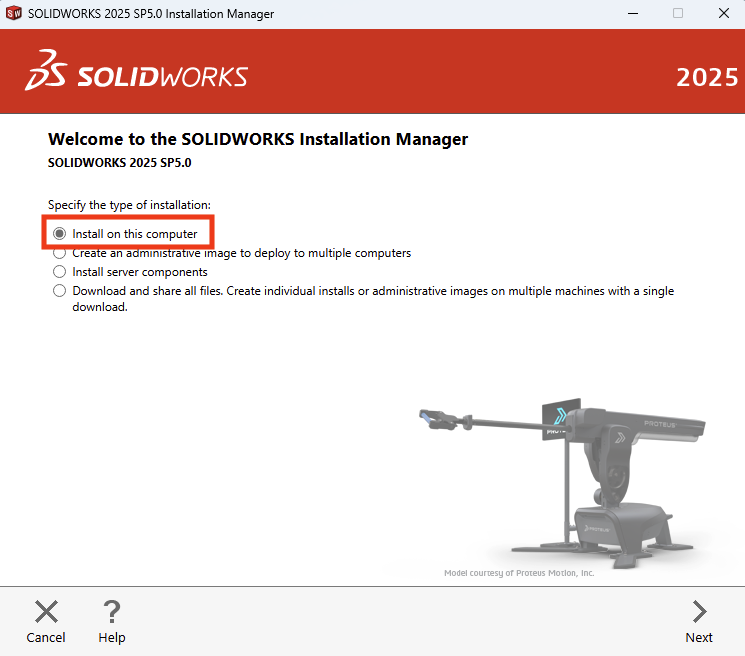
Choose Install on this computer.
-
Choose your products, and supply serial number(s) if necessary and click on Next.
-
Choose additional products if necessary and select Next.
-
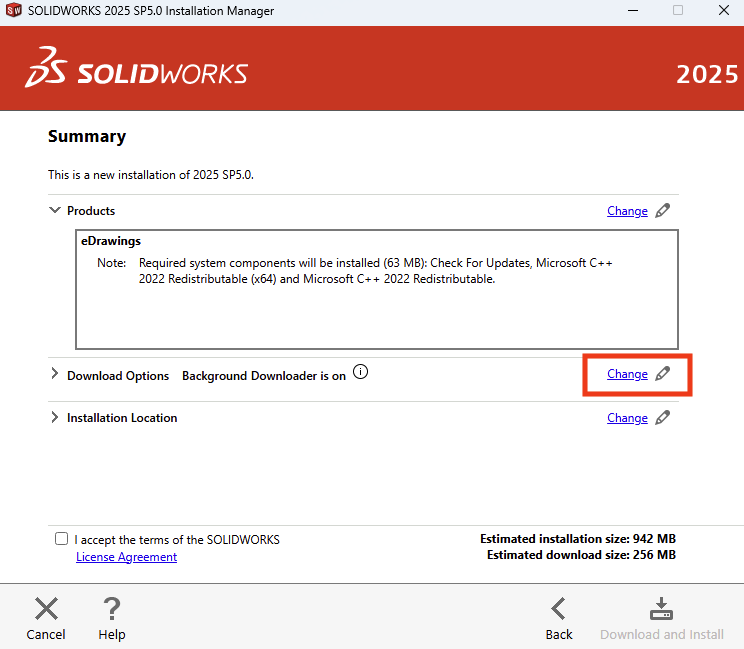
Once you reach the Summary page:
-
Under Download Options, click on Change.
-
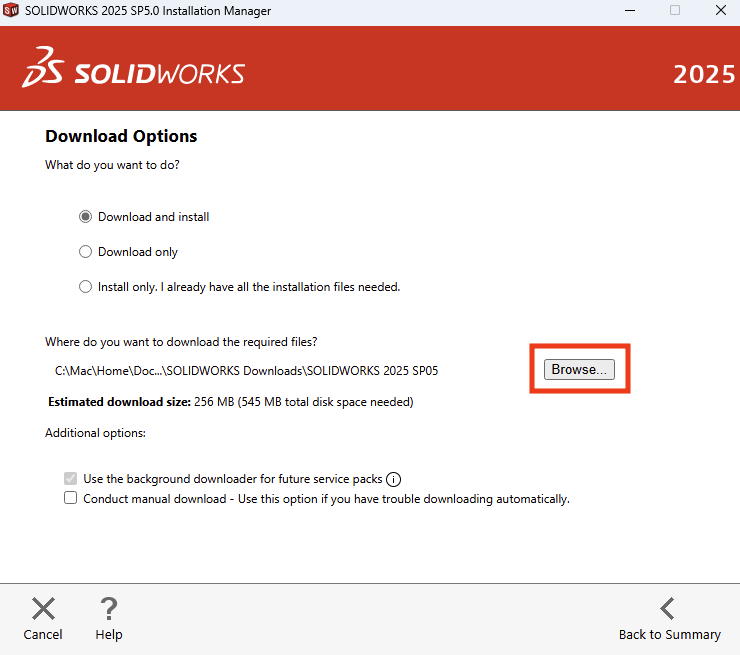
Select Download and Install.
-
Select Browse to change the download location.
-
Open This PC and navigate to Local Disk (C:).
-
Create a new folder in this directory. You might need to approve the action or enter administrator credentials.
-
Any folder name is acceptable; SOLIDWORKS Downloads is recommended for consistency.
-
Select the newly created folder.
-
Click Select Folder button.
-
-
Confirm the path in SOLIDWORKS installer.

-
Then select Back to Summary.
-
-
Check the box next to I accept the terms of the SOLIDWORKS License Agreement.
-
Select Download and Install
-
A message box will appear once the download is complete. You can either wait for the timer to expire or click Install Now to begin the installation immediately.
-
Installation should begin, and complete normally.
-
Restart your Windows 11 virtual machine when prompted.
Was this article helpful?
Tell us how we can improve it.