How to change the serial number of a virtual machine?
Note: These steps only apply to macOS virtual machines running on Intel-powered Mac computers. Changing a macOS virtual machine's serial number on a Mac with Apple silicon is currently not possible. Please consider voting on the Apple discussion forum at https://discussions.apple.com/thread/255669818 to support the feature. Your participation can significantly influence future enhancements.
More information on the current limitations of macOS virtual machines on Mac computers with Apple silicon is available in KB 128867.
Note: this feature is available only in Parallels Desktop Pro and Parallels Desktop Business editions.
Change a serial number
Changing a serial number using Terminal
Open Terminal (Applications > Utilities > Terminal) and execute the following command:
prlctl set "<vm_name|vm_UUID>" --smbios-serial-number <serial>
where <vm_name|vm_UUID> is your virtual machine's name or its unique identifier (virtual machine's UUID can be found by executing prlctl list -a command in Terminal).
Example:
prlctl set "Windows 11" --smbios-serial-number C02XK123456
Changing a serial number using a Boot flag
Go to virtual machine configuration > Hardware > Boot Order > Advanced settings > in Boot flags field paste the flag below alongside with a new serial number next:
devices.smbios.serial=<serial>

Verifying a serial number
To verify your virtual machine's serial number, perform the steps below.
macOS virtual machine
Open Terminal (Applications > Utilities > Terminal) inside the virtual machine and execute the following command:
ioreg -l | grep IOPlatformSerialNumber
In macOS a serial number is usually presented by a 12-character combination.
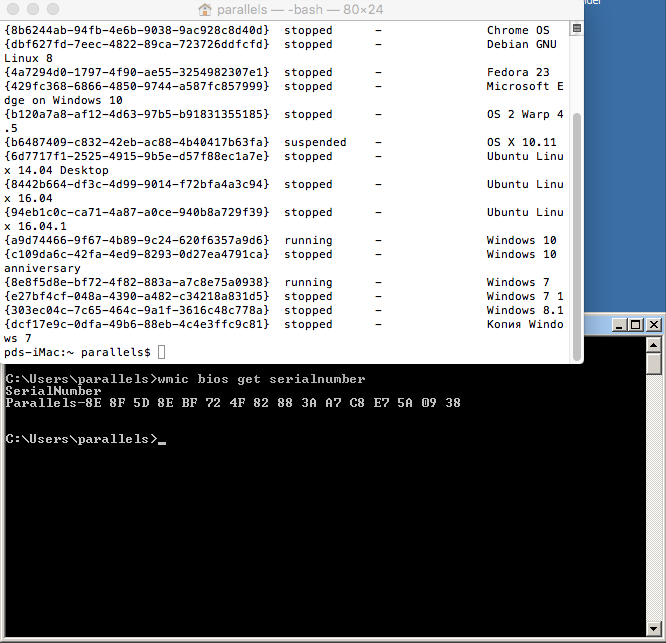
Windows virtual machine
Open Command Prompt: click Windows Start menu, in Search bar type cmd, right-click on the appeared Command Prompt application and click Run as Administrator. Once Command Prompt opens, execute the following command:
wmic bios get serialnumber
In Windows, serial number is usually equal to the UUID of your VM.
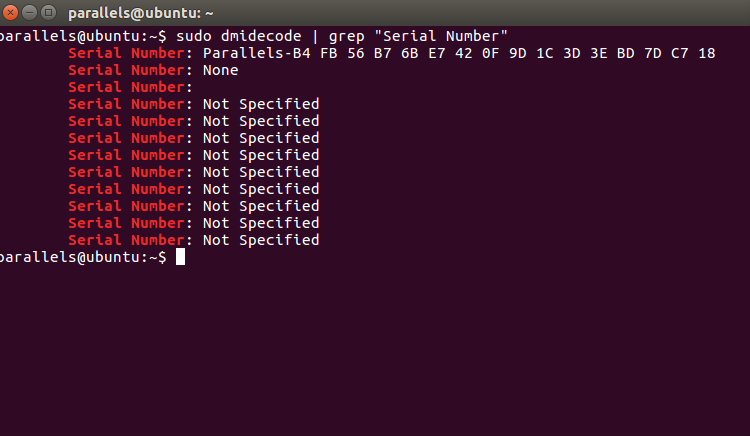
Linux virtual machine
Open Terminal on Linux virtual machine > execute the command (with quotes):
dmidecode | grep "Serial Number"
Just as in Windows, a serial number in Linux is usually equal to the UUID of your VM.
Was this article helpful?
Tell us how we can improve it.