Like most applications on a Mac, Parallels Desktop doesn't require uninstallation – simply move the application to Trash. If you want to upgrade to the newer version of Parallels Desktop, you don't need to uninstall the current version, it will be automatically replaced during installation.
Note: Uninstalling Parallels Desktop will not delete your virtual machine (file with .pvm extension), and your Windows files and applications won't be affected by this procedure. If you want to remove all the files and applications you used in Parallels Desktop, you need to remove the virtual machine, please see KB 5029 for instructions.
Instructions
-
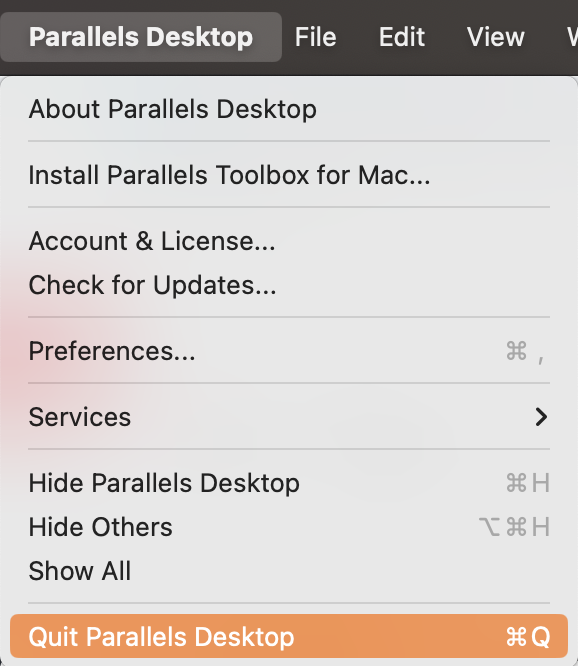
Shut down your virtual machine and quit Parallels Desktop.

-
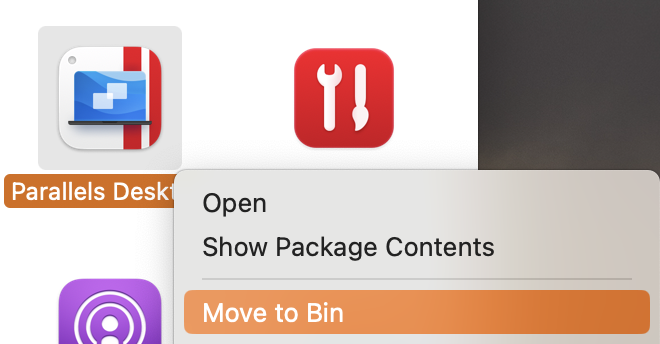
Open your Applications folder and drag the Parallels Desktop icon into the Trash.
-
Empty the Trash.
Note: If after uninstalling Parallels Desktop, some files are still associated with your virtual machine's application, and you need to change the app used to open them permanently, please follow these steps:
- On your Mac, click the Finder icon in the Dock to open a Finder window.
- Select the file that you want to change the app for.
- Select File > Get Info from the menu bar at the top of the screen. Alternatively, you can right-click the file and select Get Info from the context menu.
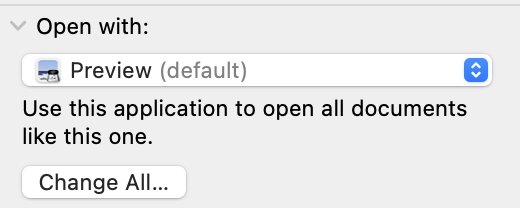
- In the Info window that appears, locate and click the arrow next to Open with.
- Click the pop-up menu to see a list of available apps, and select the desired app to open the file.
- If you want to open all files of the same type with the chosen app, click the Change All button.
Following these steps will permanently change the default app associated with the file type, ensuring that it opens with the desired application on your Mac.
Was this article helpful?
Tell us how we can improve it.