Symptoms
Windows cannot start in any mode (neither normal no safe mode).
Cause
Corrupted or missing system file prevents Windows from booting normally.
Resolution
- Click to start Windows 8 Virtual Machine
- Press F8 immediately after starting the Windows 8 Virtual Machine (and for best results, continue pressing F8 until you see the Troubleshoot)
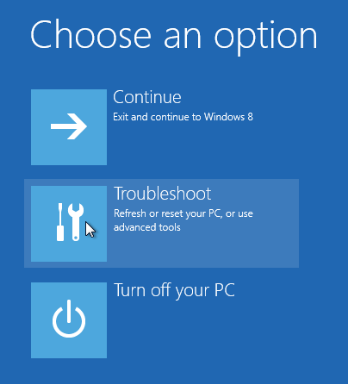
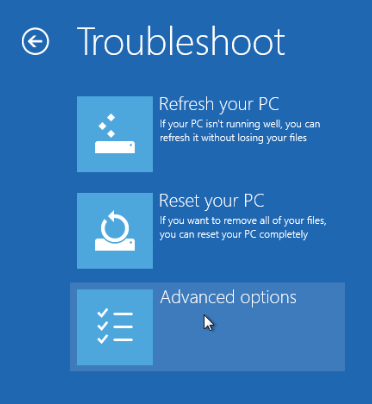
- Click Refresh your PC and Windows 8 will try to fix your startup issue
Warning: The apps that came with your PC or you installed from Windows Store will be reinstalled, but any apps you installed from other websites and DVDs will be removed. Windows puts a list of the removed apps on your desktop after refreshing your PC.
To know more about Refreshing, Resetting and Restoring Windows 8 please visit How to restore, refresh, or reset your PC and Refresh and reset your PC.

If the issue still persists: Advanced Troubleshooting
Run System File Checker (sfc.exe) offline using two additional parameters, via the Windows Recovery Environment (Windows RE). Note: you will need Windows installation disk or .iso image.
Configure the virtual machine boot order such that the first boot device is your CD/DVD drive.
- Without starting your virtual machine go to Actions menu -> choose Configure... -> select Hardware tab.
- Highlight CD/DVD 1, make sure that Connected option is enabled and set Connect to to your physical CD/DVD drive (if you have an installation disk) or specify the path to corresponding .iso image.
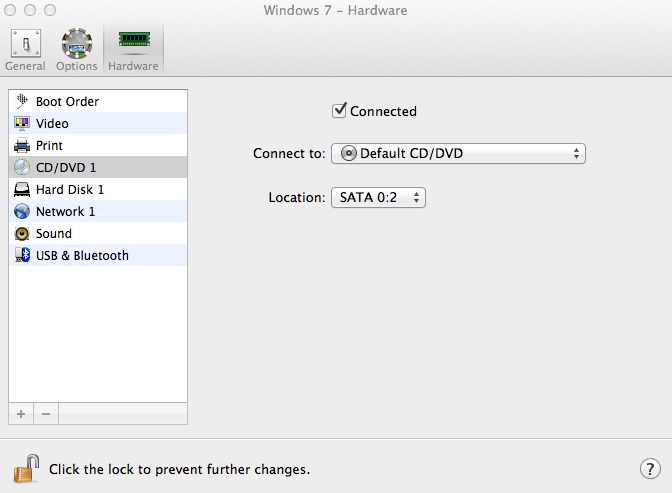
- Highlight Boot Order -> on the right side of the window, choose CD/DVD, and using the up arrow move it to the first place.

If you use a Windows installation disk please insert it into the CD-ROM, start your virtual machine.
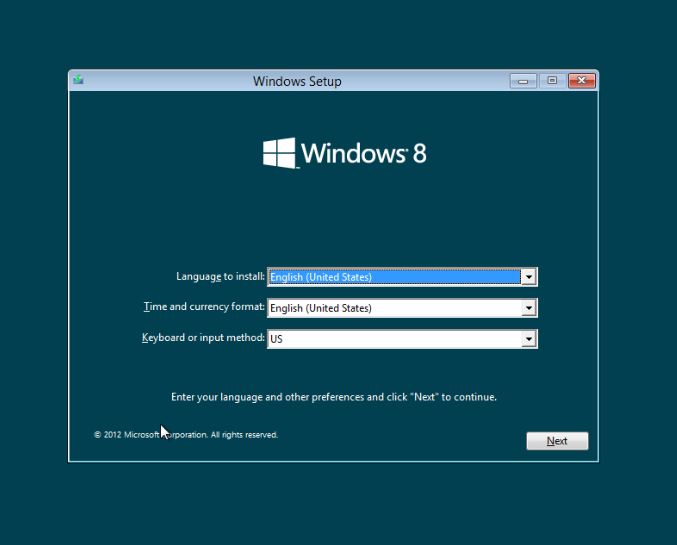
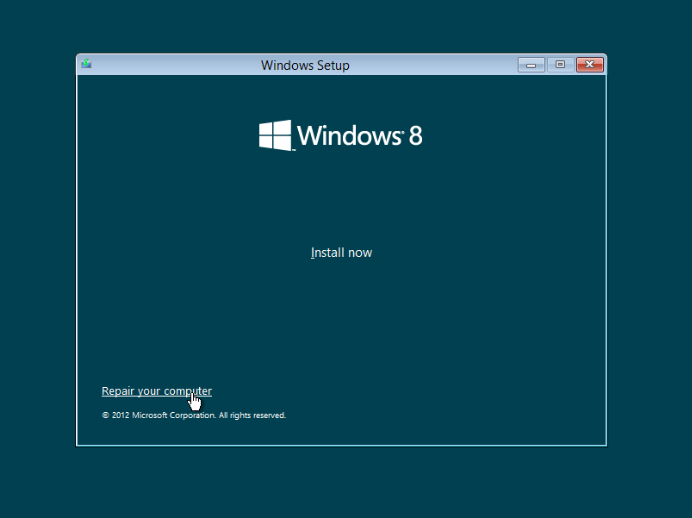
When prompted, press a key to boot from the DVD. In the ‘Install Windows’ screen, click Repair your computer.
Select Troubleshoot -> Advanced Options.
Click Command Prompt.

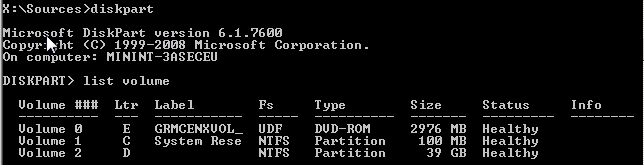
First use the command line to identify all drives attached to the system and their current mount point in Windows PE. This is done with the diskpart utility and the list volumes subcommand. C:\ is the boot volume (labeled "System Reserved") and D:\ is the system volume (where the operating system and user data are stored).
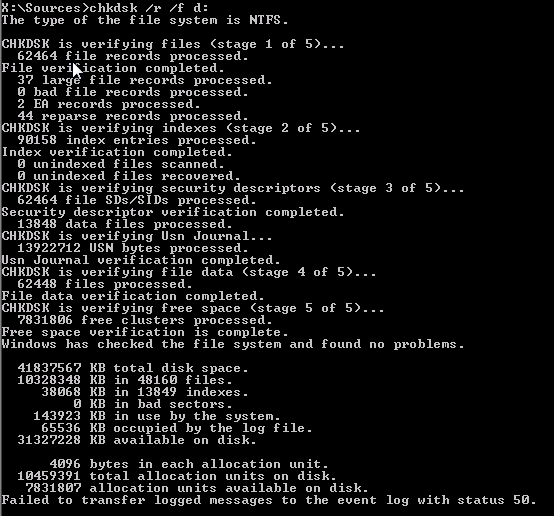
Run a chkdsk, this will verify/repair the filesystem and mark any bad sectors on the disk so that they are not used again.
Perform a sfc /scannow using the offline settings for the boot directory and windows directory. If you use the incorrect options, two errors are common:
"Windows Resource Protection could not start the Repair service."

"There is a system repair pending which requires reboot to complete. Restart Windows and run sfc again."
The first error indicates an invalid boot or system partition path. The second indicates that incorrect arguments were given, or there is a file that needs to be removed or renamed in the
\Windows\winsxs\pending.xmlpath. For this installation, this isD:\Windows\winsxs\pending.xml.For this particular system, this is the correct command to run based on the output of diskpart above
sfc /SCANNOW /OFFBOOTDIR=c:\ /OFFWINDIR=d:\Windows
- This process takes some time to complete. Windows Resource Protection should find corrupt files and repair them. Details are included in the CBS.log.
- When it completes type "exit" and restart your system.
- Go to Actions menu -> choose Configure... -> Hardware tab -> highlight Boot Order and change the order back (make Hard disk to be in the first place).
- If the system is still unbootable, it may be necessary to perform an in place upgrade or rescue the files and create a new virtual machine.
Was this article helpful?
Tell us how we can improve it.