Note: starting with Parallels Desktop 19, the feature has been deprecated. This article applies only to Intel-based Mac computers. Migrating a PC to a Parallels Desktop virtual machine running on a Mac with Apple silicon is currently not possible.
Parallels Desktop for Mac can make a full copy of your PC as a virtual machine on a Mac. The migration process is fast, stable, and easy to follow.
This knowledge base article briefly describes the migration process. For the detailed instructions, please refer to the Parallels Transporter Agent User's Guide from this page.
PC requirements for transfer
To import data to your Mac, you need a computer with the following specifications:
- 700 MHz (or higher) x86 or x64 processor (Intel or AMD)
- 256 MB or more of RAM
- 50 MB of hard disk space for installing the Parallels Transporter Agent
- Ethernet or WiFi network adapter for migrating over the network
Supported Windows and Linux versions
- Windows 10
- Windows 8.1
- Windows 7
- Windows Vista
- Windows XP (Home, Professional SP2/SP3)
- Windows Server 2003
- Windows 2000 Professional
- Red Hat Enterprise Linux 5.x, 6.x
- Ubuntu Linux 10.04 LTS, 14.04
NOTE: Parallels Desktop does not support migrating Windows dynamic volumes (in which the size is not fixed, as it is in basic volumes). They are migrated as data disks only. You can add them later to an existing virtual machine.
Supported File Systems
- FAT16/32(Windows only)
- NTFS (Windows only)
- Ext2/Ext3
IMPORTANT: OEM Windows operating systems may not work with Parallels Desktop after you migrate them to virtual machines. OEM operating systems are only distributed when they are sold with computers. The best example of an OEM operating system is the copy of Windows that comes pre-installed when you buy a new PC.
After importing your data from your PC, you may need to reactivate some of your Windows programs using the activation keys you received when you purchased the programs.
Step 1: Install Parallels Desktop on a target Mac
1. Install Parallels Desktop on a target Mac.
Step 2: Install the Parallels Transporter Agent on your Windows PC
- Download the Parallels Transporter Agent for Windows and double-click the installation file.
- Follow the installation procedure.
Note: To complete the installation of the Parallels Transporter Agent to your PC, you will have to restart the PC.
Step 3: Choose the migration method
Run the Parallels Transporter Agent and once asked, choose the desired method for importing the data from your PC to your Mac.
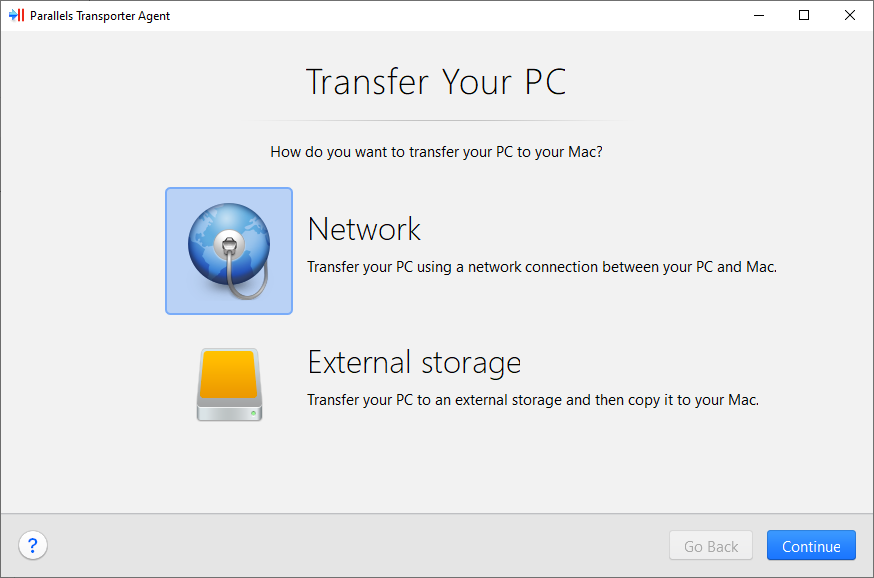
Network
To import your data from a PC over a network:
-
Turn on both your Mac and Windows PC. Make sure that the computers are connected over the same network.
-
Make sure that the Windows firewall is turned off. You can turn it on again after the import is finished.
-
On your Windows PC, open the Parallels Transporter Agent.
-
On your Mac, open Parallels Desktop and choose File > New...
-
Select Transfer Windows from a PC and click Continue.

-
Select Network and click Continue.
-
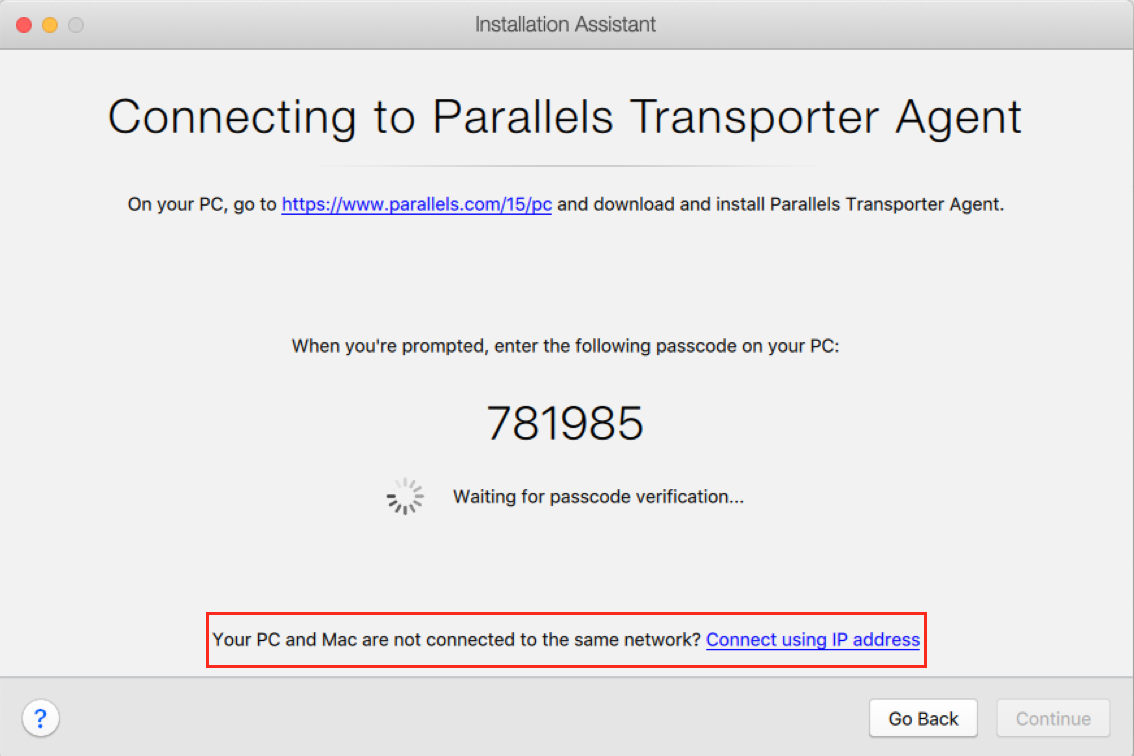
Find the passcode displayed in the Parallels Wizard on your Mac and enter it in the Parallels Transporter Agent on your Windows PC. You can also connect to the source Windows PC using its name or IP address: click Connect using IP address, select the Windows PC name from the list or type the IP address, and click Continue.
-
If you have chosen to use the computer name or IP address, provide the Windows administrator credentials. Parallels Desktop will connect to the Parallels Transporter Agent and start collecting information about the source computer.
-
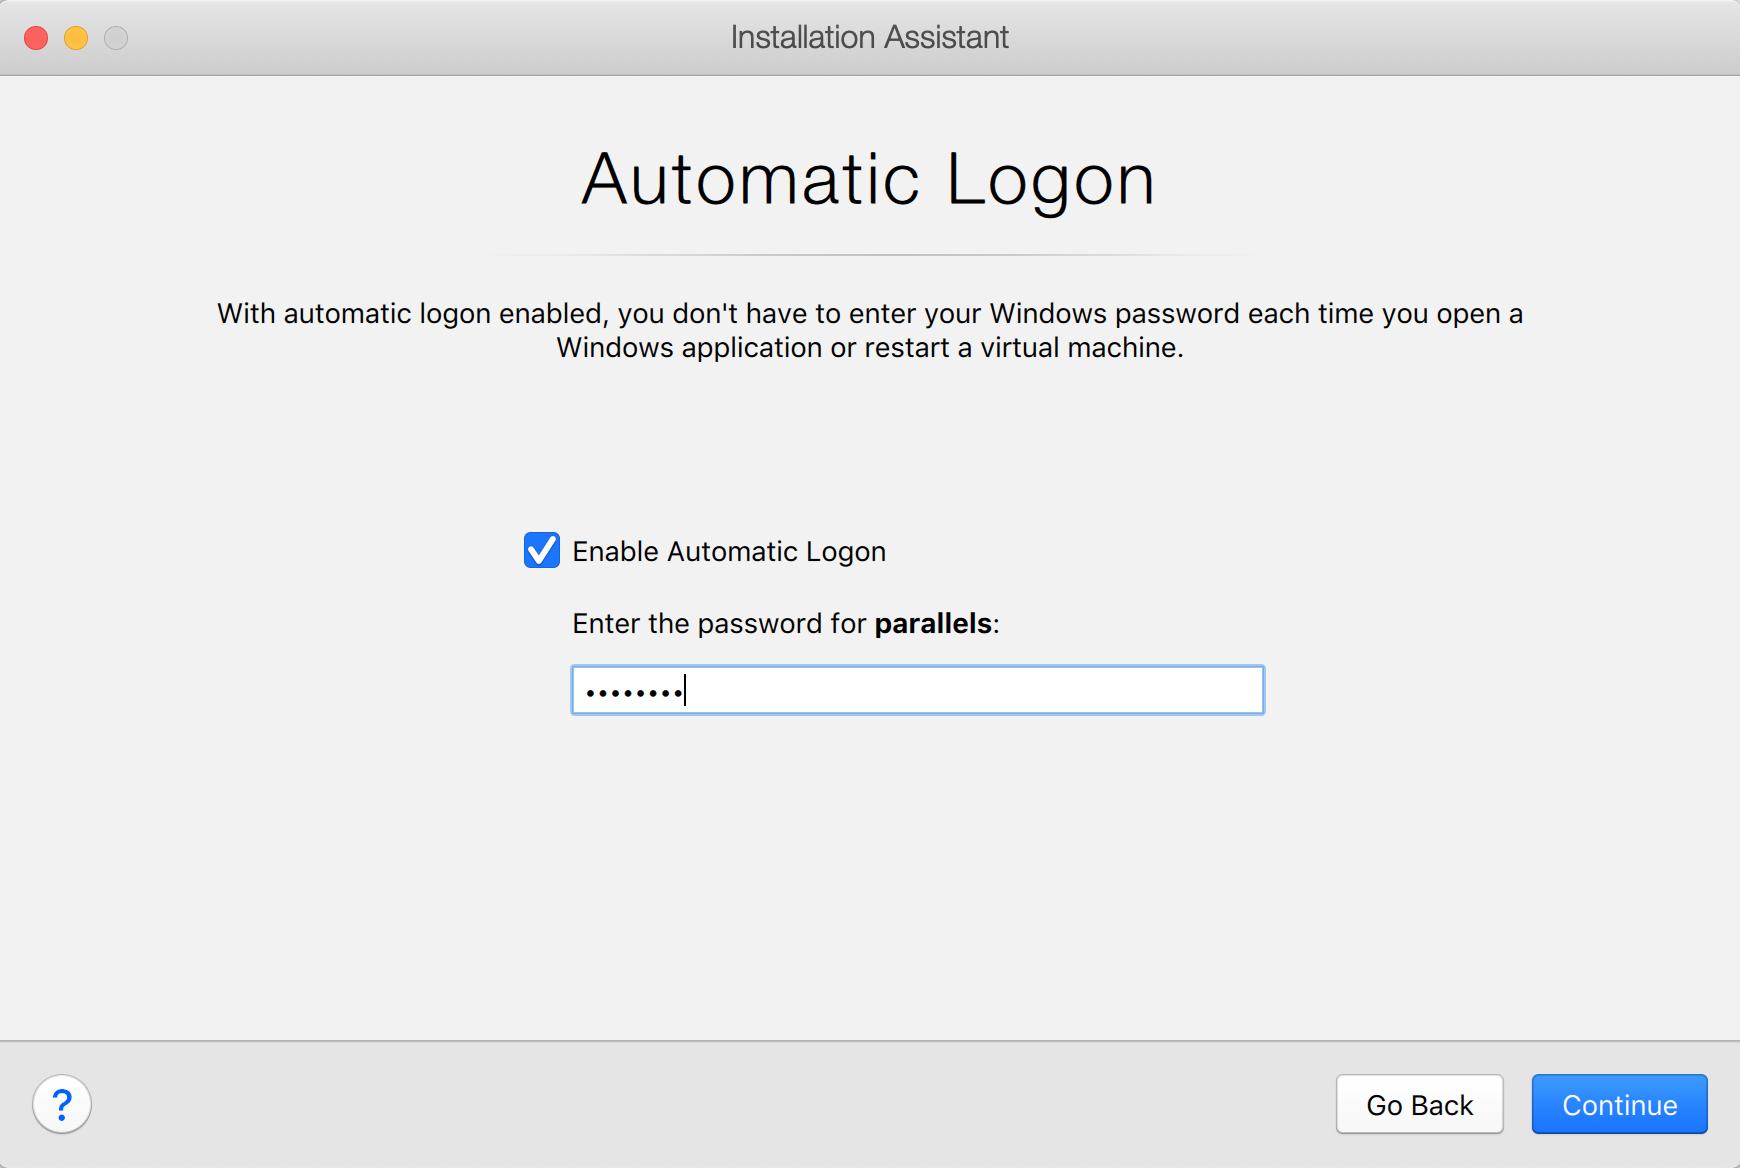
If you want to log in to Windows automatically whenever you start up, tick the option Enable Automatic Logon and enter the password from your account on Windows. Then click Continue.
-
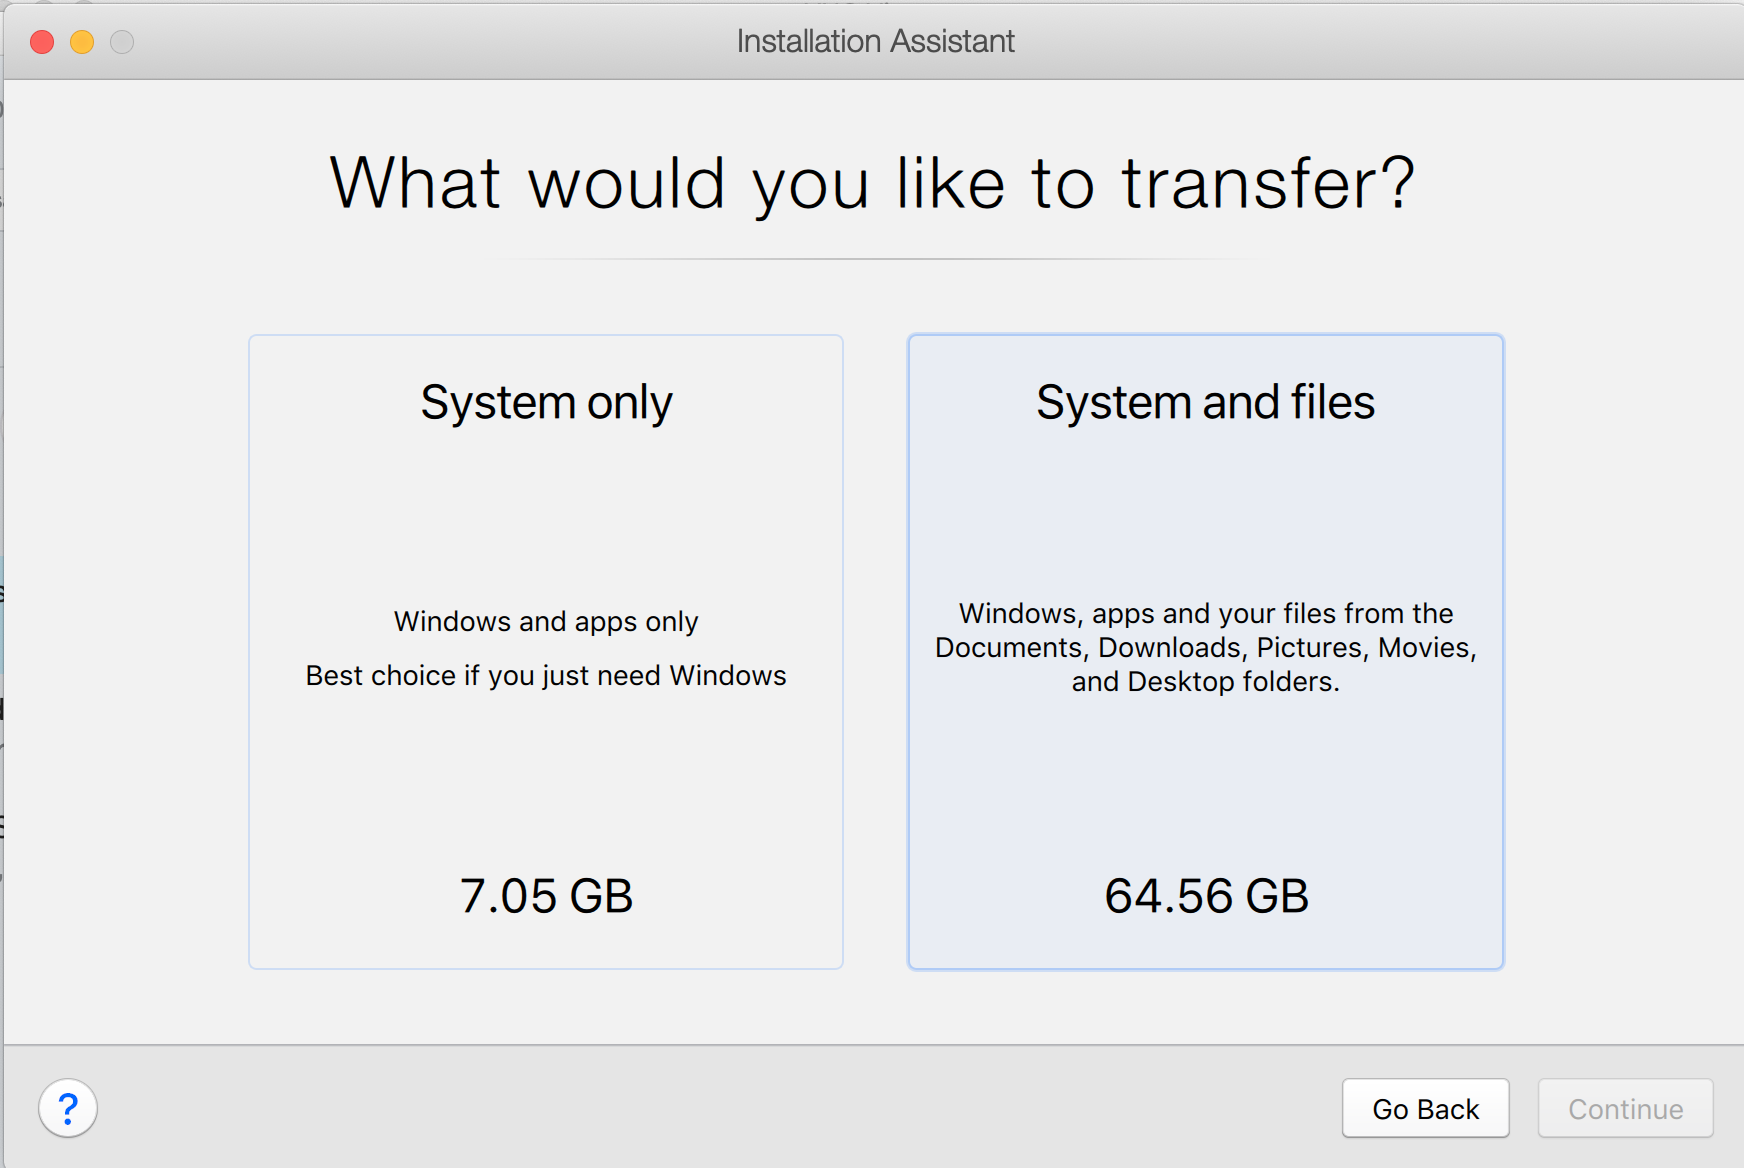
Choose whether you want to migrate all your files and data or only Windows applications. Then click Continue.
-
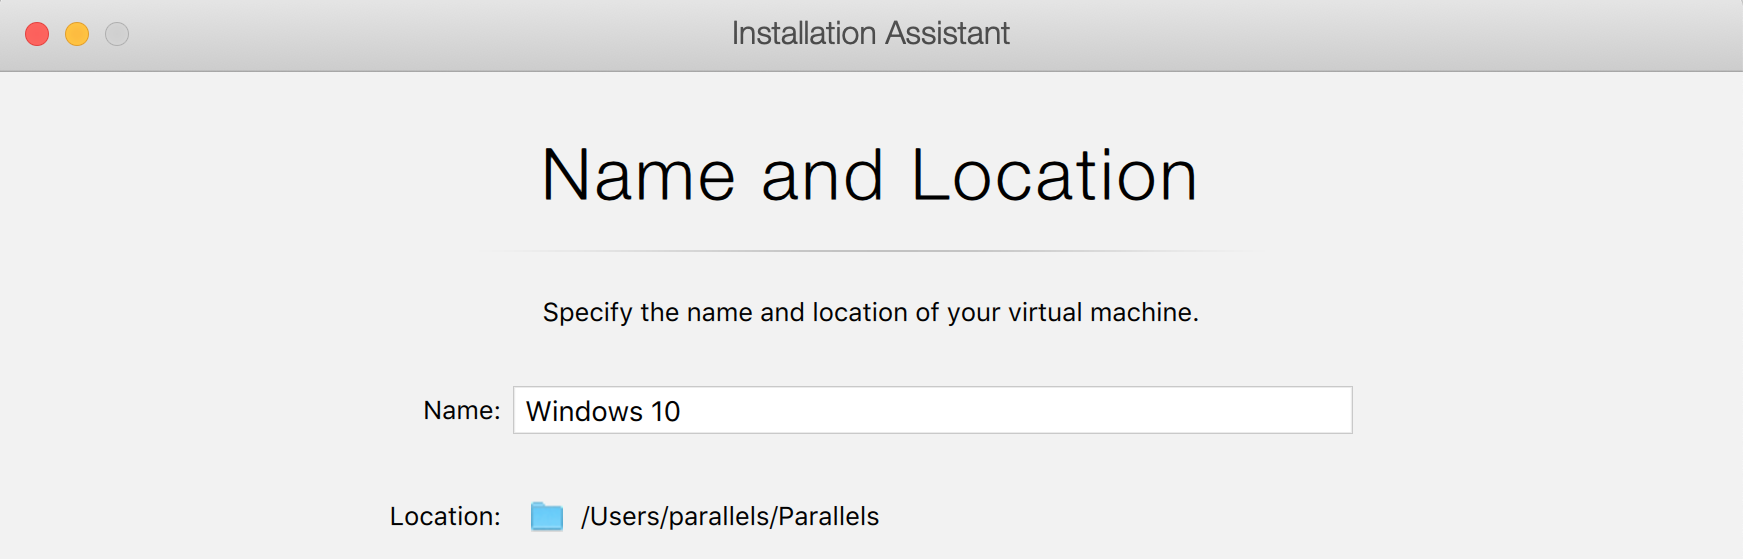
Specify a virtual machine name and location where it'll be installed. Click Continue and follow the migration process. Note that the migration duration depends on the amount of data that needs to be transferred from PC to Mac.
-
Once the migration is complete, click Done.
-
Start the Windows virtual machine.
- When Windows boots up, click on the Actions menu on the top Mac menu bar > Install Parallels Tools and follow the on-screen instructions.
NOTE: To be able to install Parallels Tools, you must be logged in to Windows as an administrator.
External storage
To import your data from a PC using an external storage device:
-
Connect an external storage device to your Windows PC.
-
In the Windows PC, open the Parallels Transporter Agent.
-
Choose the External storage migration method.
-
Click Next. The Parallels Transporter Agent will collect information about the Windows PC.
-
If you don't want to log in to Windows automatically whenever you start up the virtual machine, do not select the option Enable Automatic Logon. Then click Next.
-
Choose whether you want to migrate all your files and data or only Windows applications. Then click Next.
-
In the next step, you will see a warning about the Windows reactivation that might be required when you start using it. To proceed, read this message, select I want to continue, and click Next.
-
Once the migration is complete, click Done to quit the Parallels Transporter Agent.
-
Disconnect the storage device from the Windows PC and connect it to your Mac.
-
On your Mac, open Parallels Desktop and choose File > New.
-
Select Migrate from a PC and click Continue.
-
Select the External Storage Device and click Continue.
-
Click Choose and locate where you chose to store your data. Then click Continue.
-
Choose where you want to install Windows and your data, then click Continue.
-
Once the migration is complete, click Done.
-
Start the Windows virtual machine.
- When Windows boots up, select Actions > Install Parallels Tools from the top Mac menu and follow the on-screen instructions.
NOTE: To be able to install Parallels Tools, you must be logged in to Windows as an administrator.
Troubleshooting
If you have an issue with migration, please refer to these articles:
Was this article helpful?
Tell us how we can improve it.